
Big Fish, Better Photos: Master the Art of Angling Photography
Did you know that every photo submitted to the Manitoba Master Angler program is a candidate for our monthly photo contest sponsored by Bass Pro Shops & Cabela’s? We’re always looking for high-quality, impactful images to feature, and the winner each month takes home a gift card to gear up for their next adventure. To help you land that winning shot, we’ve put together a few simple tips to elevate your photos, no expensive gear required.
Great fish deserve great photos.
Before we get into photography tips, there is one thing that matters more than anything else.
Fish-First Practices Come First
Before thinking about angles, lighting, or framing, we need to focus on the fish's health.
The Manitoba Master Angler Program is built around respect for the resource and every photo should reflect that. Following proper fish-handling practices ensures that these fish can be released safely and caught again.
Fish-First Practices
- Play your fish as little as possible. Use appropriate gear for each species and situation.
- Always have landing equipment ready and release tools within reach.
- When removing hooks, keep the fish in the water with its gills submerged whenever possible.
- Use safe handling techniques. No vertical gill holds. Support the fish with one hand under the belly. Never hold fish by the eyes or gills.
- Be prepared. Plan your measurement and photo before lifting the fish out of the water.
- Use a bump board when possible and measure fish horizontally.
- Keep the "out-of-water" time to under 30 seconds.
- Release fish properly. Do not throw them or move them back and forth.
- Never expose fish to freezing temperatures that can damage eyes, skin or fins.
Everything that follows in this blog works within these guidelines.
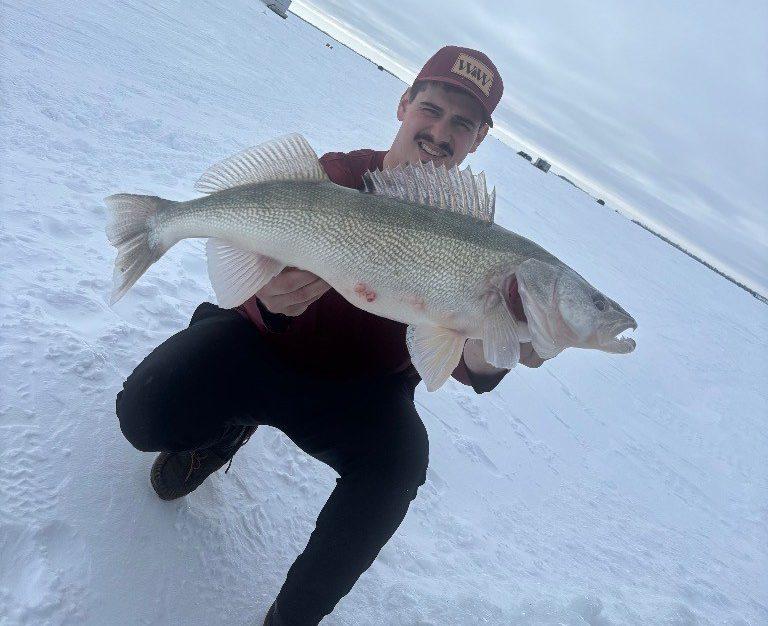
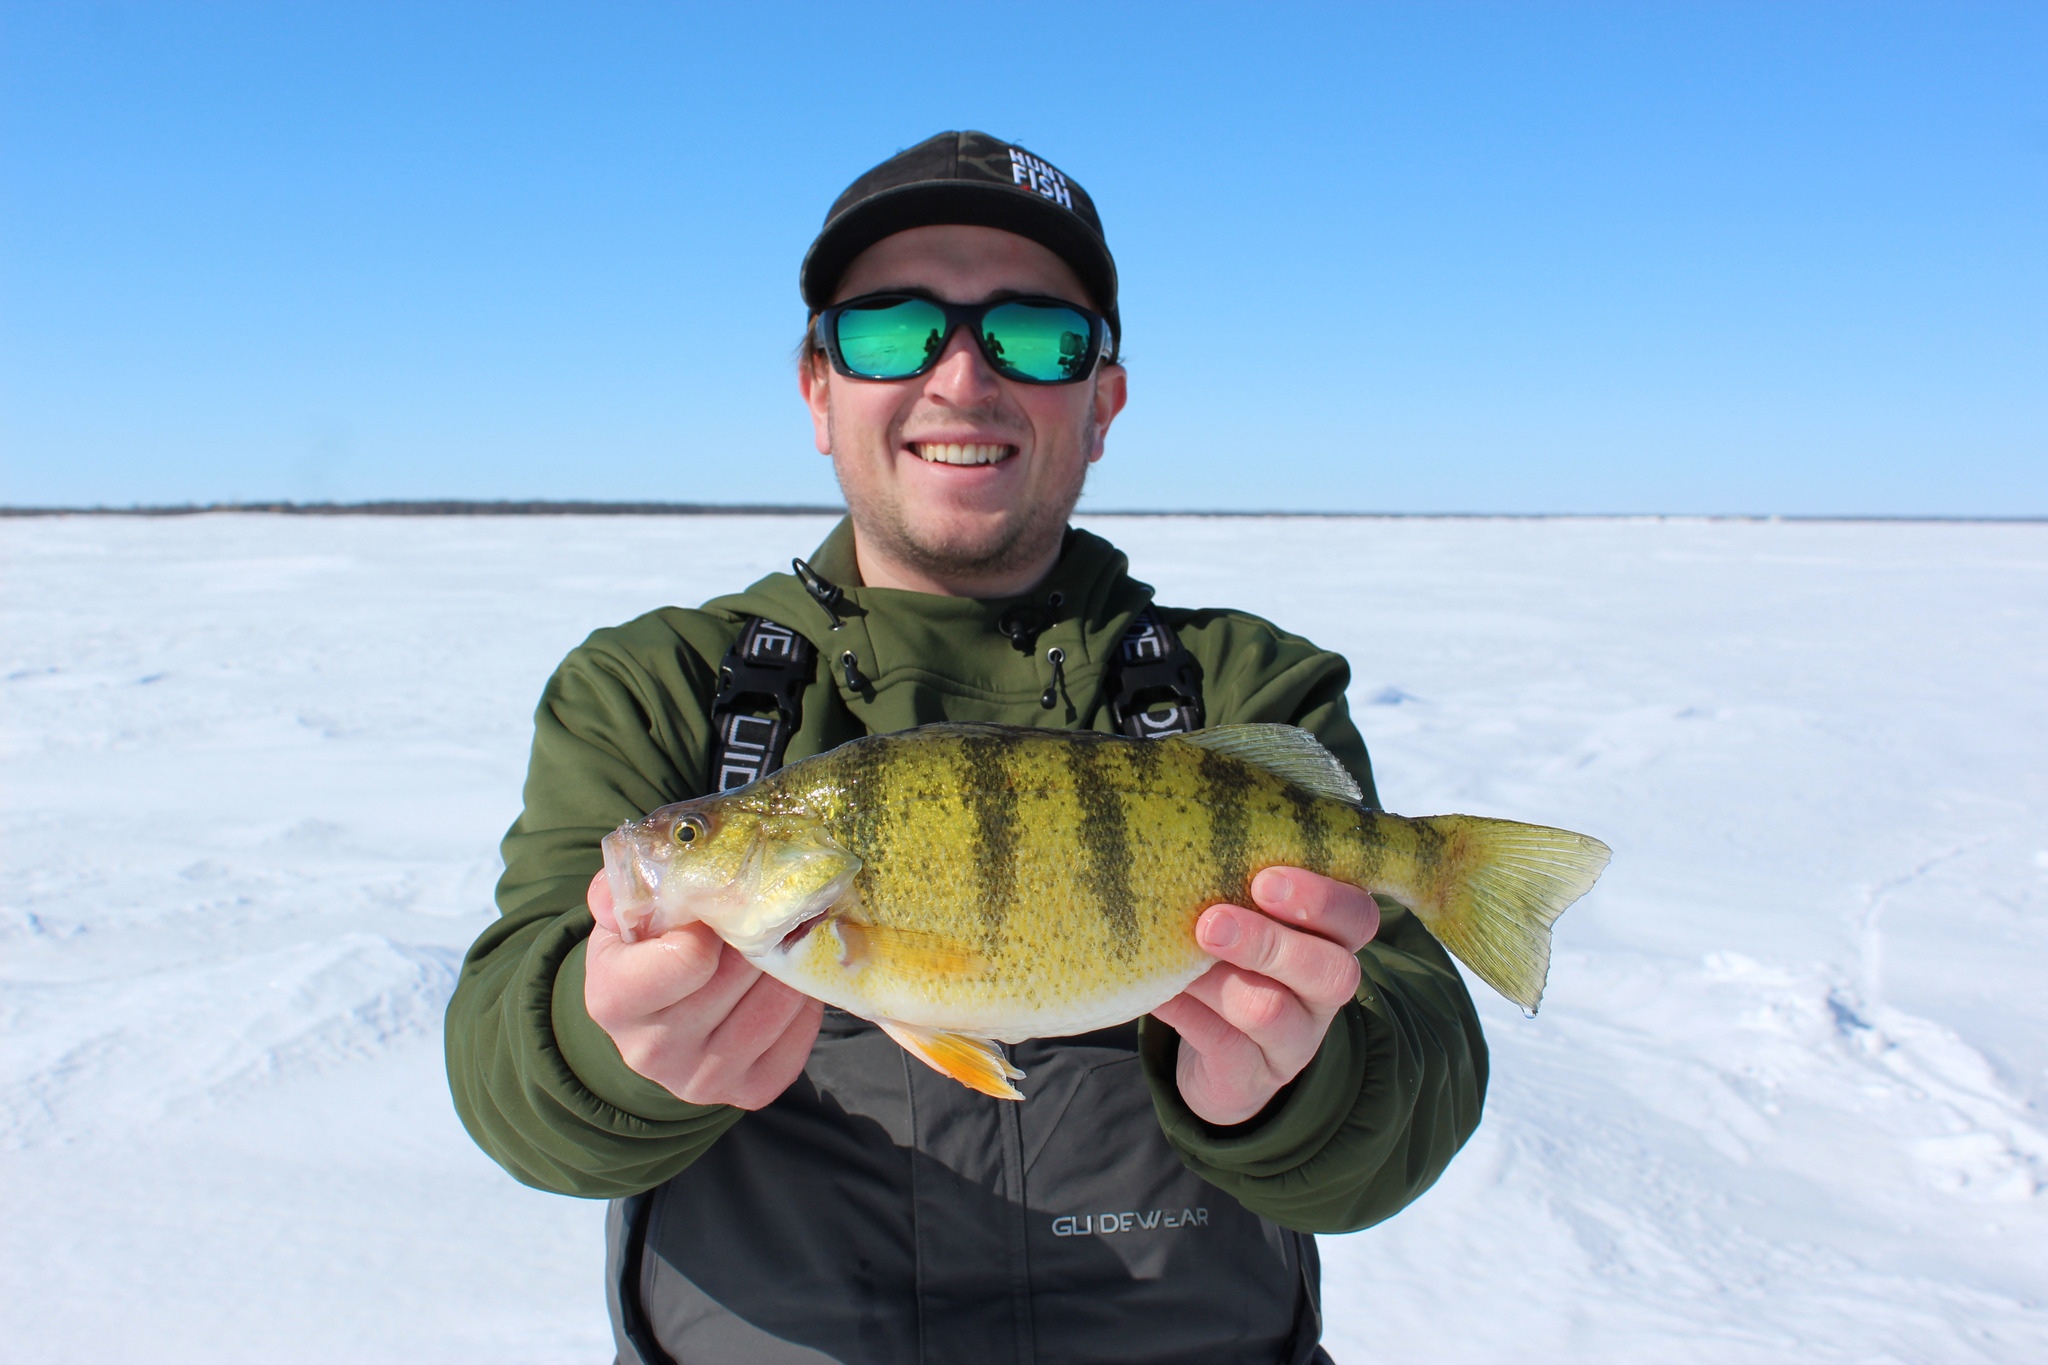
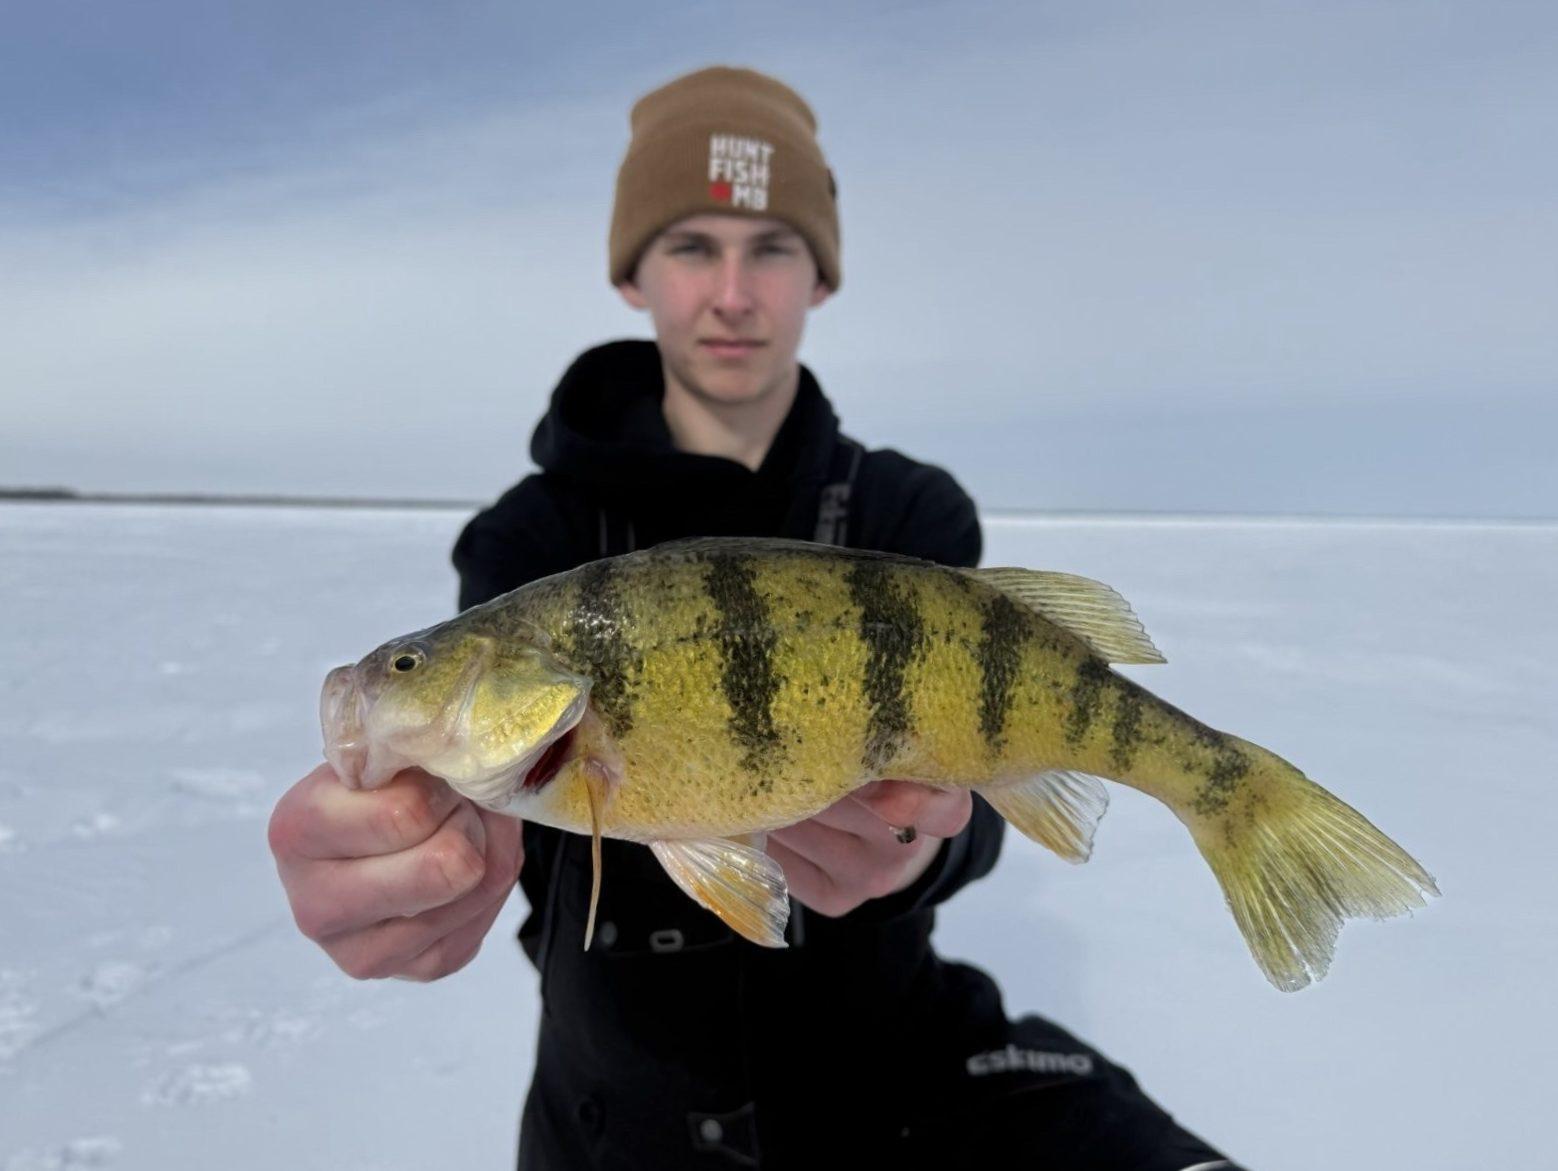
Ice Fishing Photo Tips
Ice fishing creates some of the most unique photo opportunities, but also comes with added challenges, especially in cold conditions.
Keep the fish in the water as much as possible. Unhook it in the hole when you can.
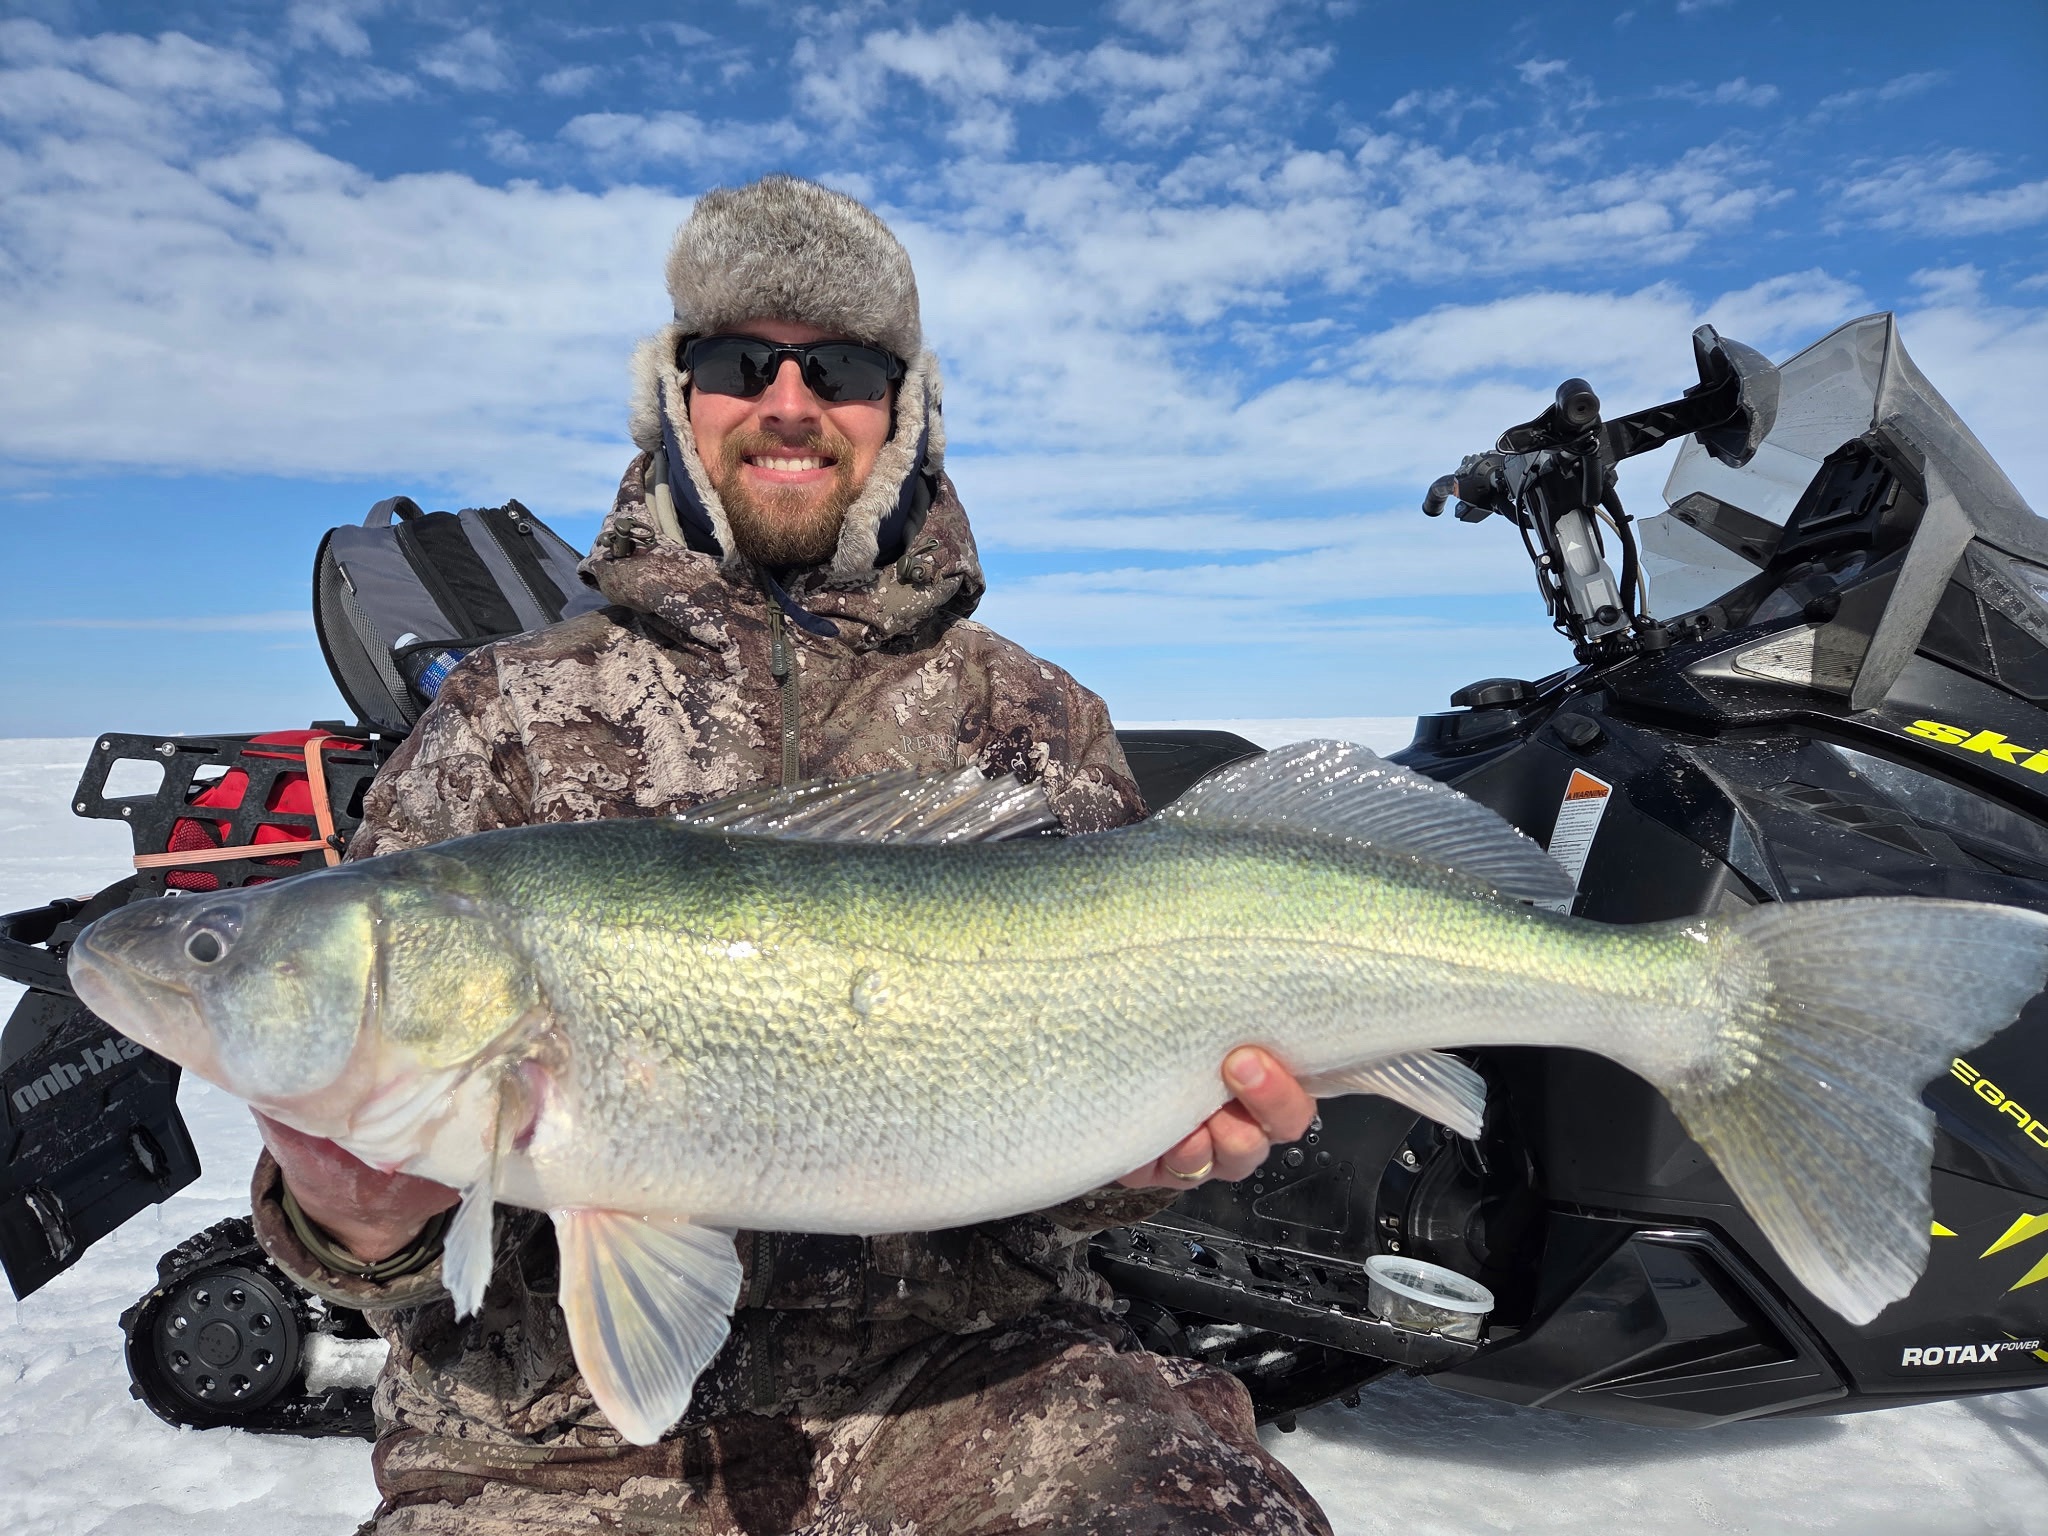
A simple and effective setup is to use lip grips attached to the fish, then run the loop of the grips through an ice scoop, keeping the fish contained and in the hole. This allows the fish to remain in the water while you get everything ready.
Start with your measurement photo on the bump board. This should only take a few seconds. If it is cold, place the fish back in the hole right after to prevent freezing. Once everything is ready, lift the fish for a quick hero shot. If needed, give the fish another short rest in the hole between photos to keep it in top condition.

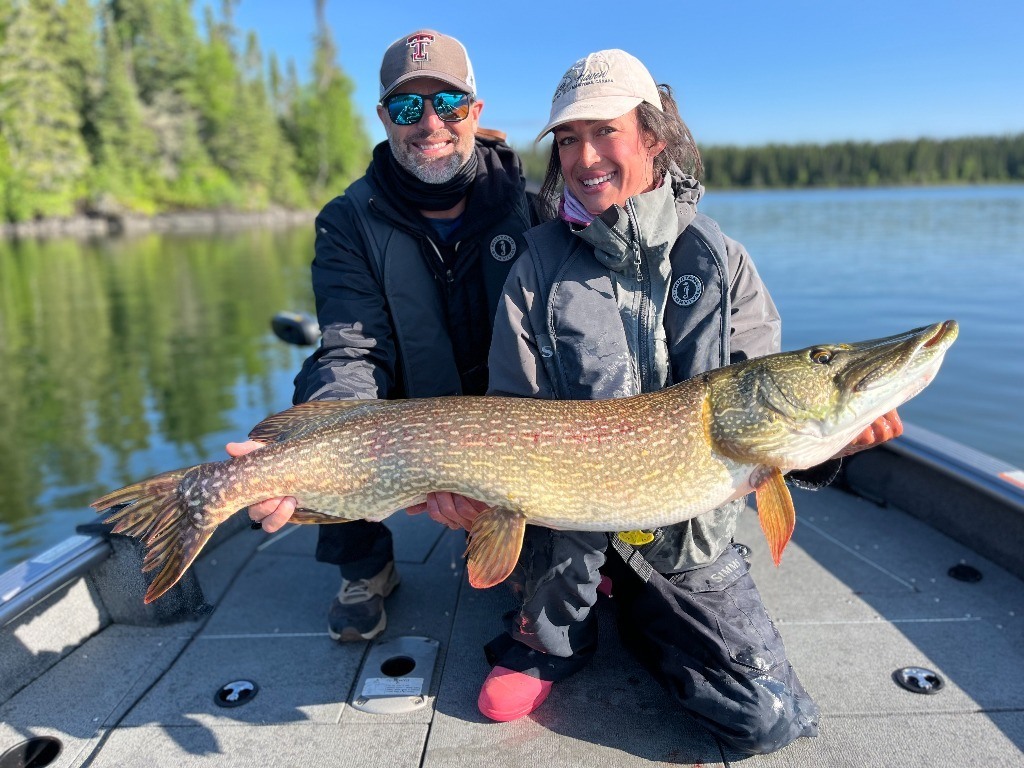
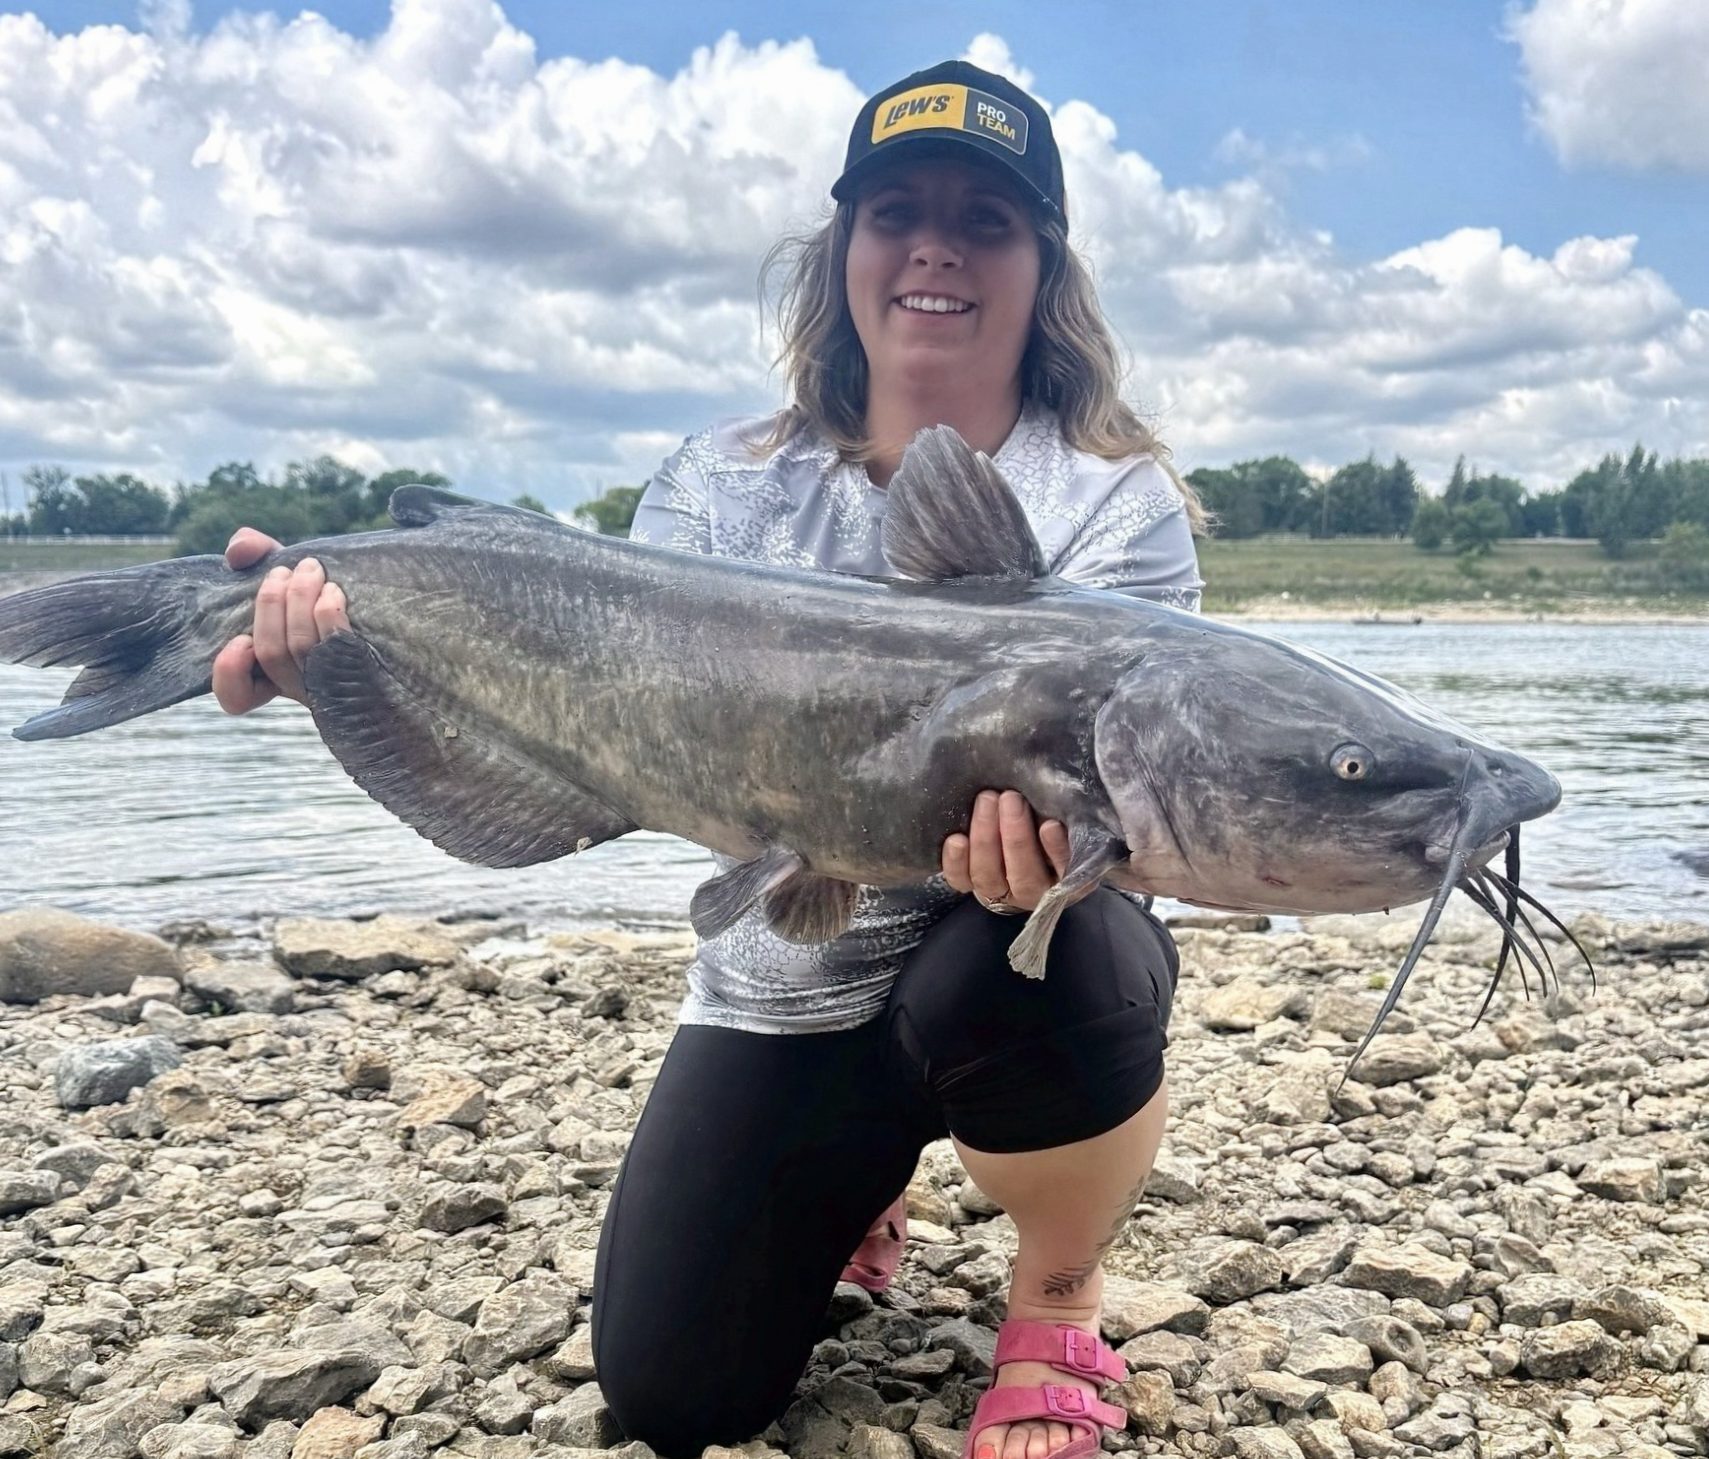
Open Water Photo Tips
The approach is very similar in open water. Instead of the ice hole, use your landing net to keep the fish in the water while unhooking and preparing for photos.
Have your bump board ready, take your measurement shot quickly, then return the fish to the net while you get set for your hero photo. When everything is ready, lift the fish briefly for the shot and return it to the water right away.
Lighting Makes the Biggest Difference
Good lighting can take an average photo and make it stand out instantly.
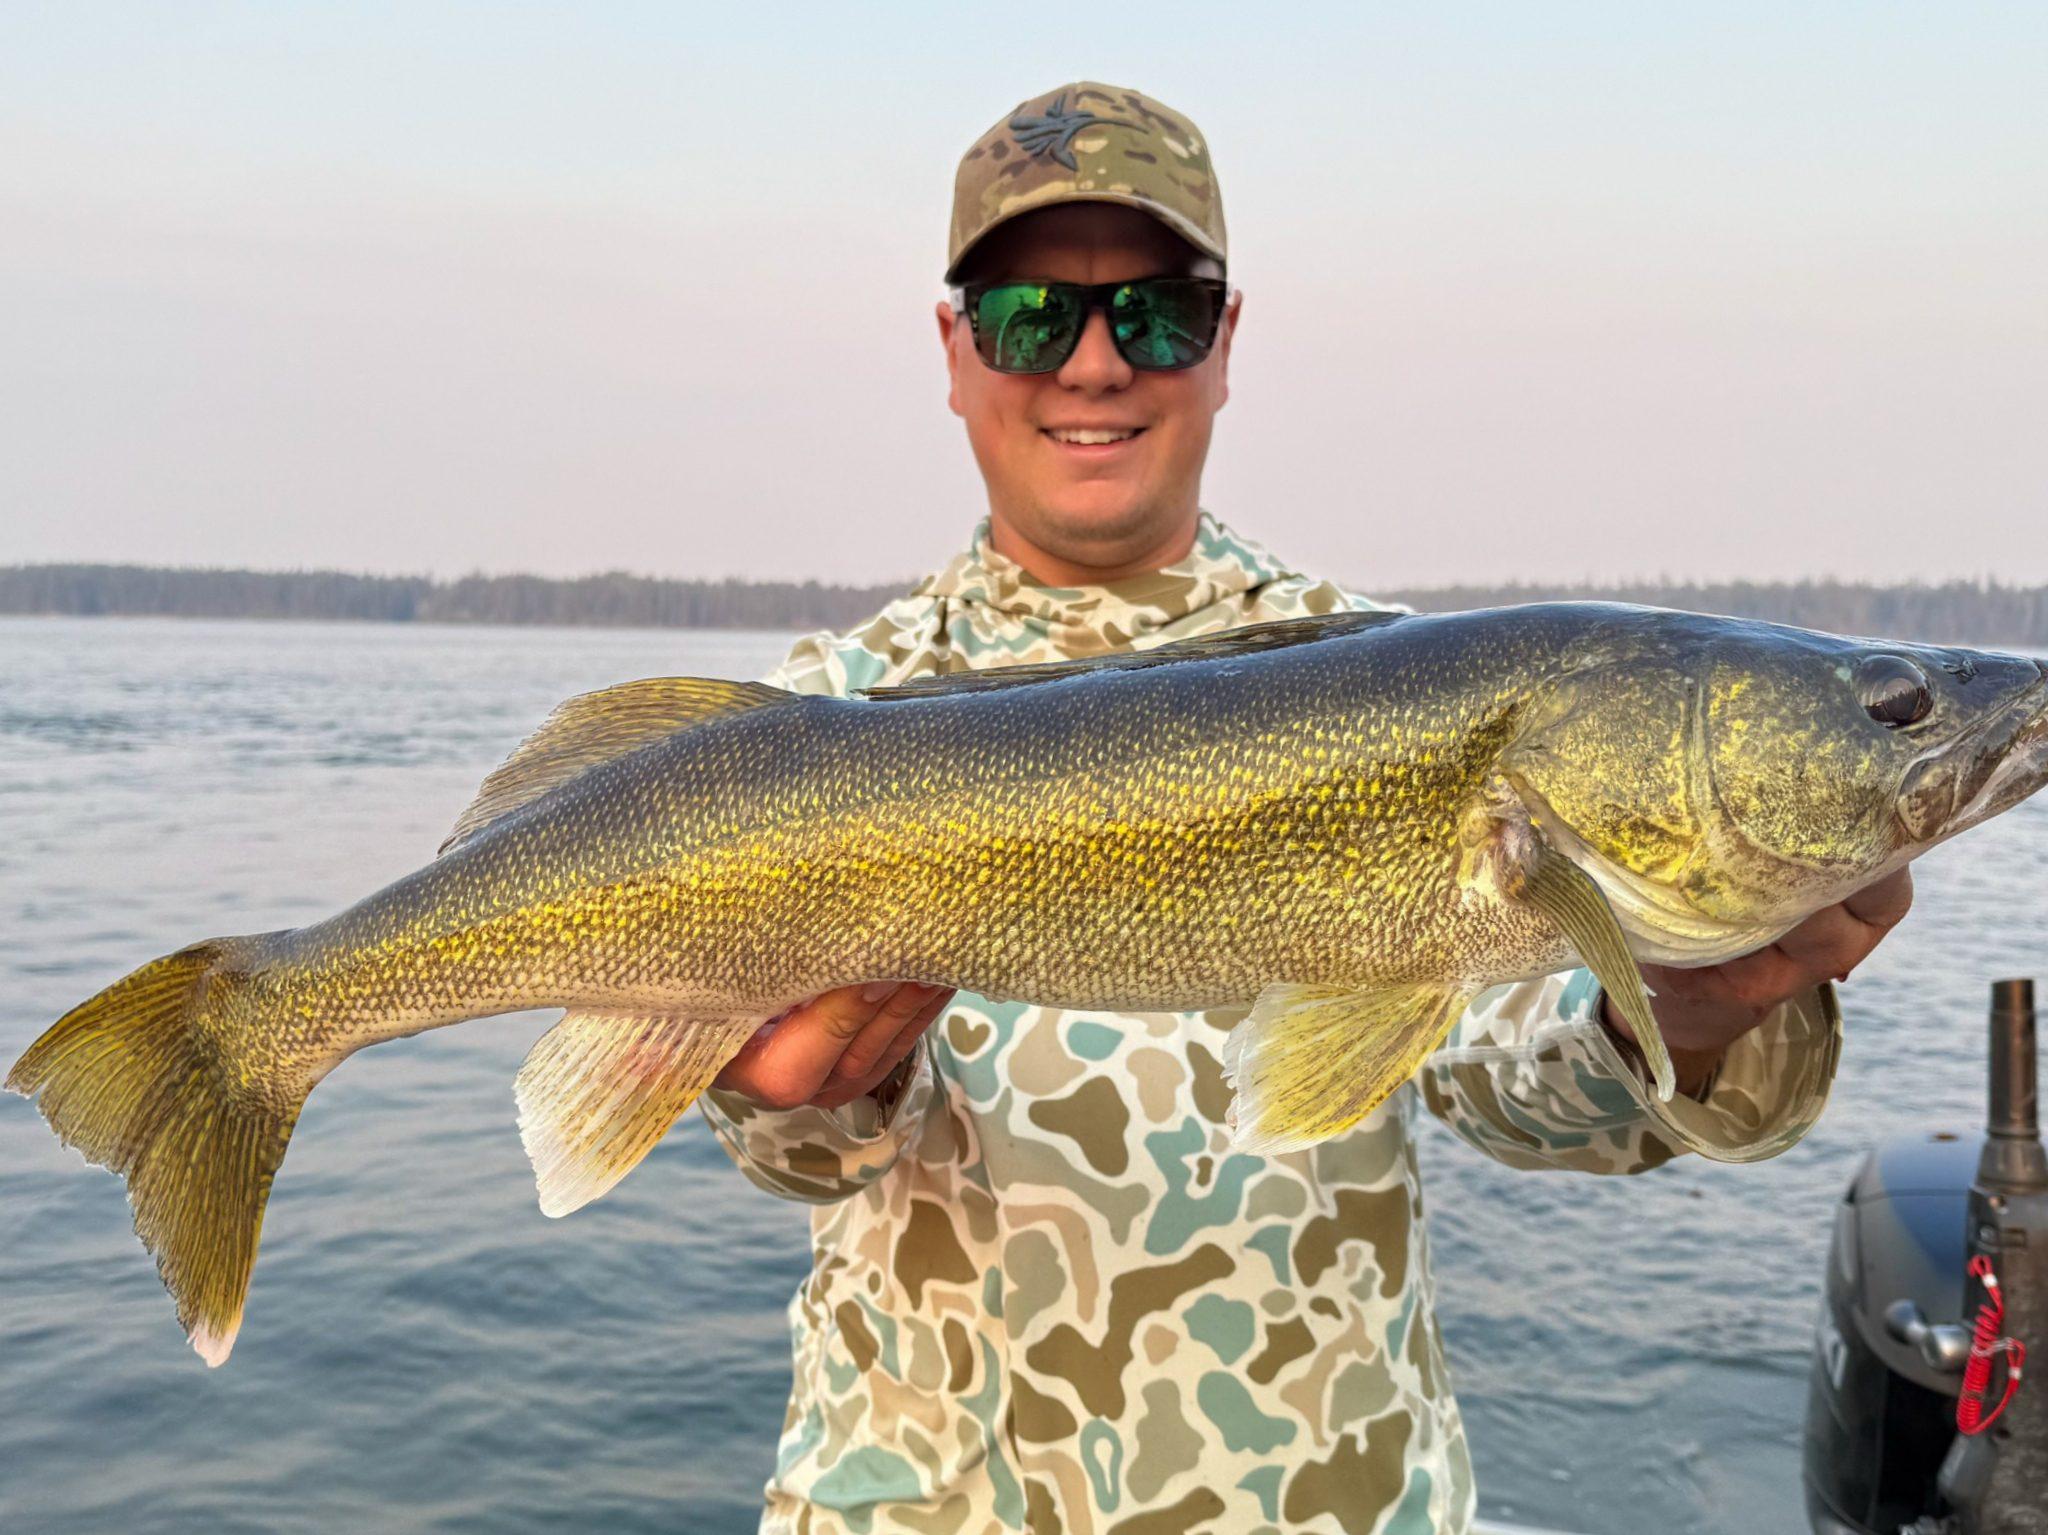
Front lighting is often your best option. With the sun at the back of the camera, the fish is fully lit and you capture the best colour and detail. Yes, you might be squinting a bit, maybe even rocking sunglasses, but the trade-off is worth it for the image quality.
Backlighting can also create incredible shots, especially during sunrise or sunset. With the sun behind you, you can get a warm glow and dramatic background. To ensure the fish stays well-lit, simply tap the fish on your phone screen; this will automatically adjust the exposure and bring out the detail in your catch.
Keep Your Horizon Straight
Getting the right angle is a small detail that makes a big difference.
It’s a small detail, but a level horizon, whether it's the edge of a frozen lake, a distant shoreline, or a treeline, is the secret to a professional-looking photo. An angled background can subtly distract from your catch, even in an otherwise perfect shot.
Let’s look at two examples. The first shows how a tilted background can throw the view off. The second shows how correcting it makes the image feel balanced and natural.
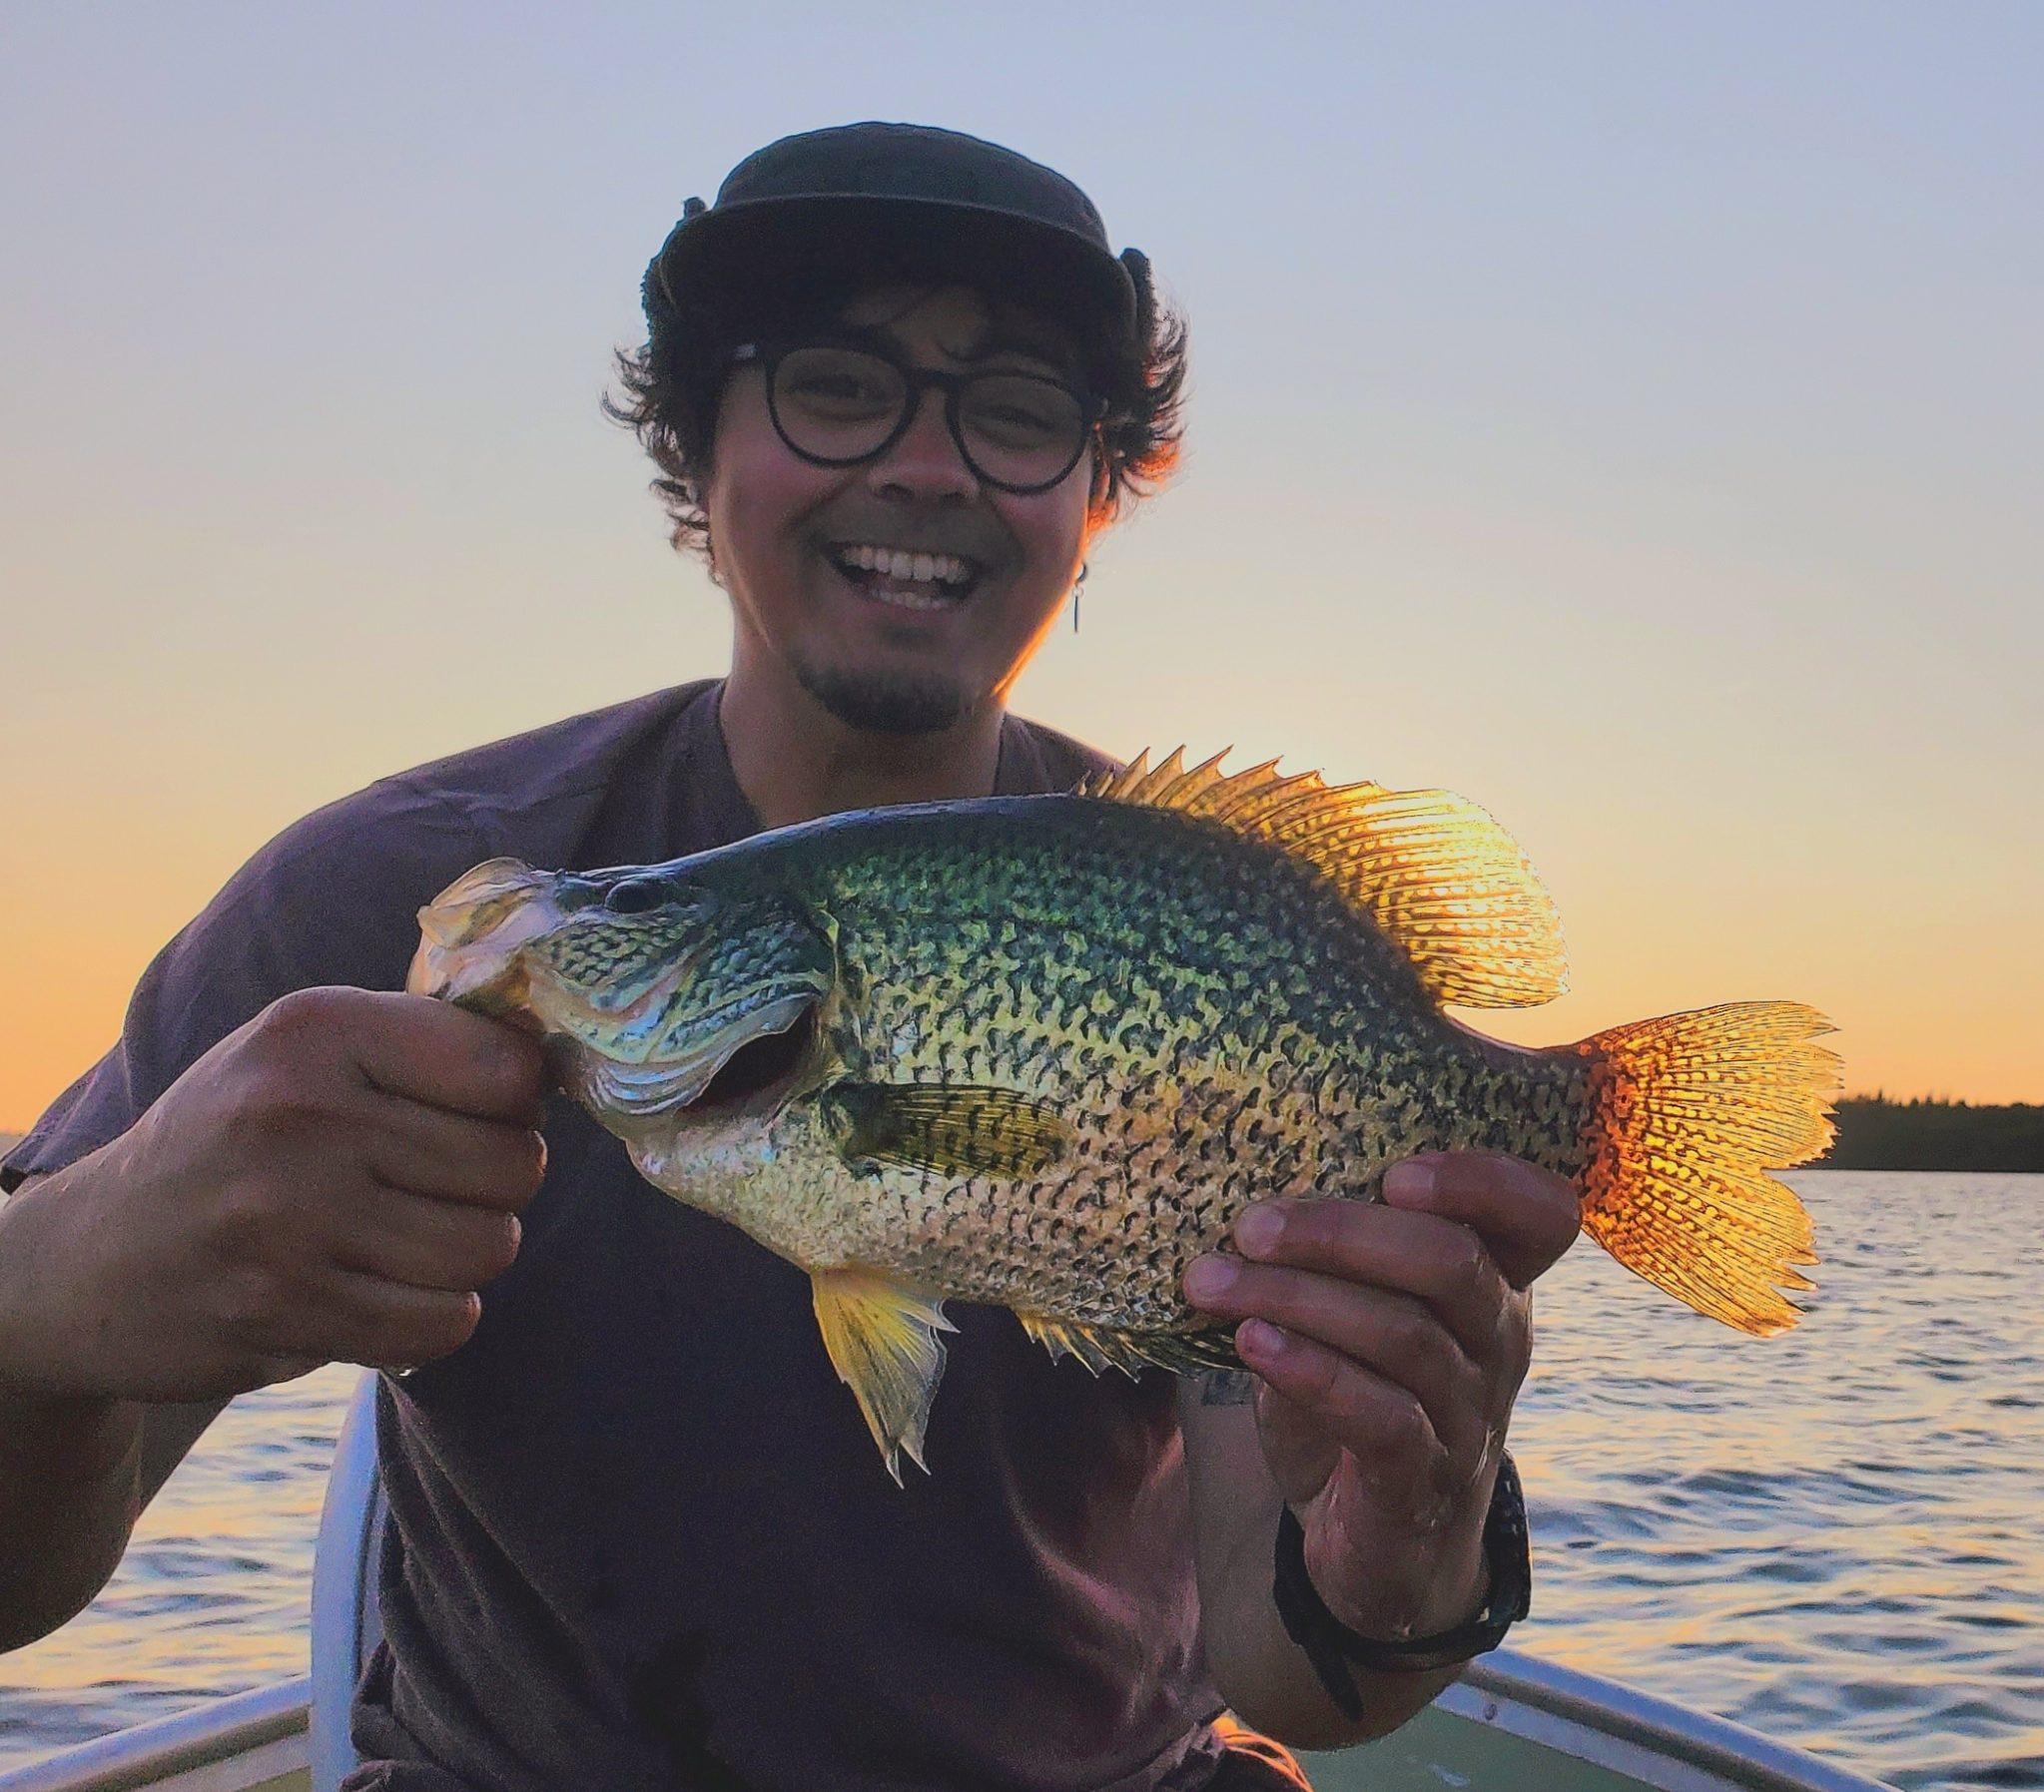
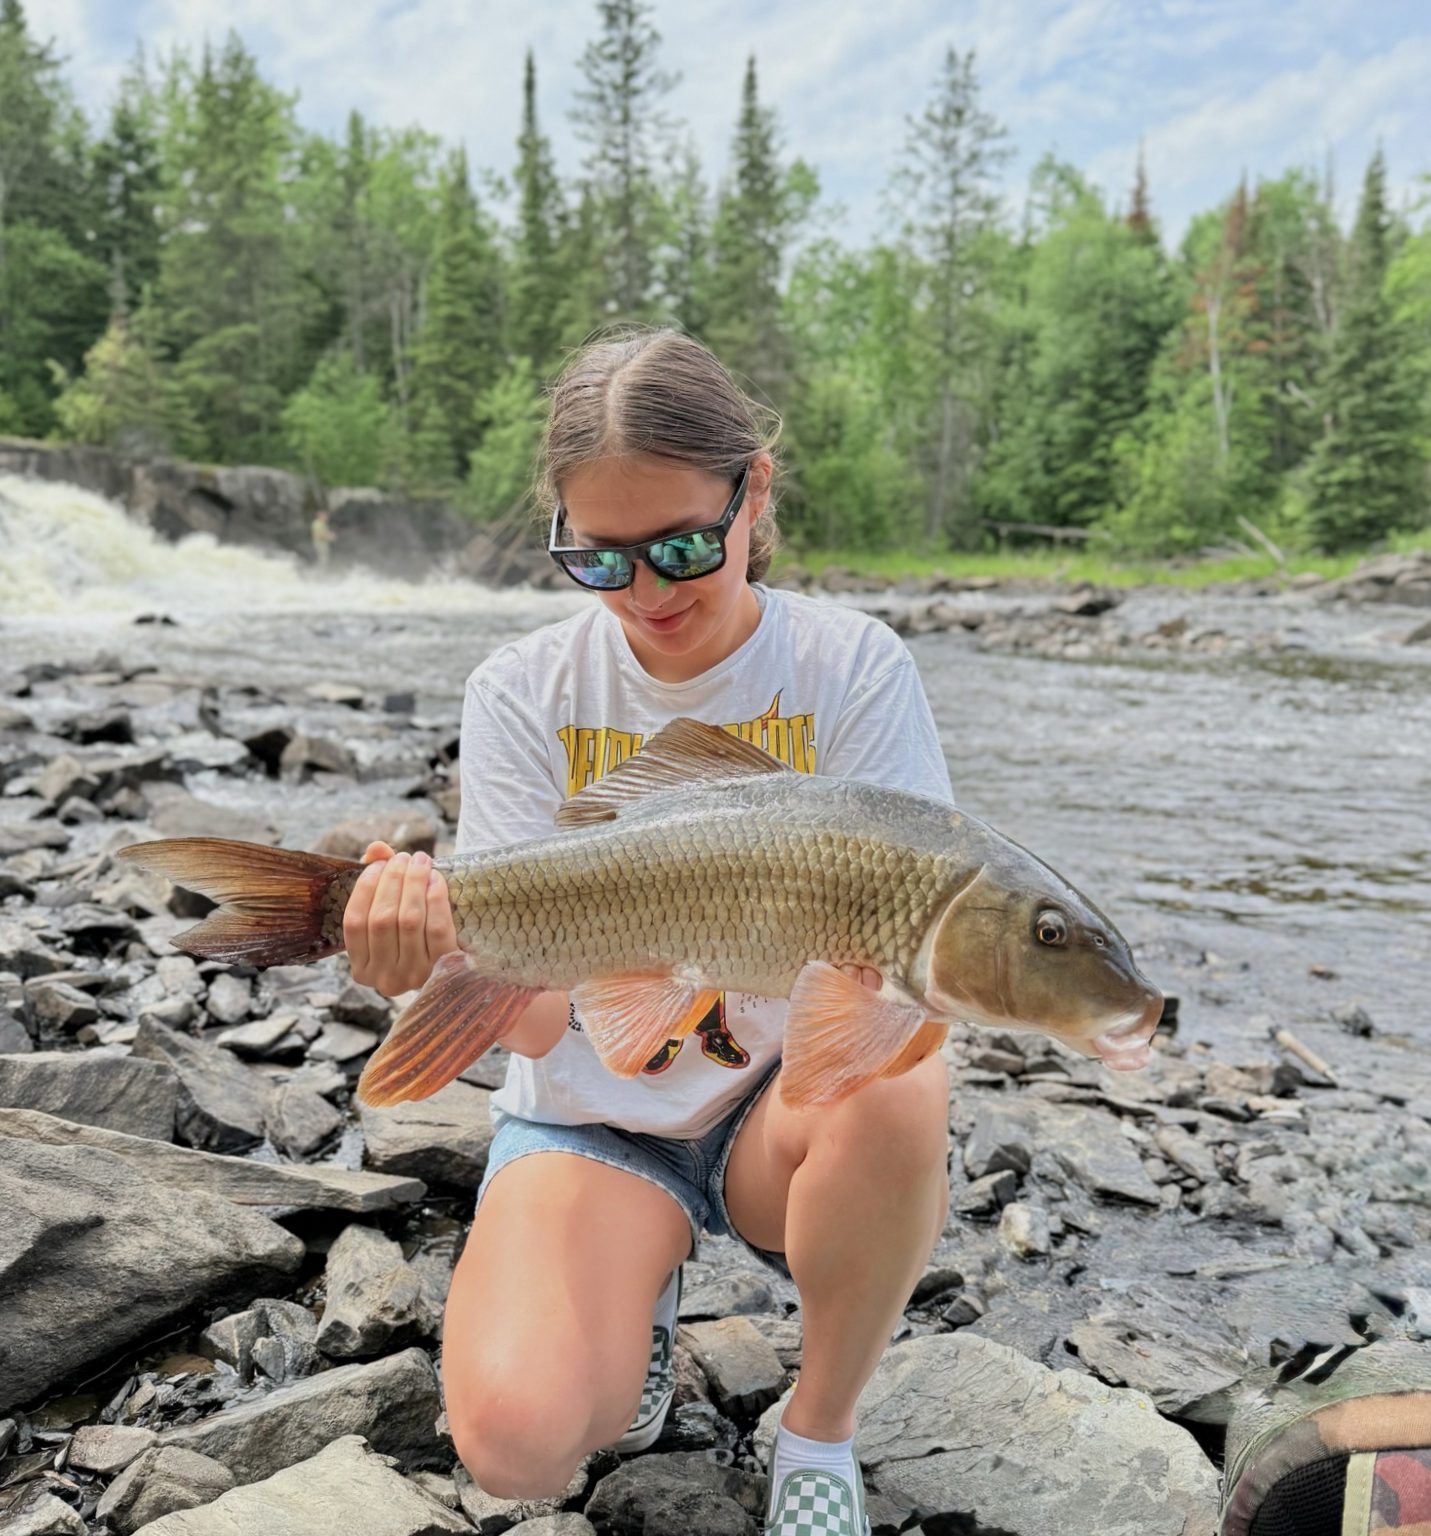
How to Hold the Fish Properly
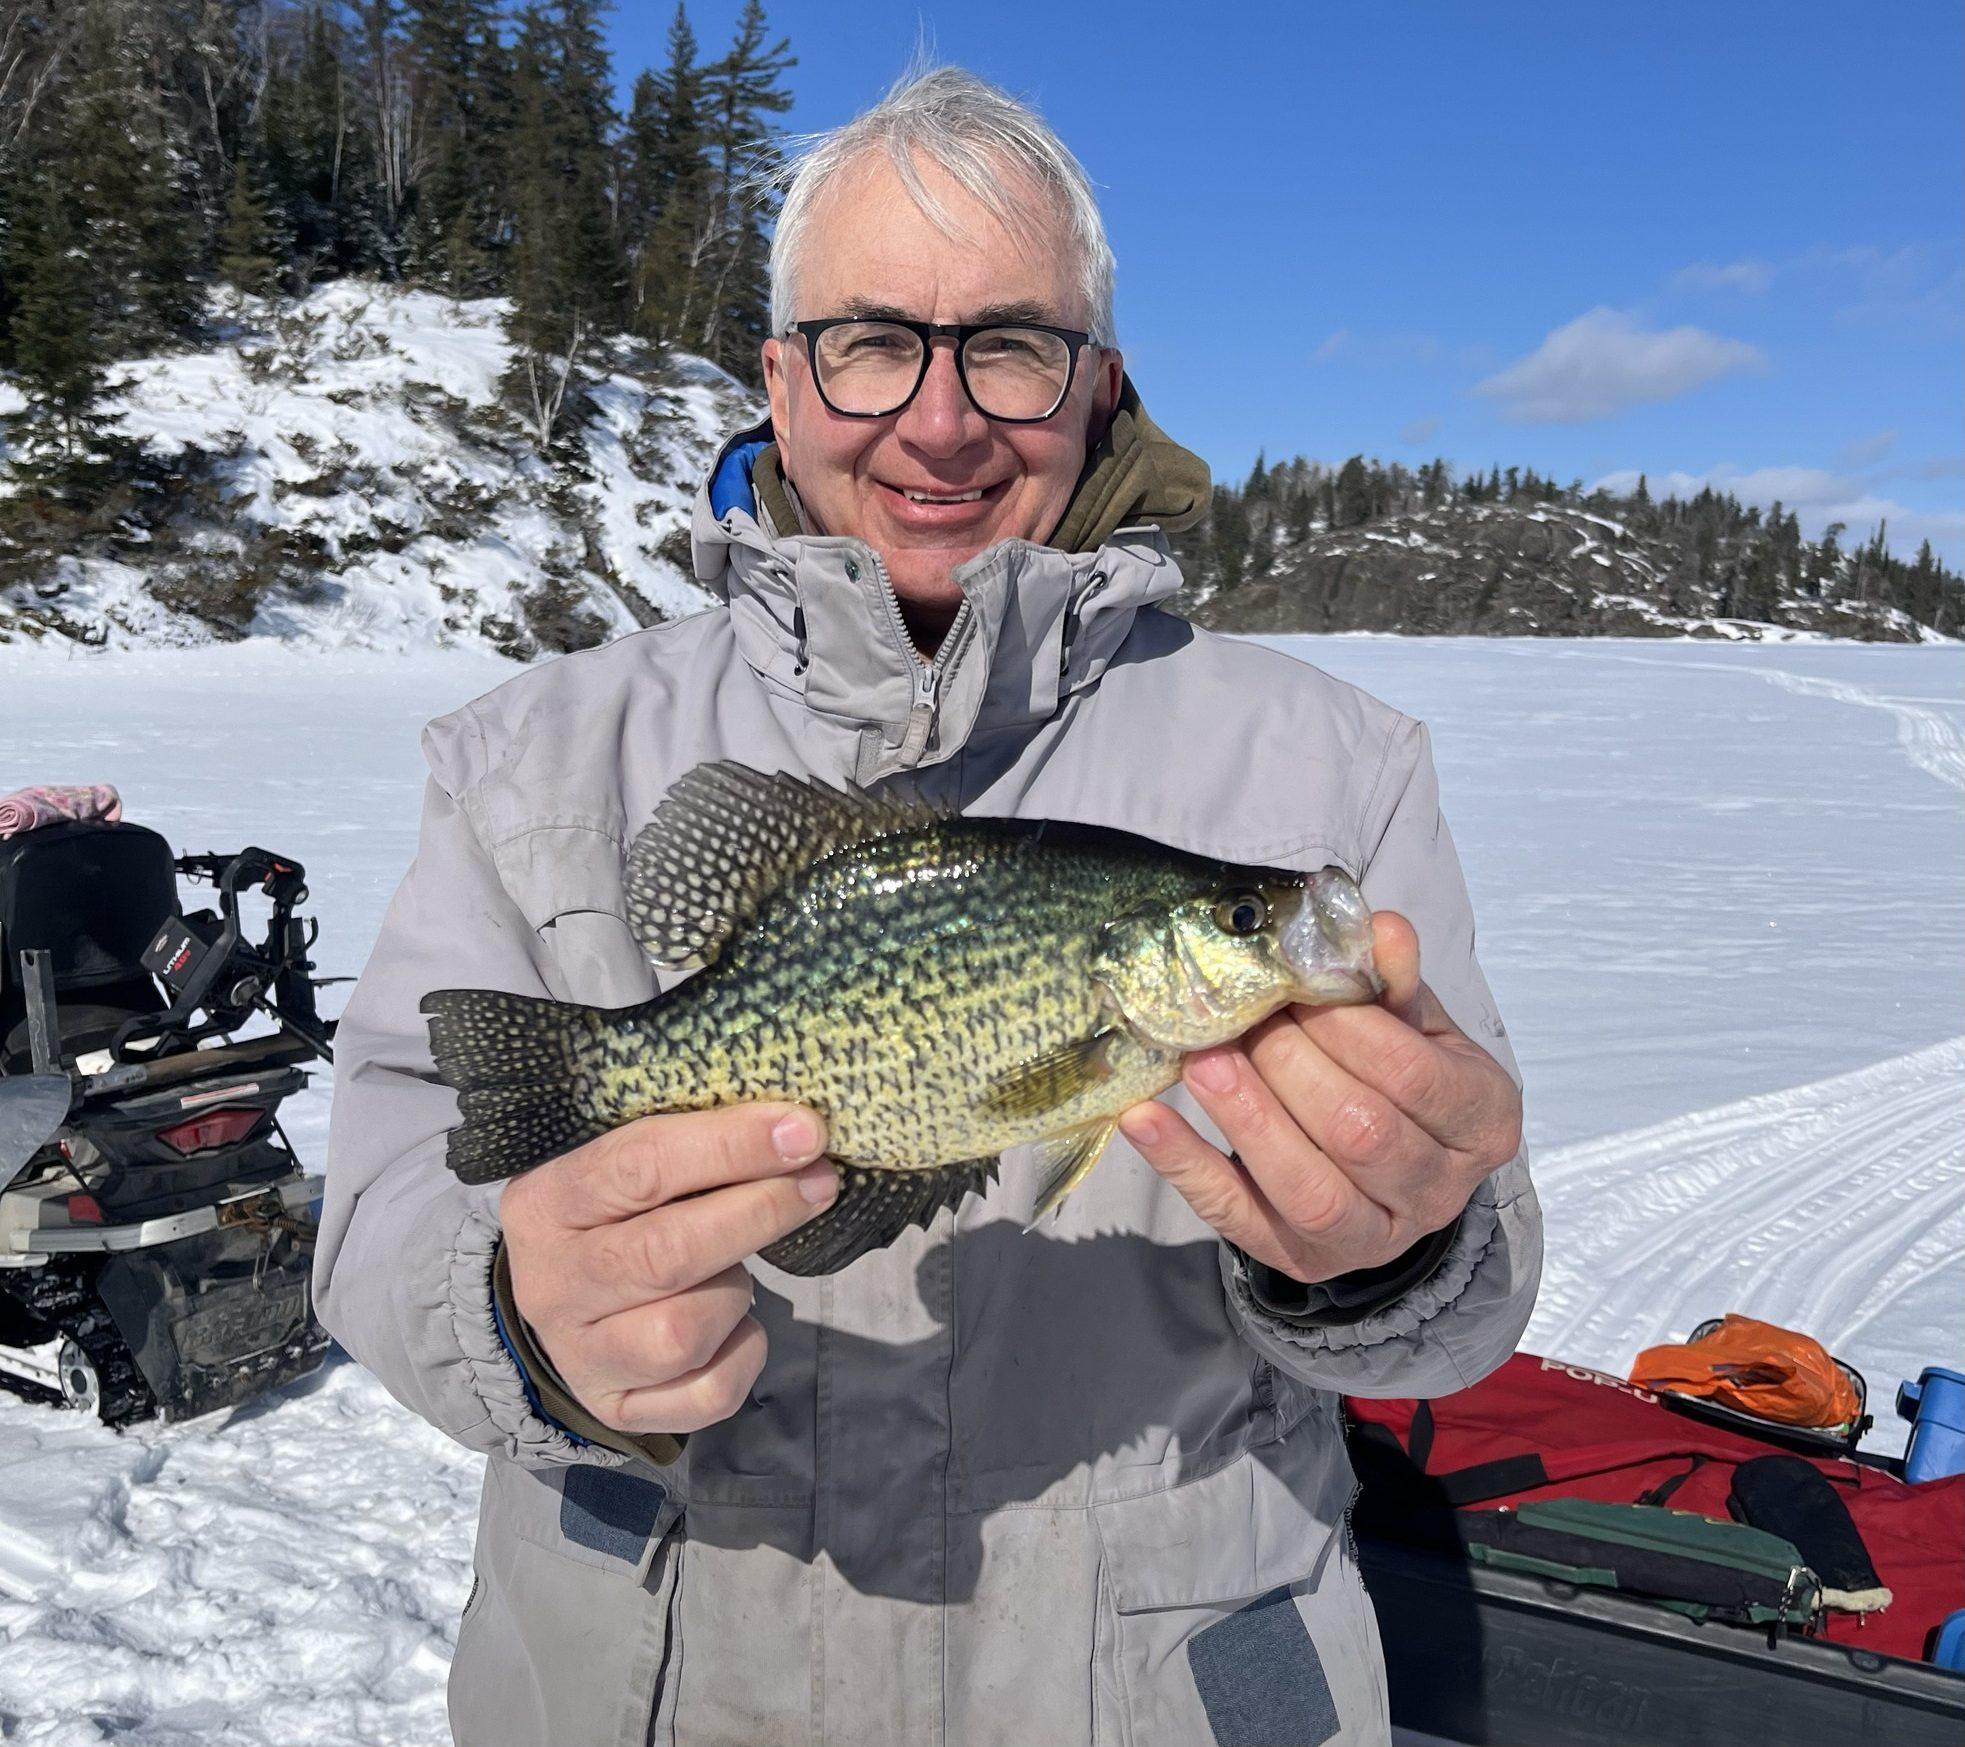
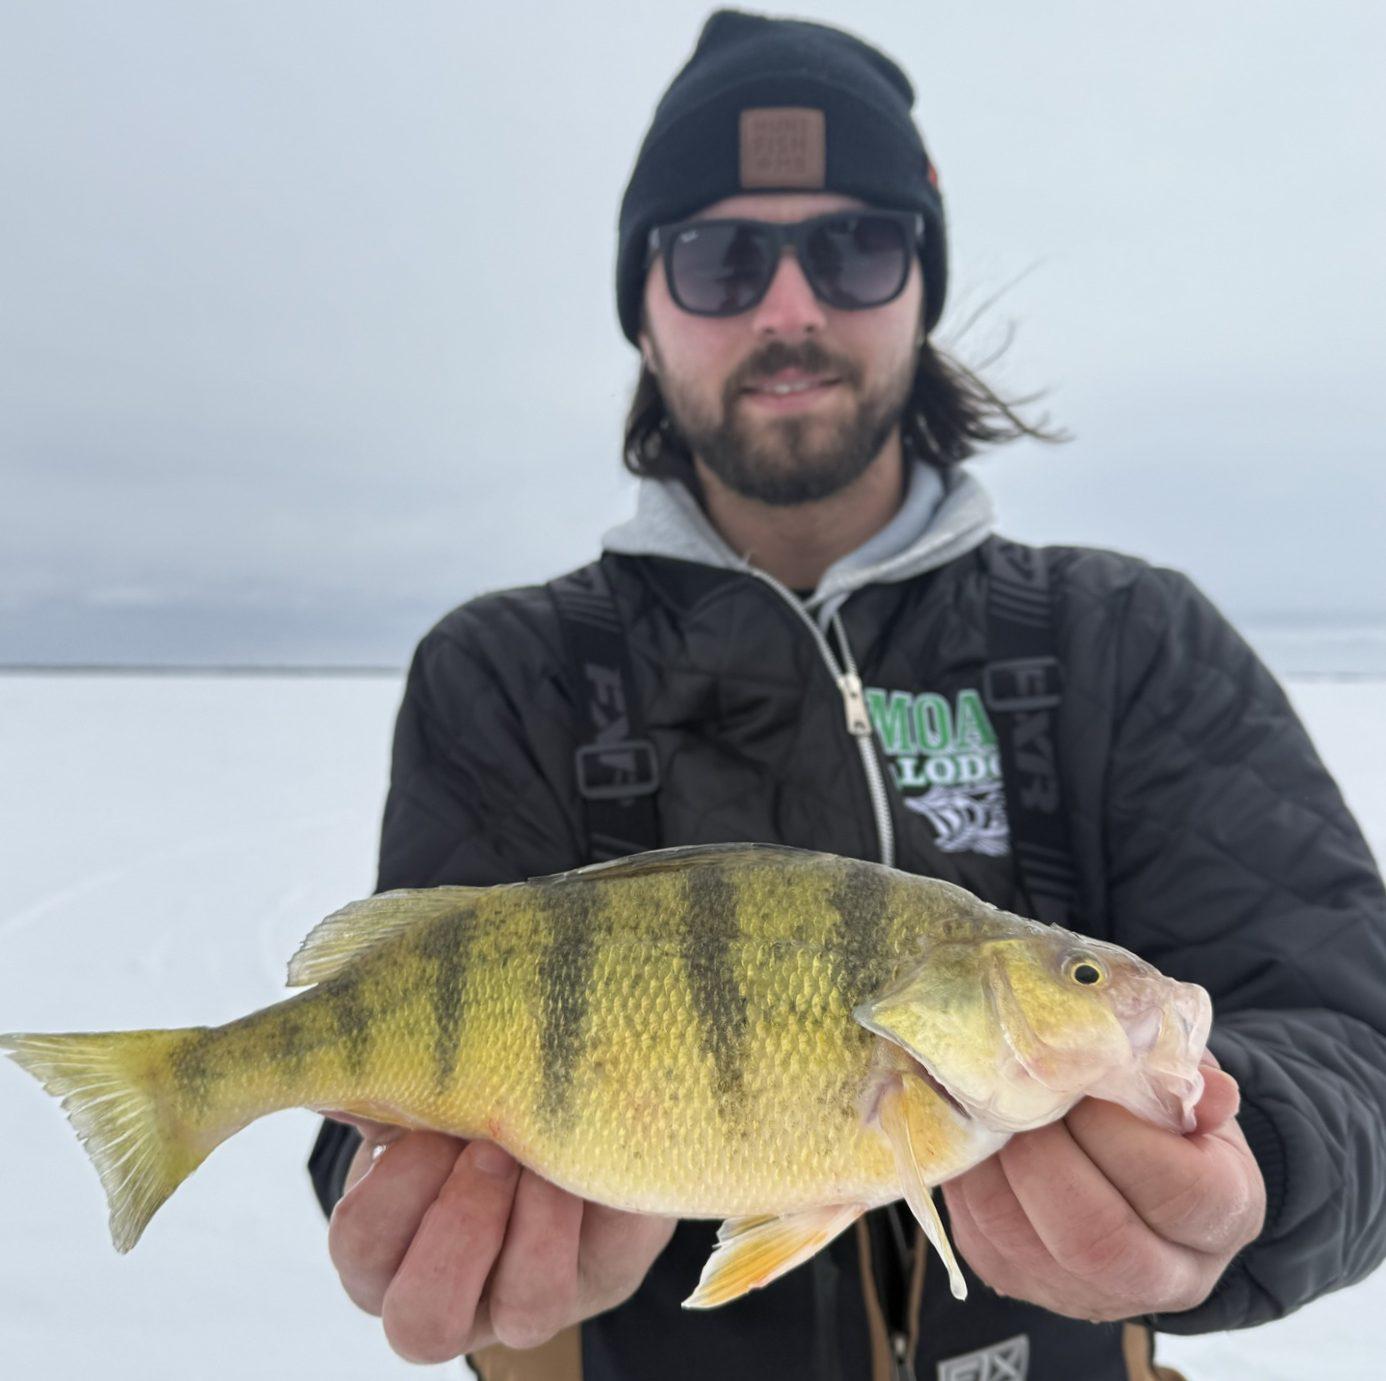
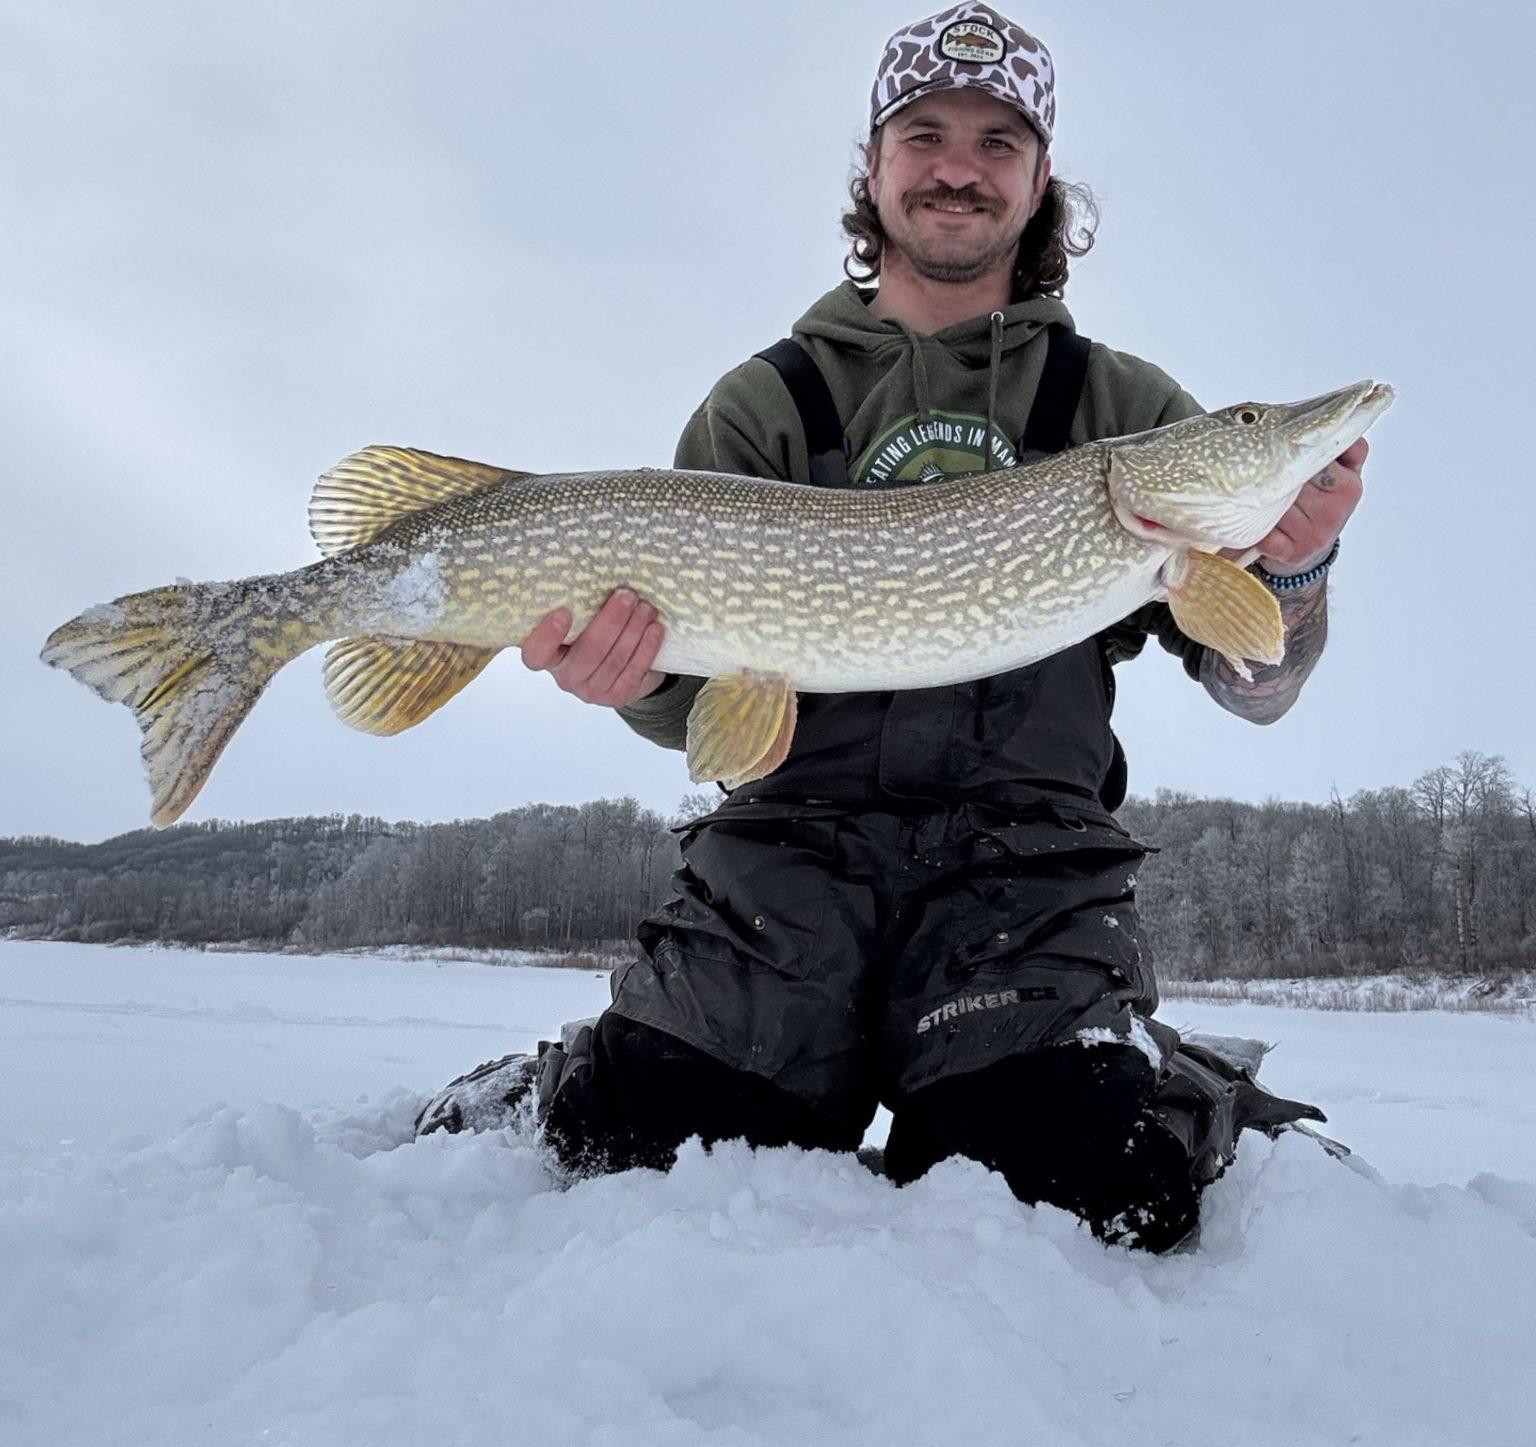
This is one of the most important parts of any Master Angler photo. The program requires horizontal fish holds that support the fish as much as possible. Avoid vertical gill holds completely. Vertical lip holds are also discouraged unless you are supporting the belly with your other hand.

A proper horizontal hold not only protects the fish but also presents it in a much more natural and impressive way.
Take a bit of time to learn how to handle different species confidently. It will show in your photos.
Getting the Most Out of Your Camera
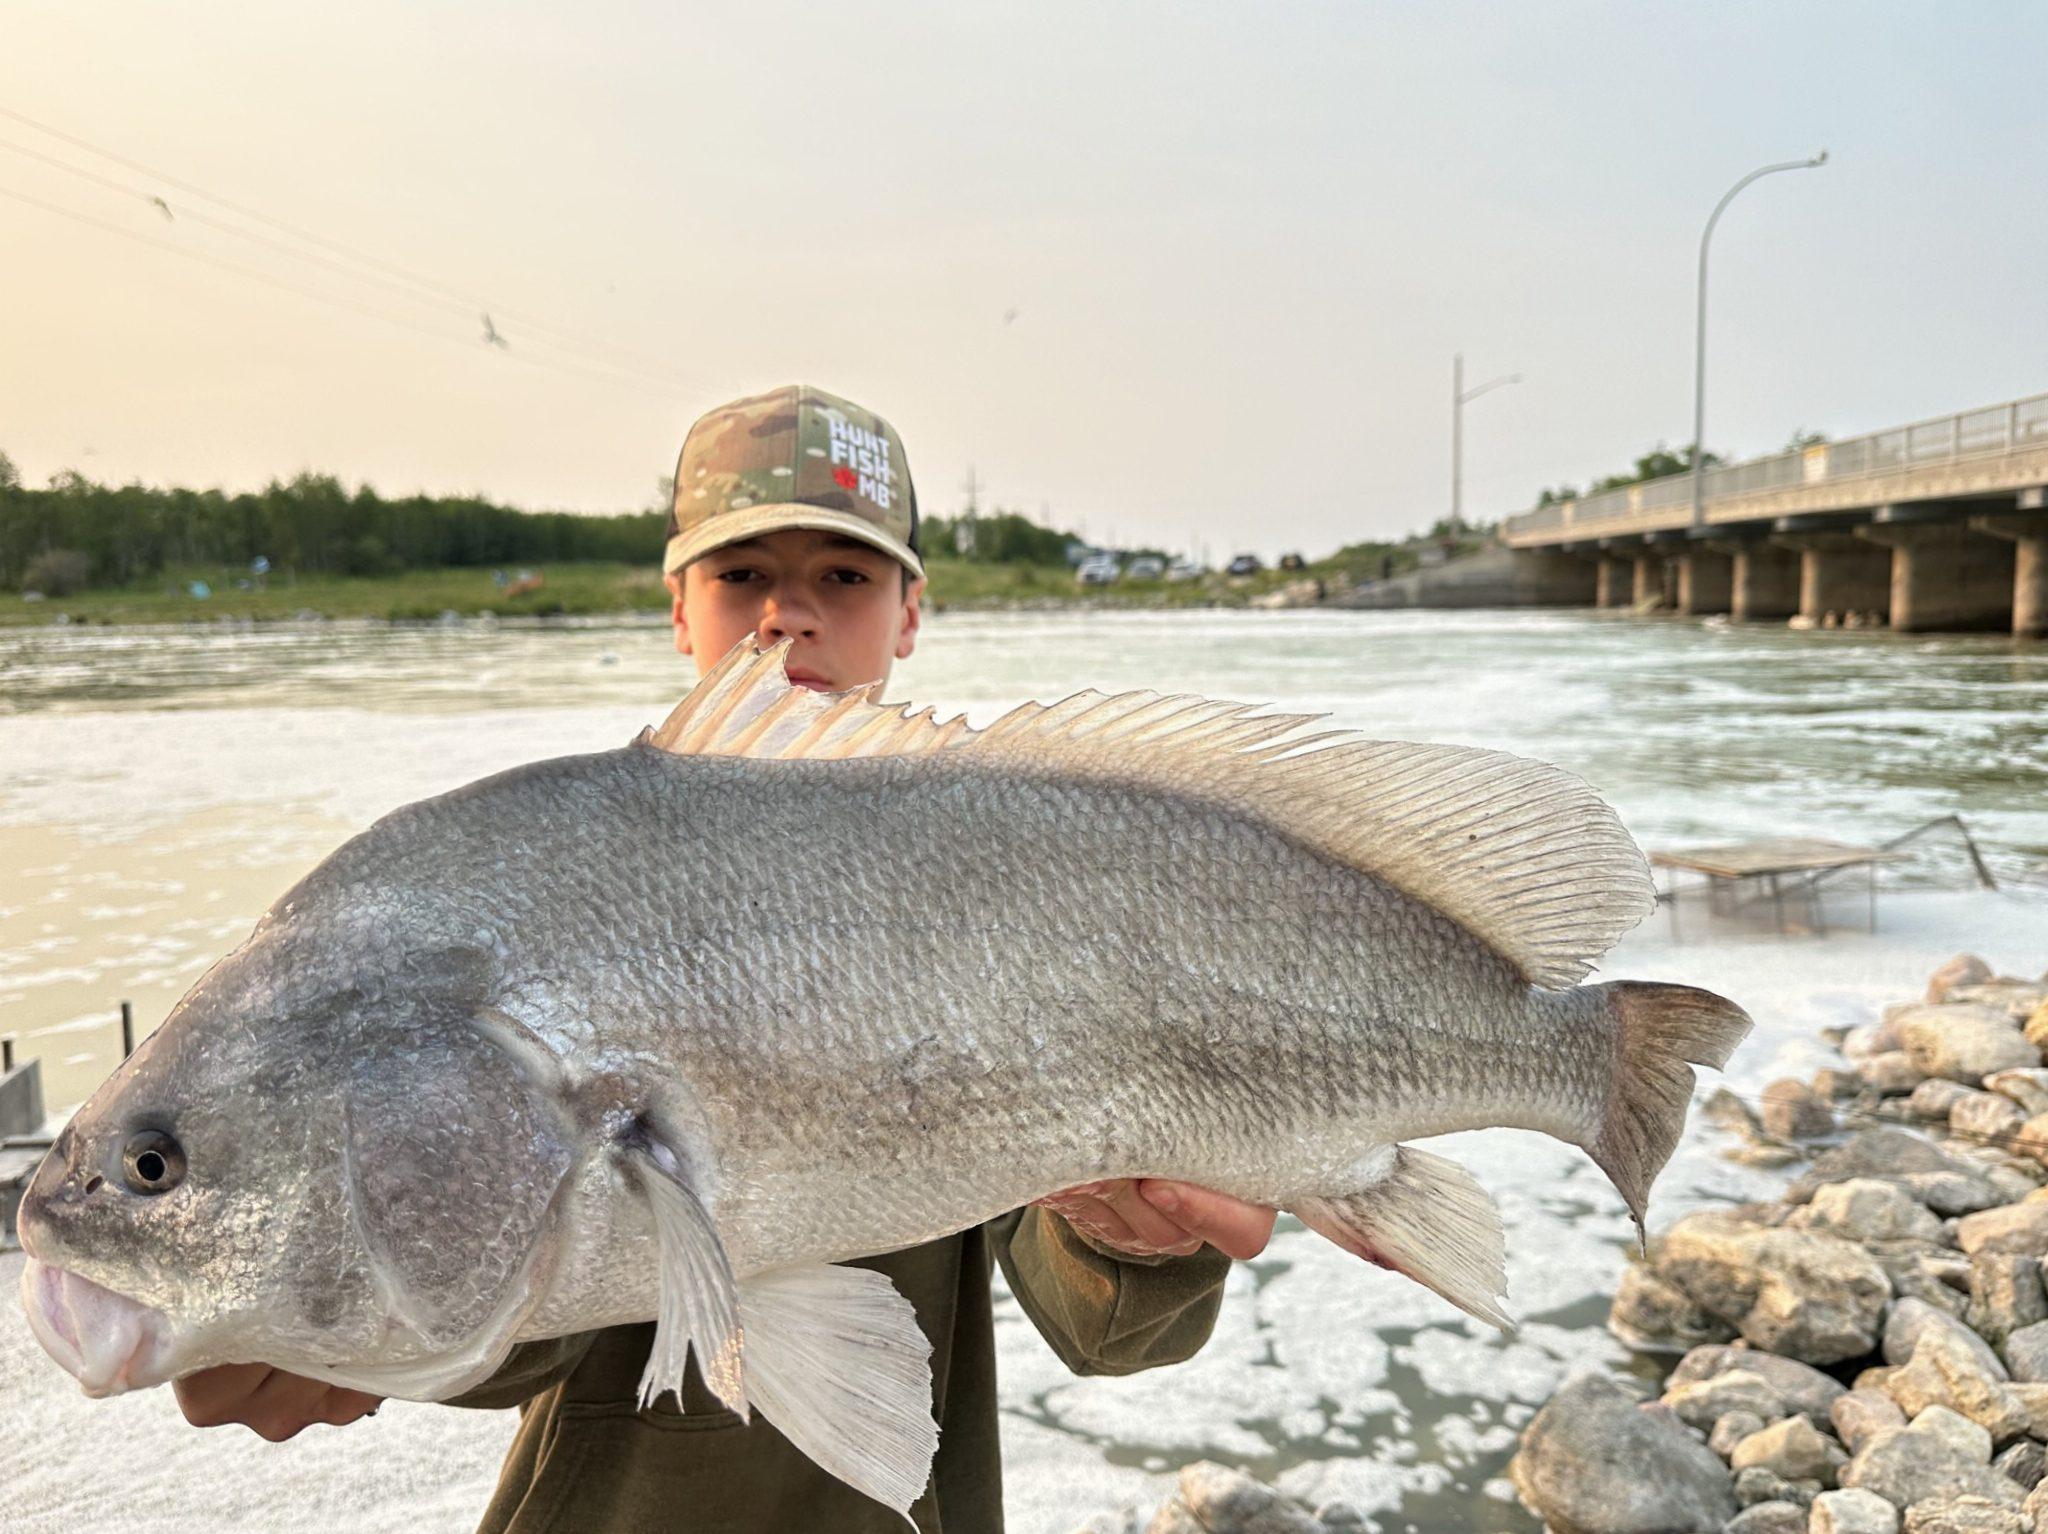
If you have someone taking the photo for you, have them move in close enough so the fish fills a good portion of the frame. You want the fish to be the focus, not a small subject in a big background.
On a phone, tap directly on the fish on the screen to set focus. Many phones default to face detection, so this helps ensure the fish is sharp and detailed.
If you are fishing solo, a small tripod is a great investment and does not cost much. Set it up while the fish is still in the water, frame your shot, then use a timer to give yourself time to lift and pose with the fish. No tripod? No problem. You can lean your phone against a bucket, tackle bag or anything stable to get the right angle.
Another option is using video mode. Record yourself holding the fish, then pull a screenshot from the best moment. Just keep in mind that screenshots will be slightly lower quality than a standard photo.

Bringing It All Together
The Manitoba Master Angler submission photos that could end up on the Instagram grid or be considered for the monthly photo contest sponsored by Bass Pro Shops & Cabela’s is all about the catch and quality. Clean backgrounds, proper fish handling, good lighting and sharp focus all help your photo stand out.
You do not need fancy gear or professional cameras. A phone, a bit of preparation and a focus on fish-first practices will go a long way. Take a few extra seconds to set up your shot, keep the fish’s health as the top priority and you will not only capture better photos, but you will also give yourself a great chance at landing on the grid.
What is the Manitoba Master Angler Program?
The Manitoba Master Angler Program is one of North America’s longest-running catch-and-release programs, recognizing anglers who catch trophy-sized fish across a wide range of species. Each species has a qualifying length and once your fish meets that mark and is properly documented, it earns Master Angler status.
The program is built around conservation and storytelling, with photos playing a key role in both verification and sharing your experience. For a full breakdown of species lengths, submission guidelines and tips, check out our blog How to Master Angler in Manitoba.
Frequently Asked Questions
Do I need a professional camera for Manitoba Master Angler photo submissions?
No. Most modern smartphones take excellent photos. With good lighting, proper fish handling and a bit of attention to framing, you can capture a high-quality image that stands out.
What photos are required for a Manitoba Master Angler entry, measurement photo vs hero photo?
Both are important. The measurement photo is required to verify your catch, while the hero photo helps showcase the fish and can improve your chances in the Master Angler Photo Contest.
How long can a fish be safely out of the water for photos and a safe release?
Keep out-of-water time under 30 seconds whenever possible. Plan your measurement and photo ahead of time so everything can be done quickly and safely.
How do you take a fish photo when fishing alone?
You can use a small tripod or a stable surface like a bucket and set the photo timer on your phone, or even switch to video mode, to capture a strong photo. Setting everything up while the fish is still in the water is key.
Where can I find Manitoba Master Angler Program rules, submission tips and contact information?
For full details, visit the blog How to Master Angler in Manitoba. You can also contact the program team directly at masterangler@travelmanitoba.com for help with submissions or questions.


How to Master Angler in Manitoba

Top Ice Safety Tips for Manitoba Anglers

Manitoba March Madness Ice Fishing Report, Field Updates, Top Catches and Where to Go

Manitoba Yellow Perch Frenzy: Chasing Jumbo Perch on the Interlake Shoal Lakes

Underrated Ice Fishing Species in Manitoba
