
Top Four Strategies for Summer Whitetail Scouting in Manitoba
Scouting for whitetails during the summer is one of the most exciting parts of preparing for deer season. It’s a time filled with optimism, strategy, and the thrill of piecing together the habits and movements of your target bucks before the leaves start to change. While boots-on-the-ground scouting will always play a role, today’s hunters have more tools than ever to maximize their efforts, save time, and make smarter decisions in the field.
In this blog, we’ll walk through four key methods that make up a complete summer scouting system—E-scouting, scouting from the road, boots-on-the-ground scouting, and using trail cameras. Whether you’re just getting started or looking to fine-tune your approach, this guide will help you make the most of your summer and set yourself up for success when opening day rolls around.
Scouting from the Road – Optics and Observation
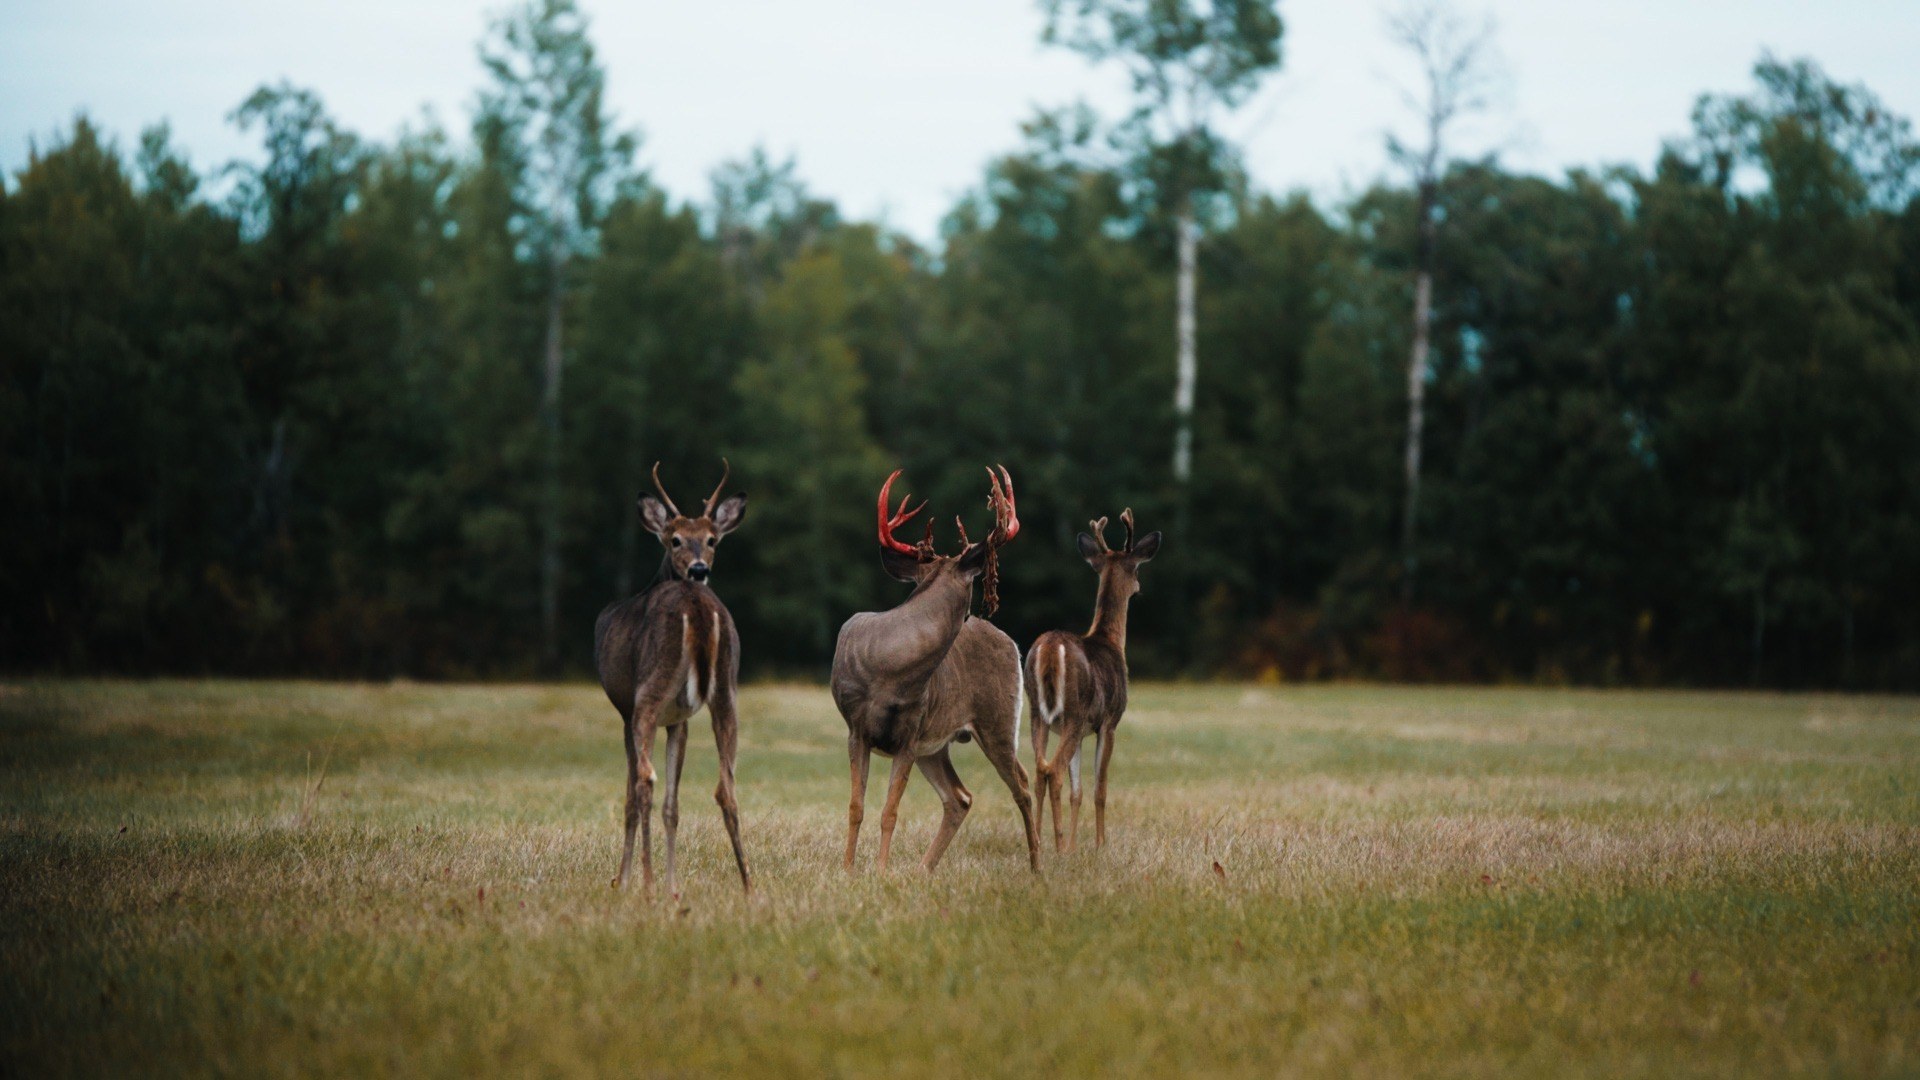
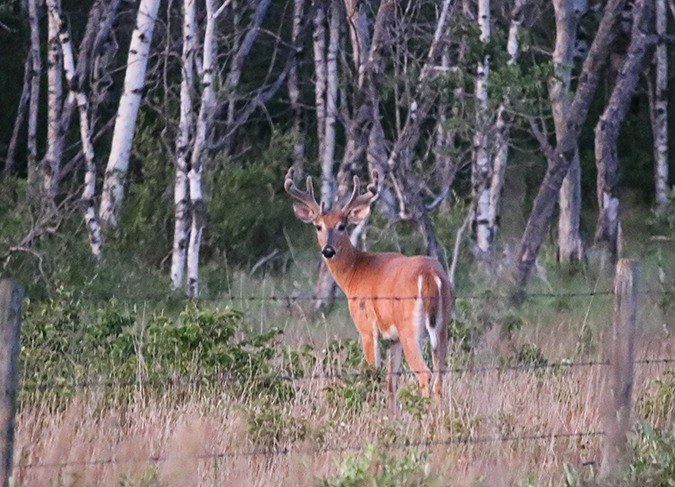
One of the first steps in summer whitetail scouting, especially as you gear up for an exciting archery season, is kicking up some dust on the backroads with your optics in hand.
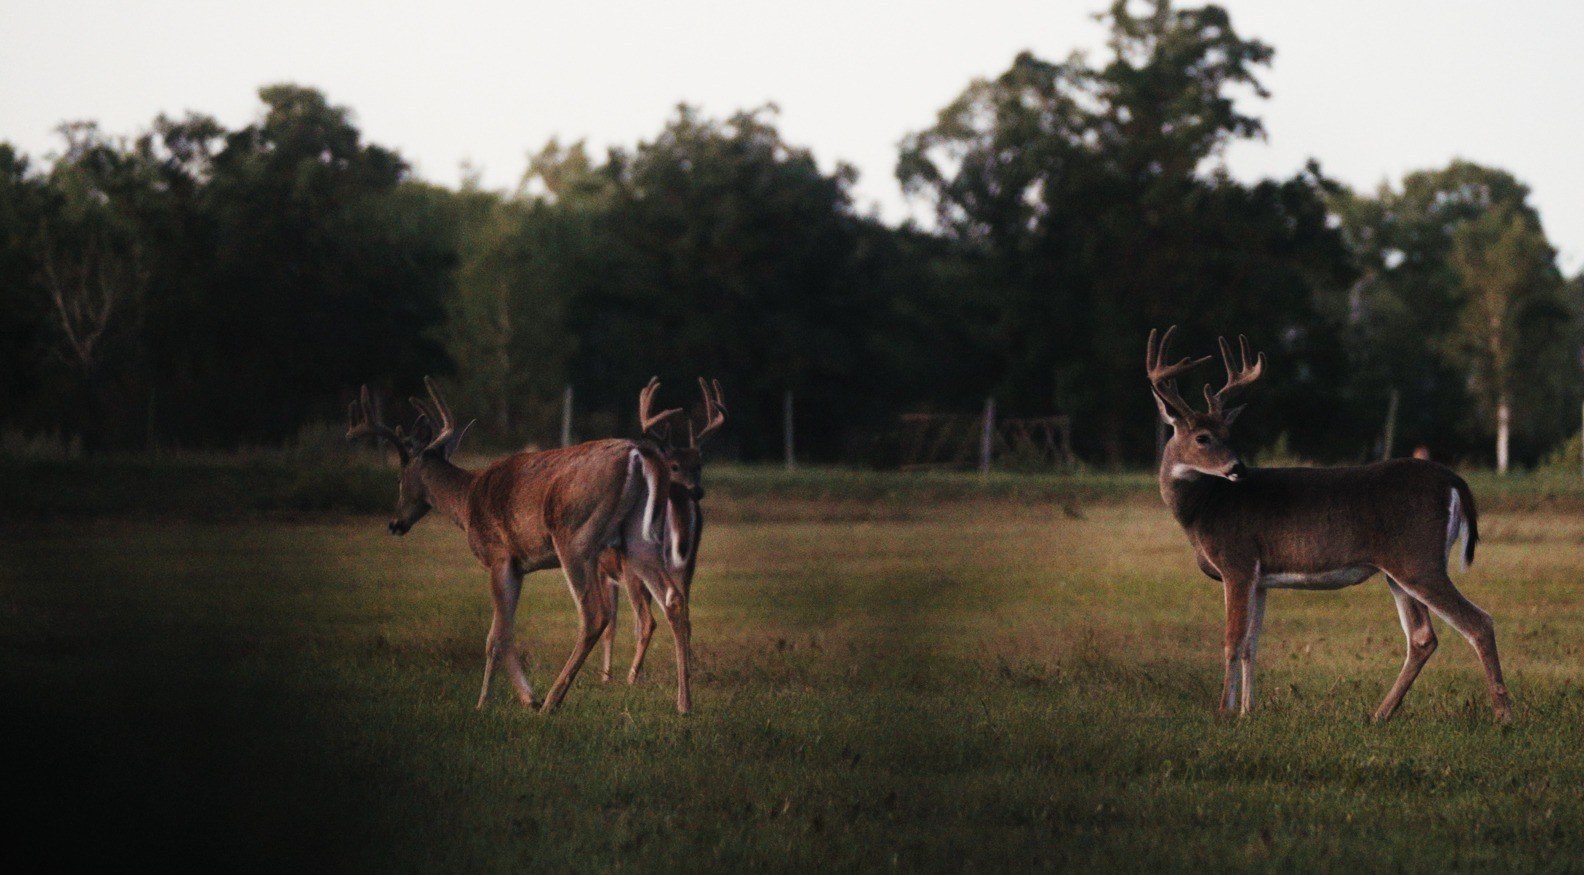
Not only is this a productive way to begin your scouting season, but it’s also a great way to spend an evening. As the sun gets low, fields start to come alive with deer and other wildlife.
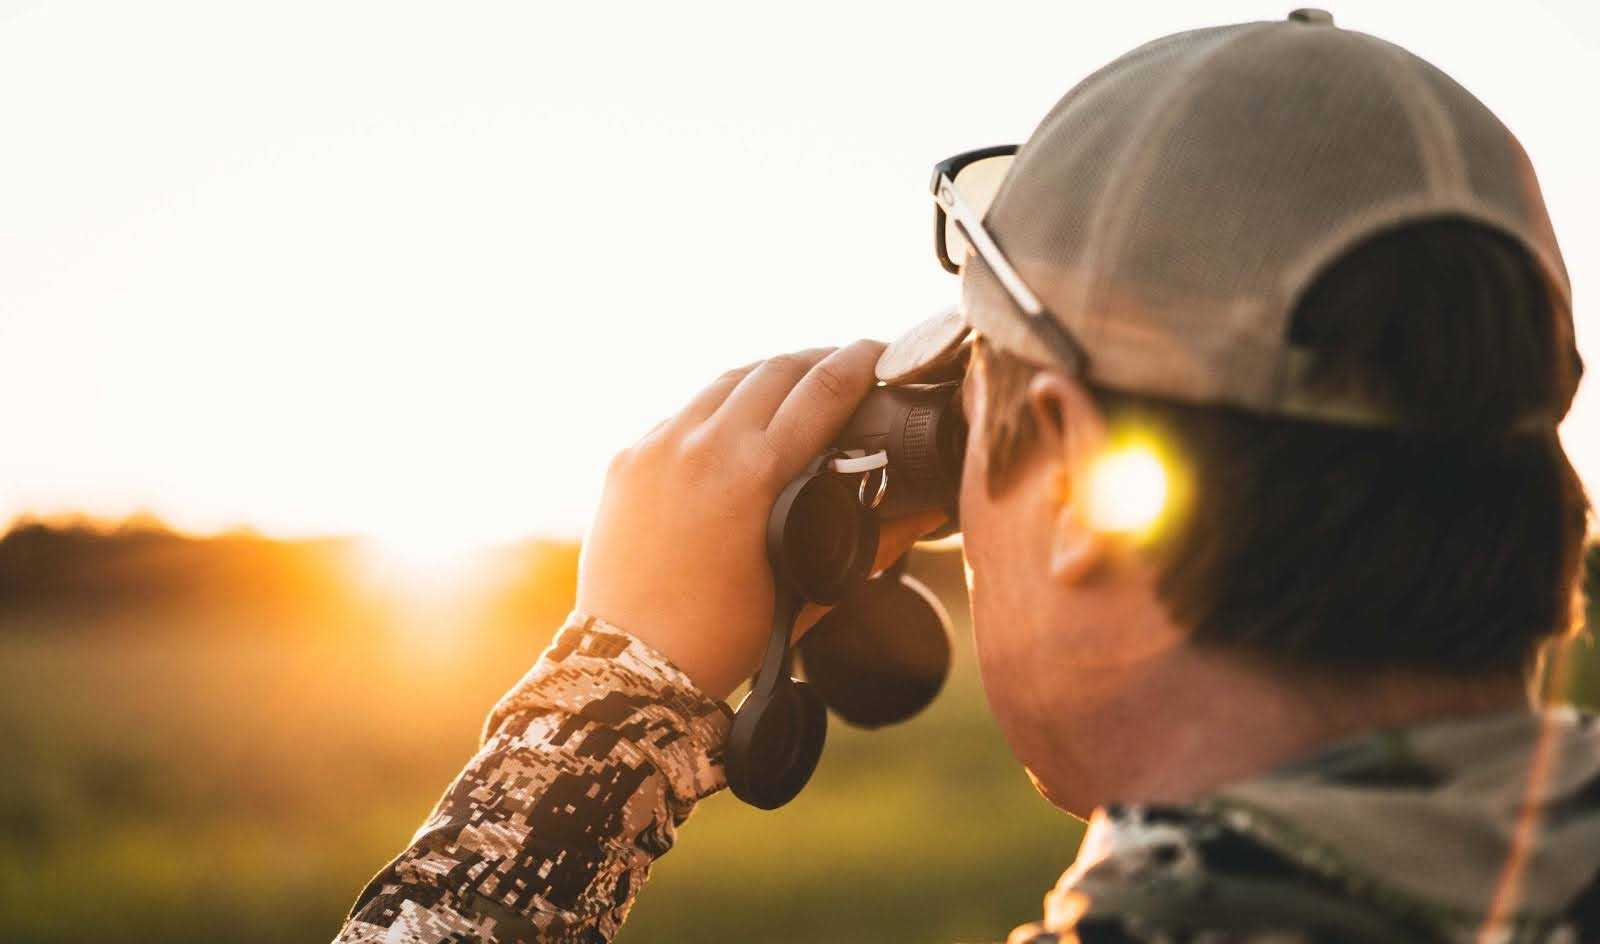
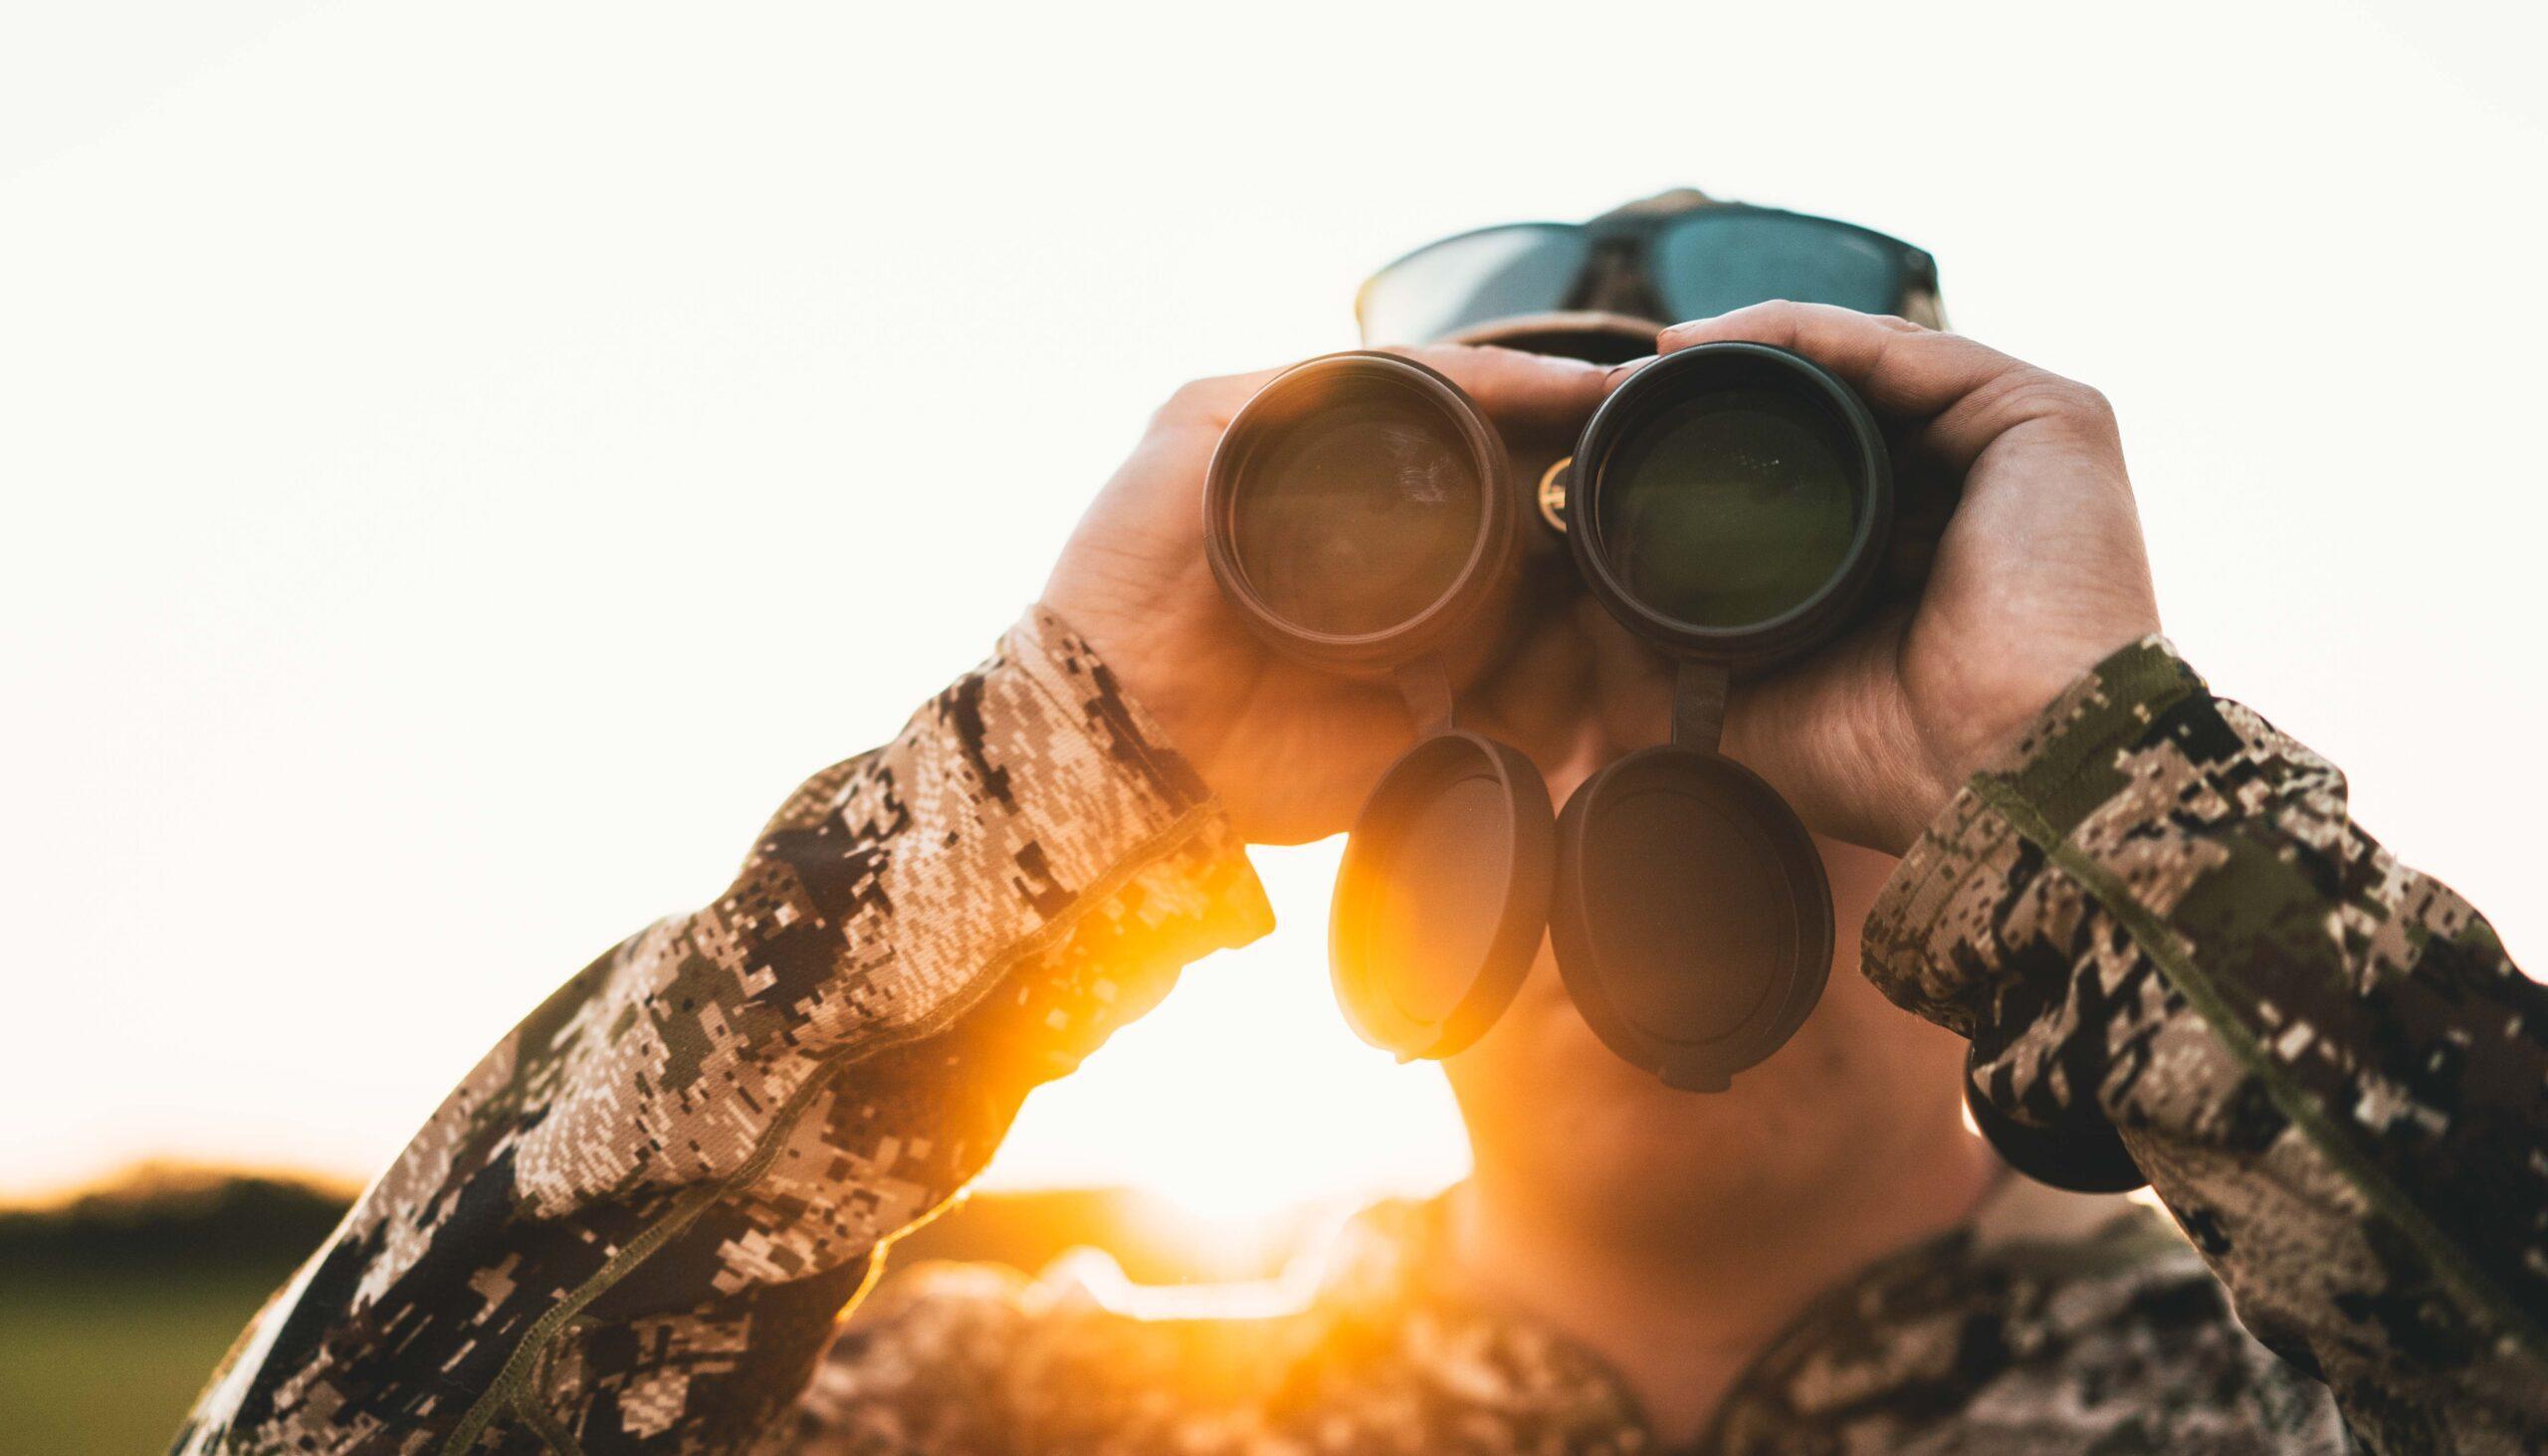
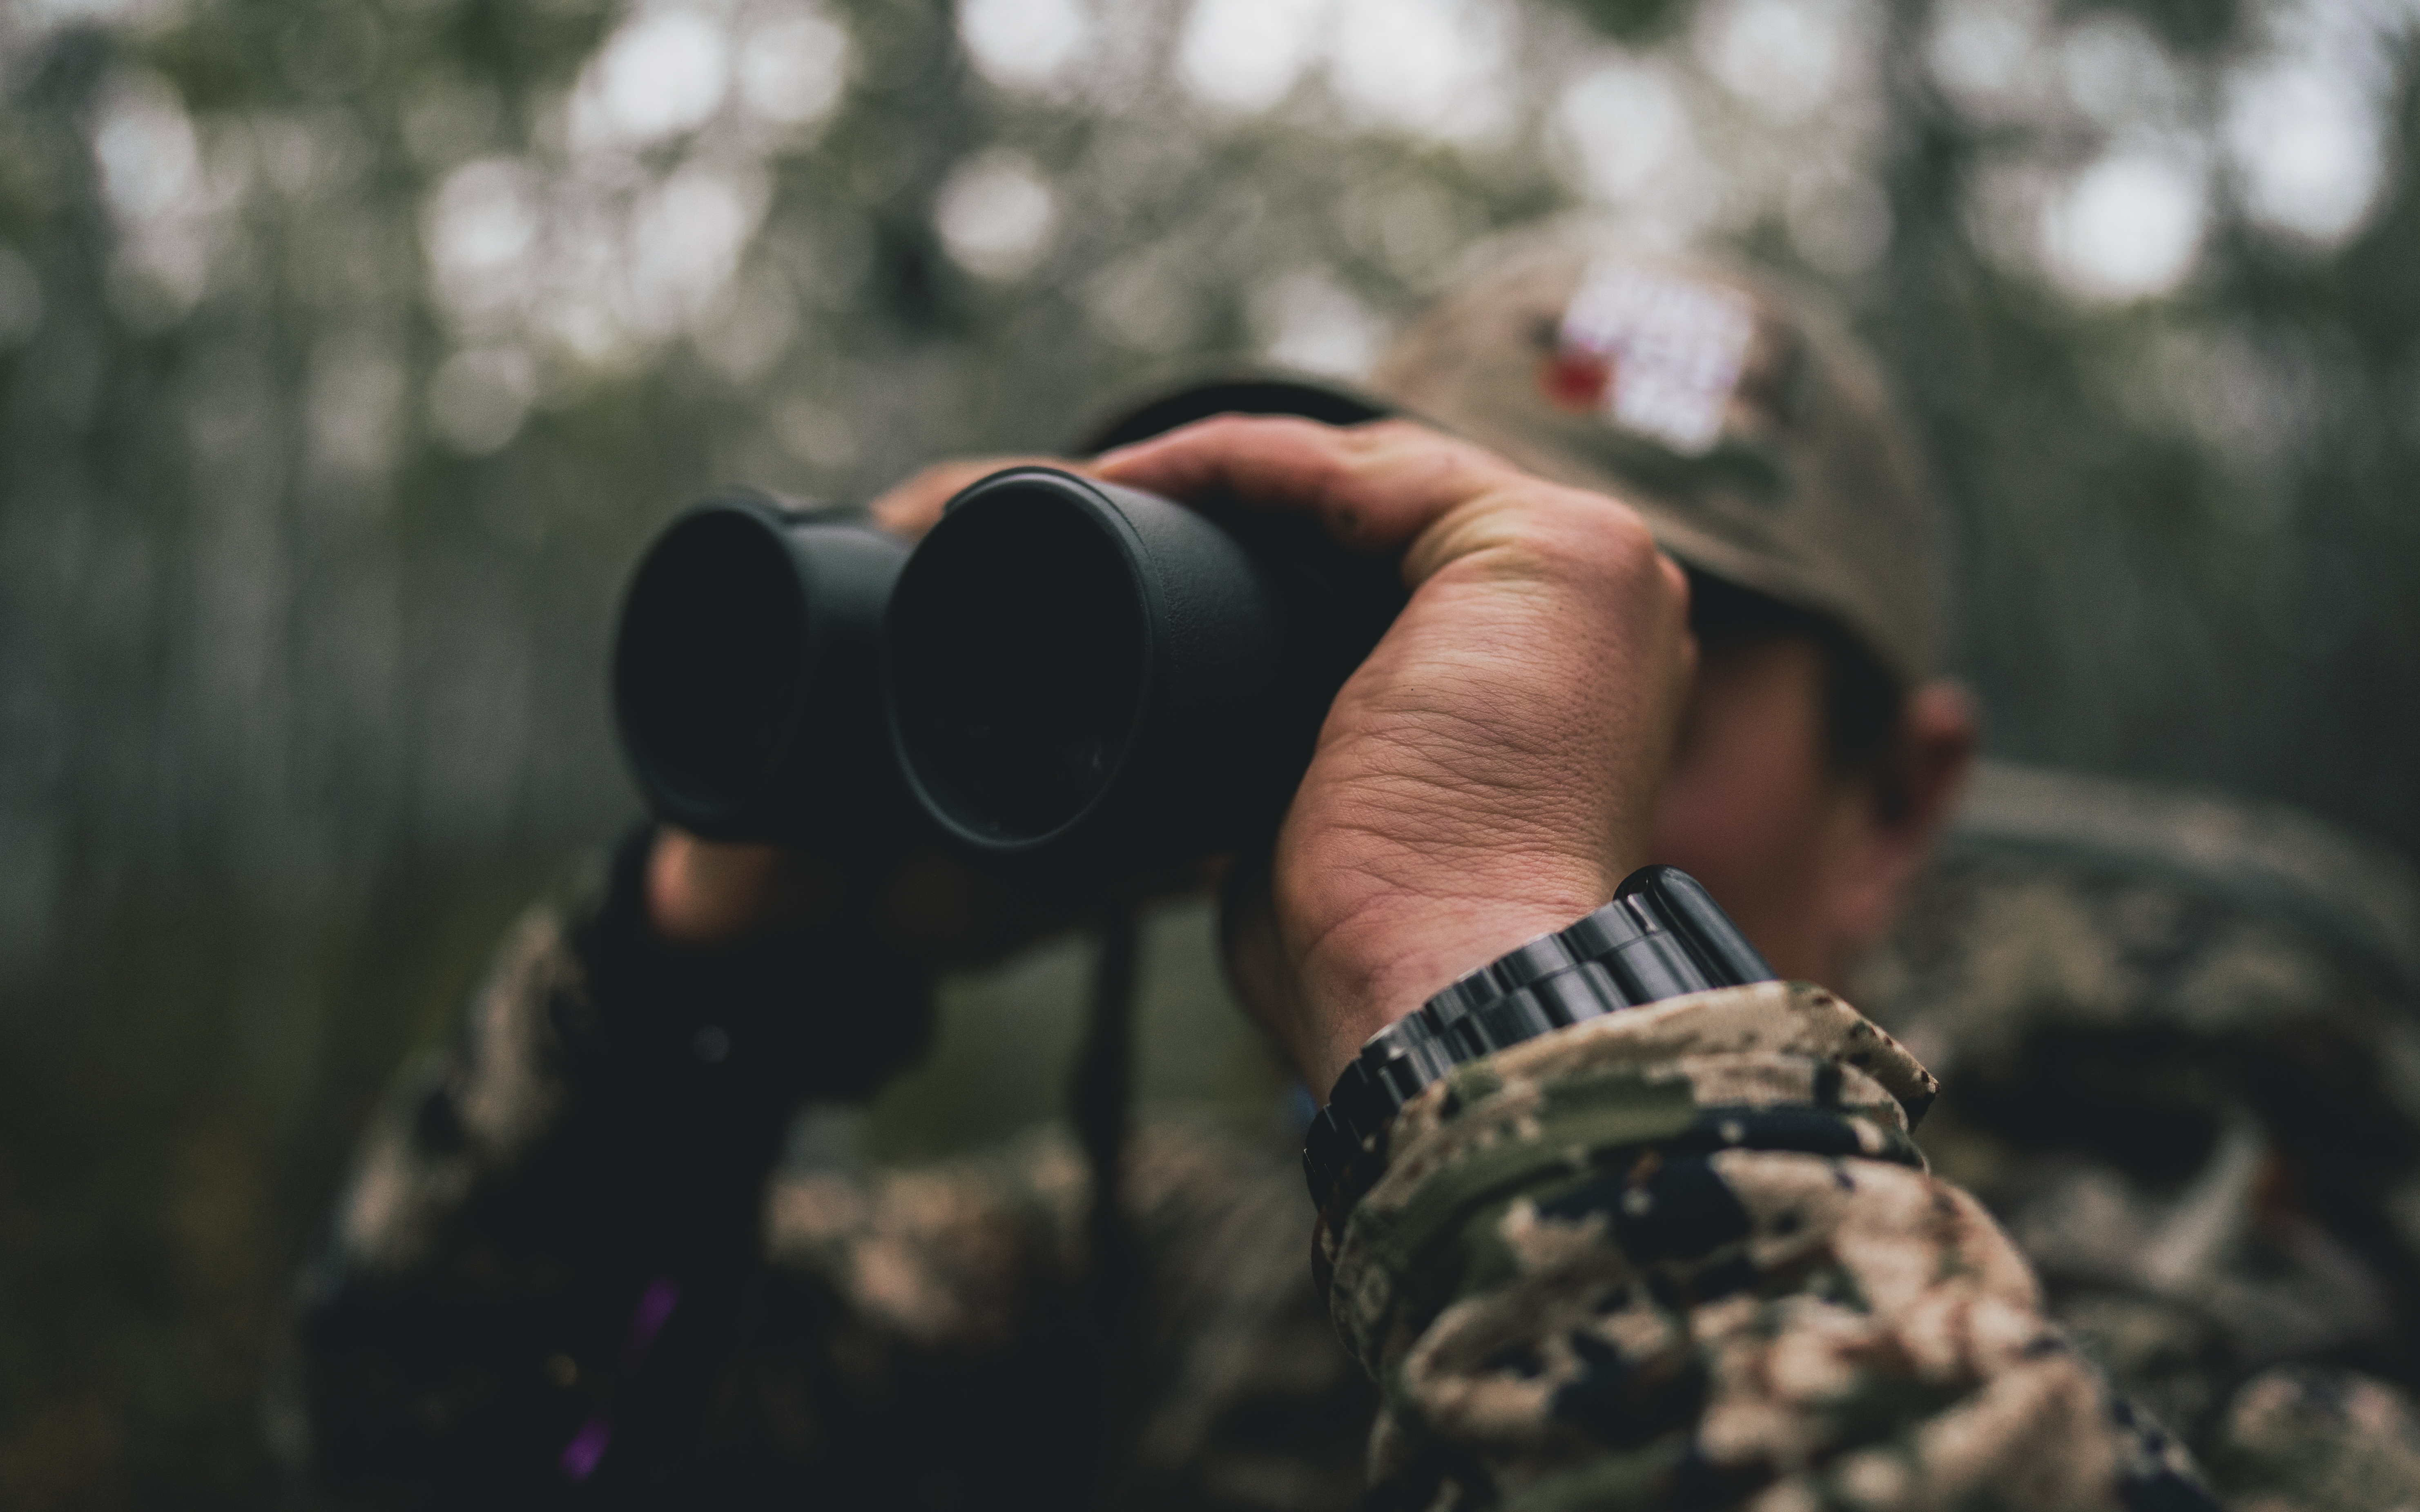
When I’m out on a scouting drive, I like to take it slow and steady, giving myself time to carefully glass fields, tree lines, crop edges, water sources, and trails crossing the road, all while driving safely and being respectful of traffic. When I do spot a deer, I gently pull over to the side of the road and grab my optics to get a closer look.

Having quality optics is a game changer when it comes to road scouting. I’ve been using Vortex Optics for years and have always been impressed with their reliability and clarity. From their entry-level options to their premium glass, they’ve served me well in the field. Personally, I use a pair of 12x50 Vortex Viper binoculars along with a Vortex Razor 27-60x85 angled spotting scope mounted on a window mount. This combo gives me a quick, versatile setup, binoculars for fast scanning, and the spotting scope for dialing in when I want a closer look.
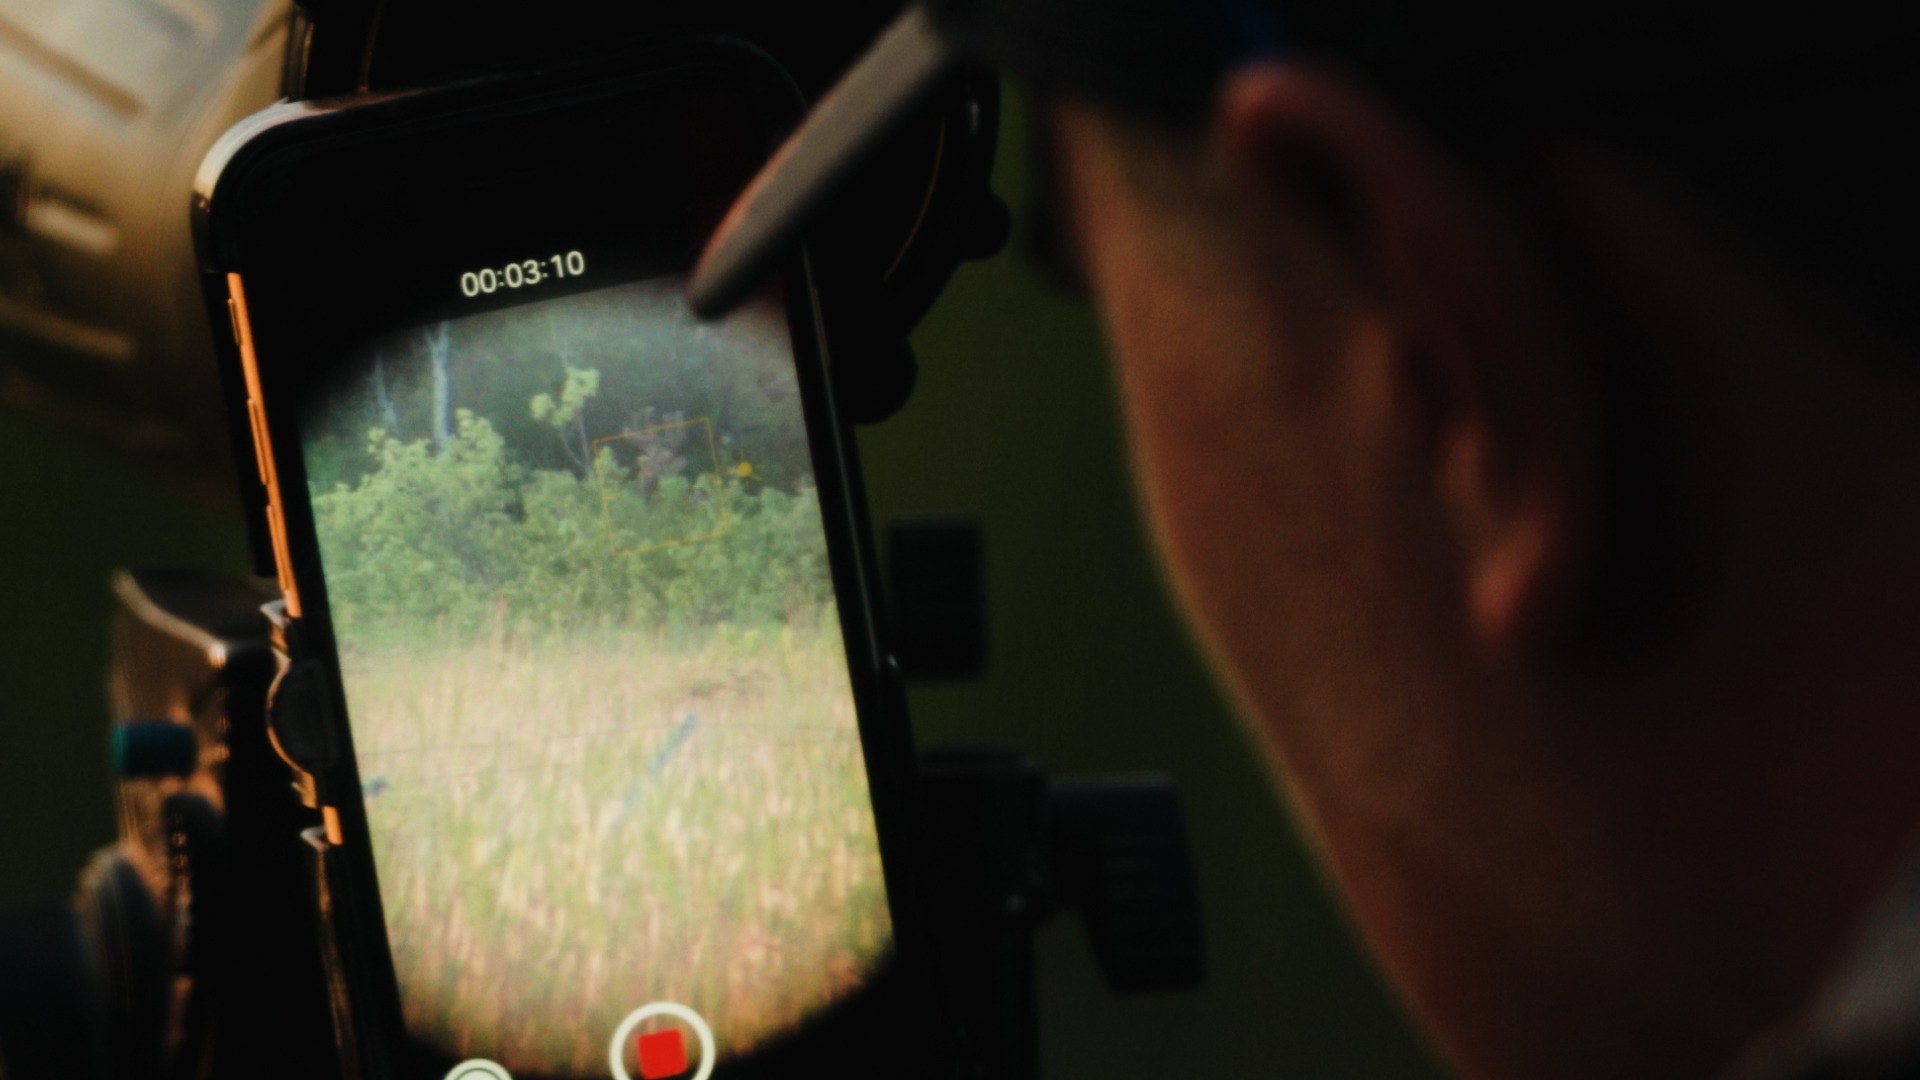
I also use a phone mount on my spotter so I can record through the lens. This allows me to review footage later and take an even closer look at deer after the fact, whether I’m aging a buck or just keeping track of movement patterns.
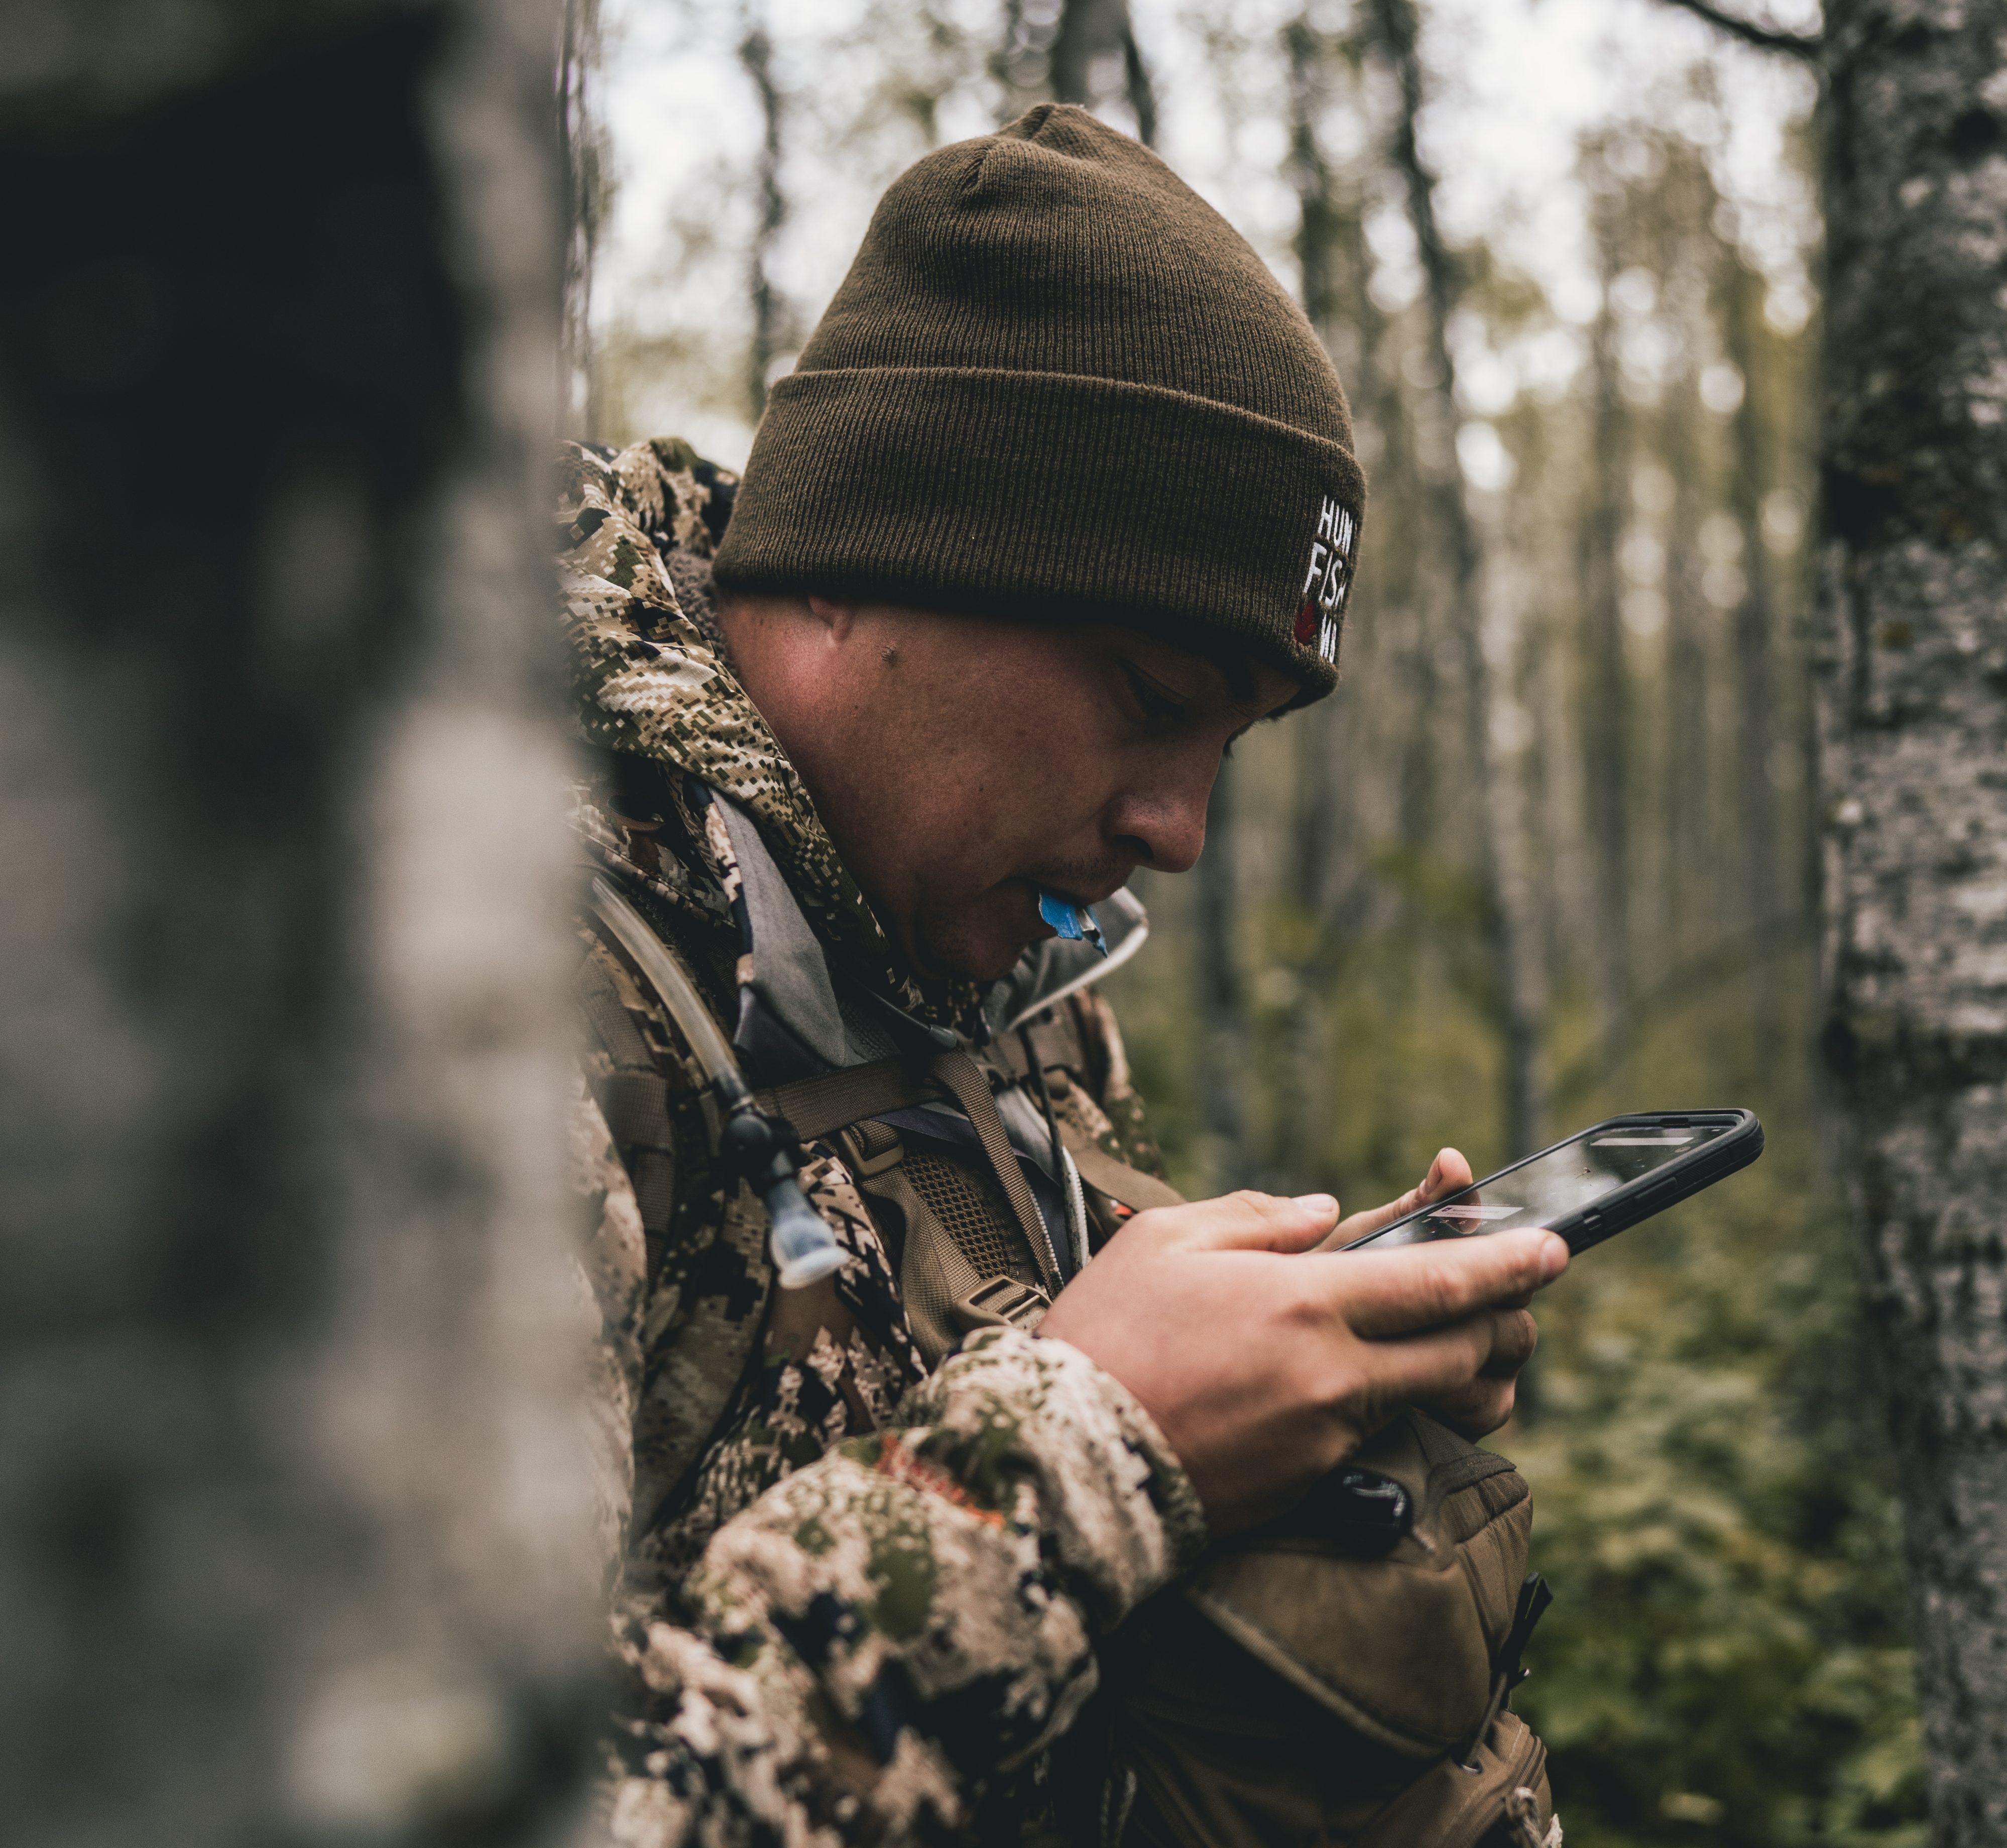
While I’m out, I’ll often mark the fields with the most deer activity on my iHunter app using waypoints. Later, I’ll dig into the satellite imagery and land ownership layers to get a better sense of the landscape and who I might need to contact for permission.
Scouting by Phone – E-Scouting for Whitetails in Manitoba
Modern whitetail scouting has come a long way, and one of the best advancements is the ability to scout digitally. E-scouting helps hunters save time and approach their boots-on-the-ground efforts with more purpose.
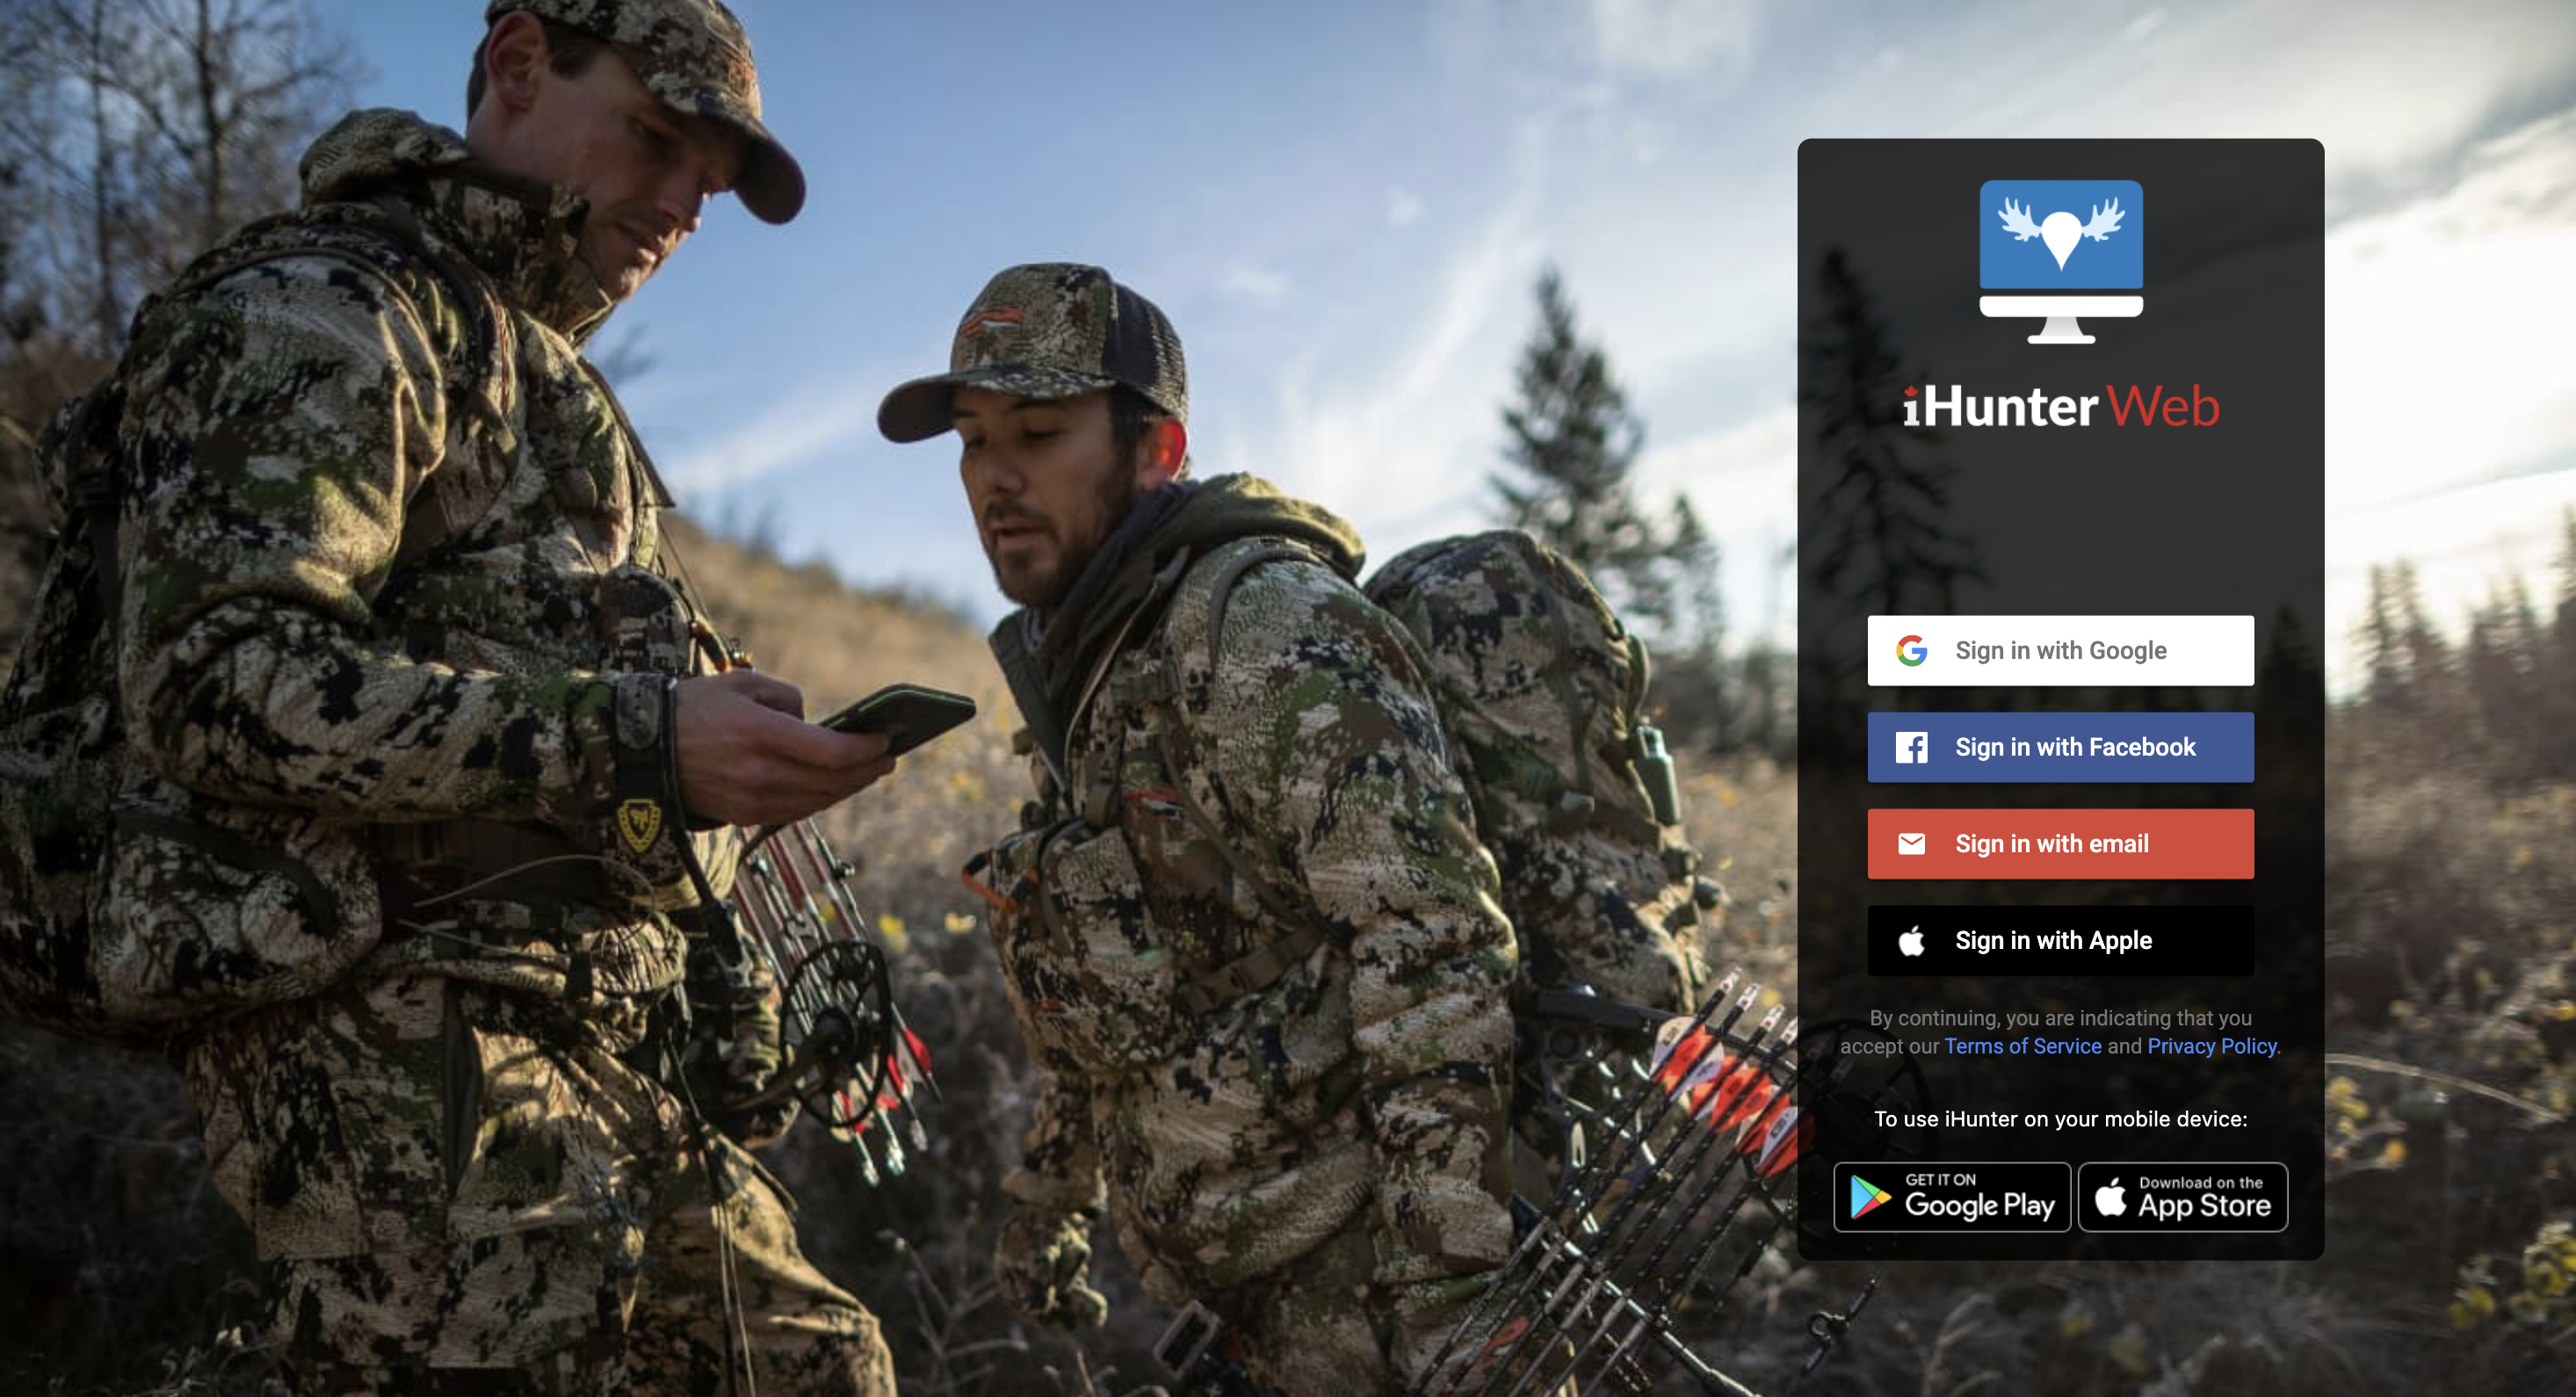
My number one tool for E-scouting whitetails in Manitoba is the iHunter app. Built in Canada for Canadian hunters, this app allows users to explore detailed, cacheable satellite imagery (which means you can access it even without service). One of its most valuable features is the option to layer RM Land Ownership Maps on top of the satellite imagery. This not only helps you understand your exact location, but it also allows you to quickly determine land ownership so you can begin the process of requesting permission. The app also clearly identifies public hunting areas, including Crown land and Wildlife Management Areas.
Once I’ve narrowed down a general region I’m interested in, I begin using satellite imagery to look for what I call the three pillars of whitetail scouting: food, water, and shelter. A property that offers all three has the potential to be excellent whitetail habitat.
Food
Whitetails can browse and survive in forested areas, but crop fields, hay meadows, and natural clearings can dramatically increase available forage and concentrate deer activity. I scan the satellite map for these areas and drop waypoints directly in the app. Later, I’ll confirm the type of forage through in-person scouting.
Water
Every animal needs water, and deer are no exception. Areas with poor water access tend to hold fewer deer, especially during dry years. On iHunter, I look for features like dugouts in pastures, ditches or drainages that hold runoff, and swamps or marshy pockets that might not be obvious on foot. By taking note of these water sources ahead of time, you can focus your efforts and avoid wasting time in low-potential spots. In a dry year, a reliable water source can attract deer from long distances, making it an even more important feature to identify early.
Shelter
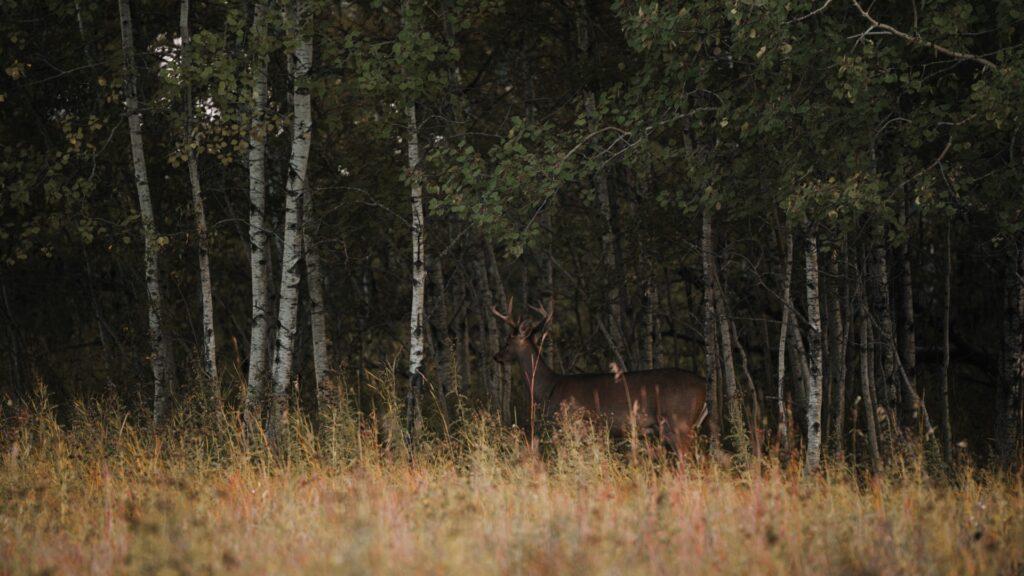
Finding potential bedding areas can be more nuanced, but with some map-reading experience, it becomes easier to spot. Deer may bed in thick timber, on a south-facing slope, or even in a small patch of willows or cattails in the middle of a field if they feel safe. When analyzing satellite imagery, I try to assess where deer would feel secure relative to food and water, then mark those likely bedding zones with waypoints. Later, once I get boots on the ground, I can check those spots for signs and adjust my strategy as needed.
Boots on the Ground – Bringing Your Scouting to Life
After spending time exploring the backroads and analyzing your top spots using the iHunter app, it’s time to lace up your boots and get on the ground.
If your chosen location is on private land, the next step is reaching out to the landowner. Personally, I prefer to ask for permission in person. It gives you a better chance to build a connection with the farmer, and lets them get to know you. A face-to-face visit shows respect and opens the door to a positive relationship, sometimes even offering a hand with a few chores goes a long way. Building trust with landowners is an important part of gaining and keeping access to good hunting ground.
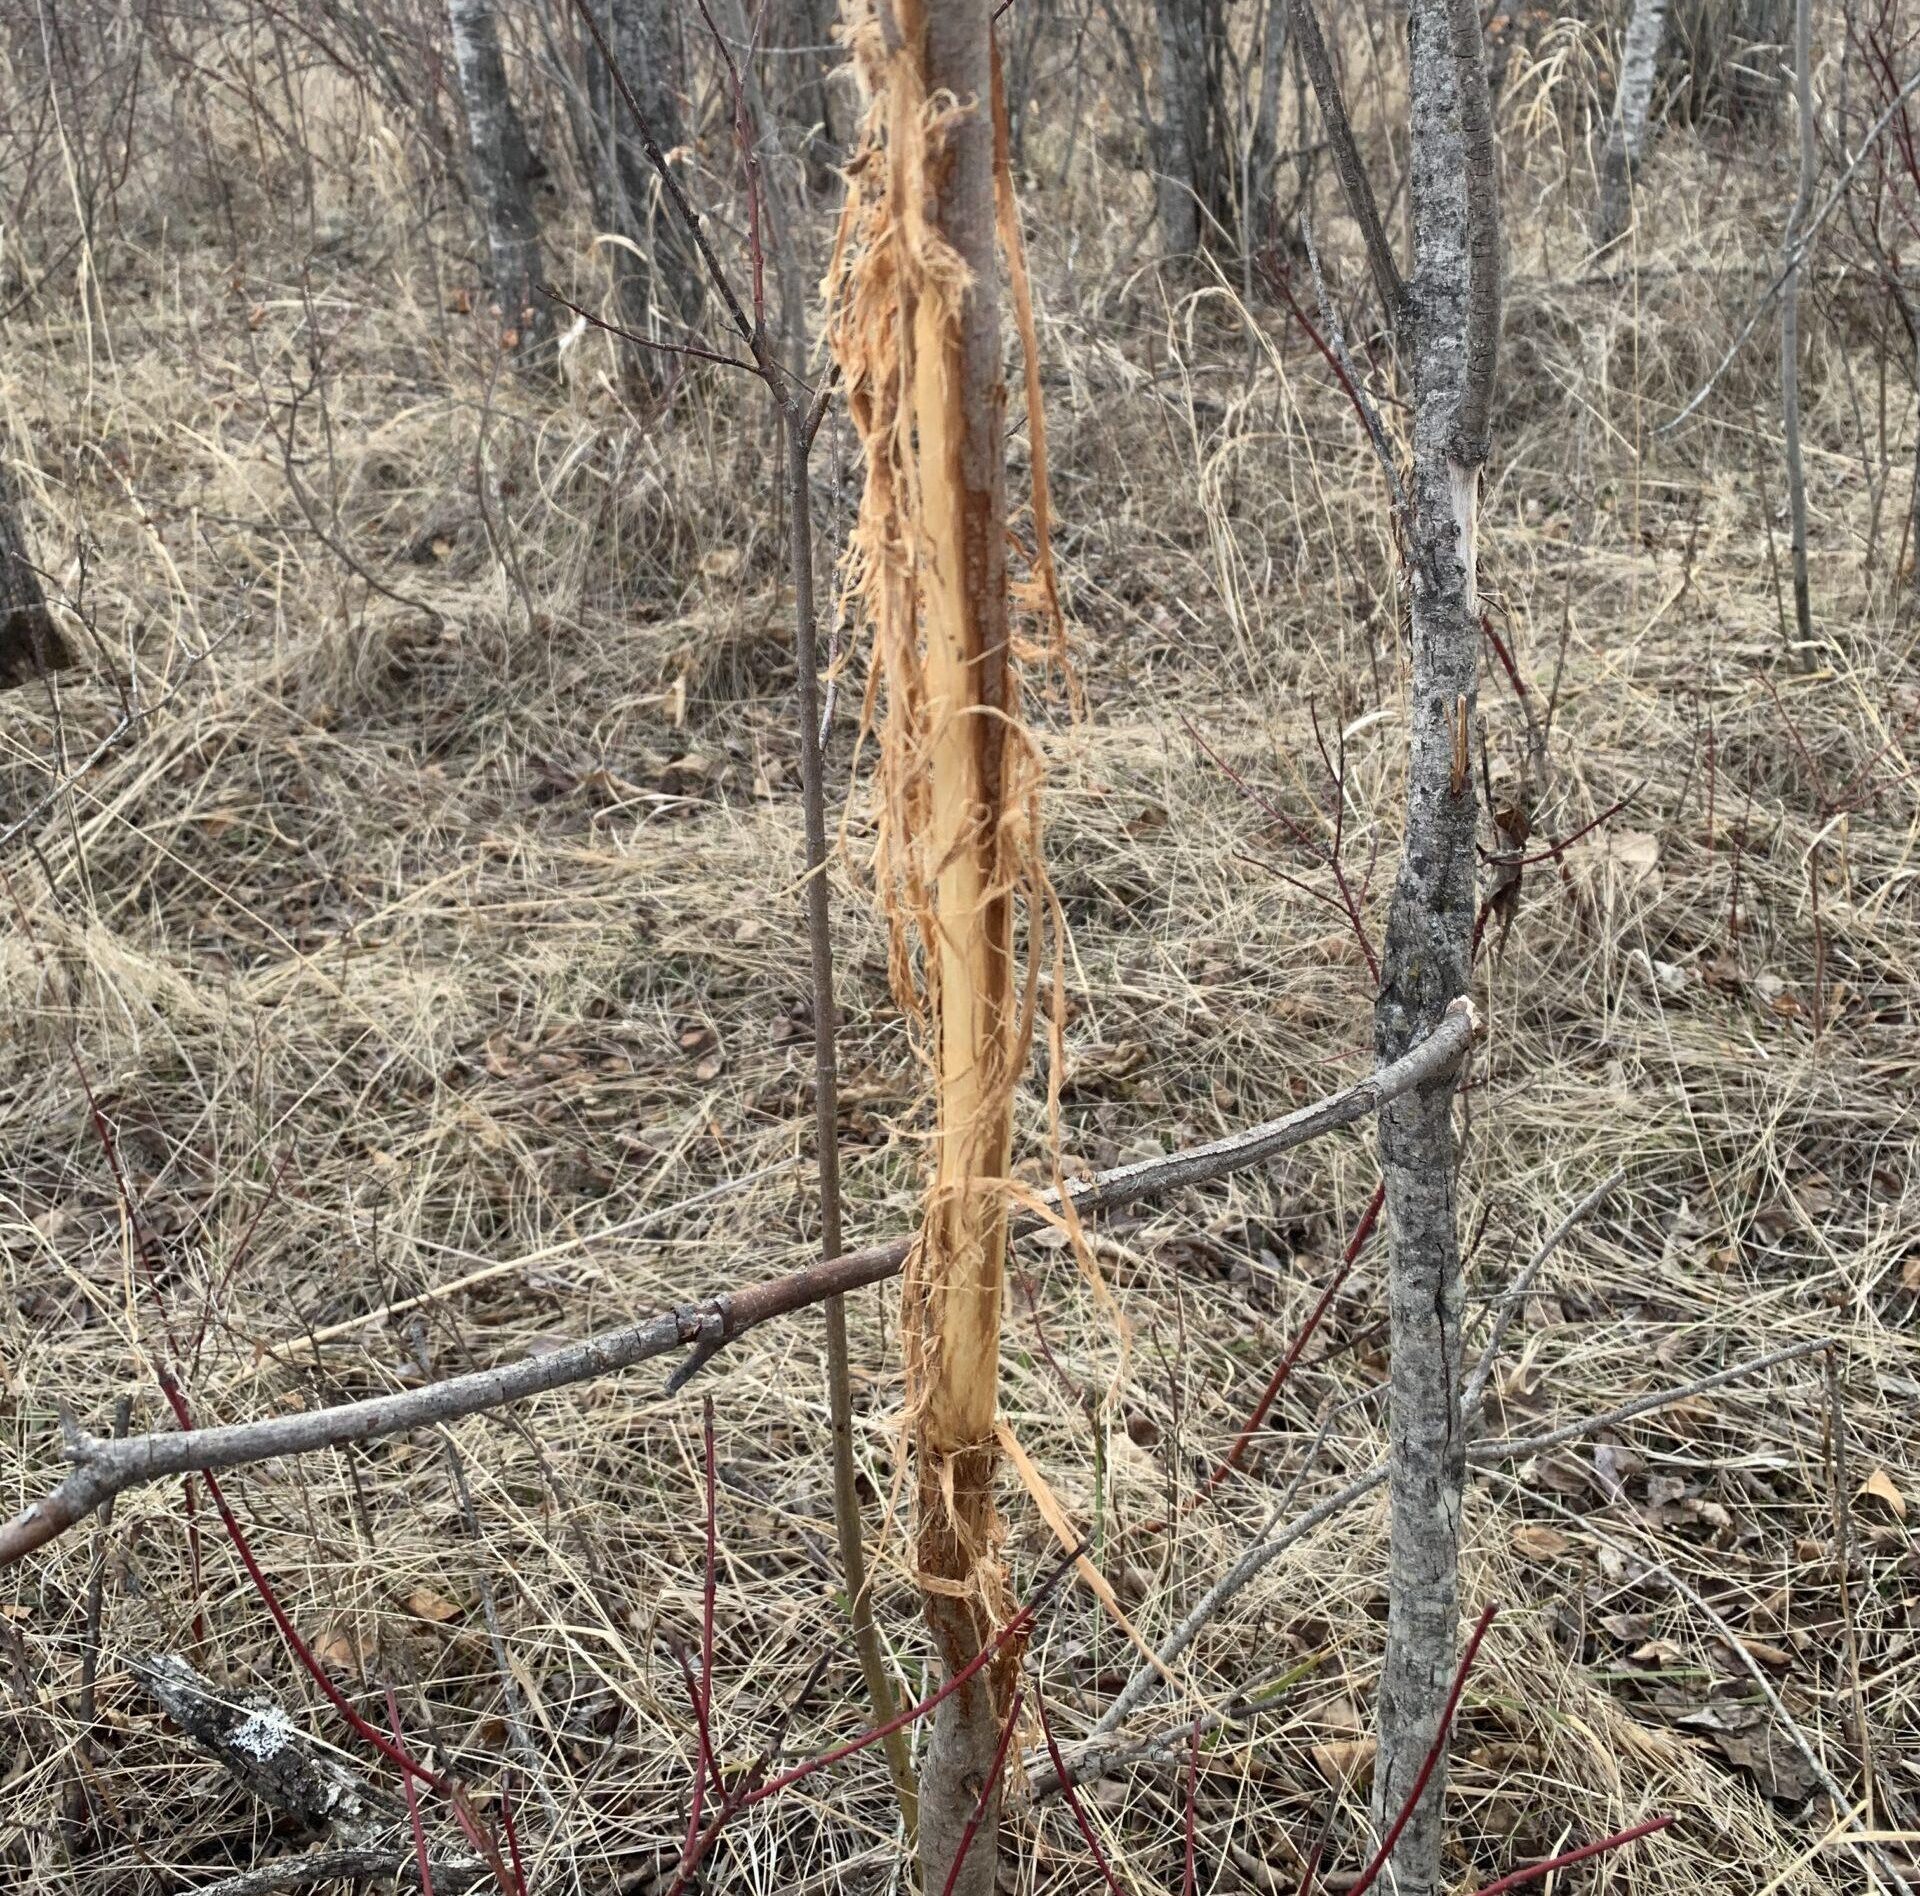
Whether you’ve secured permission or picked a piece of public land to explore further, now’s the time to revisit your marked locations and see them up close. Walk the food sources to identify available forage, confirm water sources, and follow trail networks that might lead to bedding areas. As you gather new intel, update your waypoints in the iHunter app with fresh notes, mark trail intersections, beds, water sources, and field entry points. This info will be invaluable when you’re ready to hang cameras or plan your hunts.
A thorough walk-through of the property will start to paint a clearer picture of how deer are using the landscape. When doing this kind of scouting, try to go during midday hours when deer are more likely to be bedded down. If you’re approaching field edges or potential bedding areas, keep the wind in your favour and move cautiously to avoid bumping deer or leaving too much scent behind.
As the season draws closer, it’s often best to pull back and let your trail cameras take over. Staying low-impact in those final weeks can make all the difference come opening day.
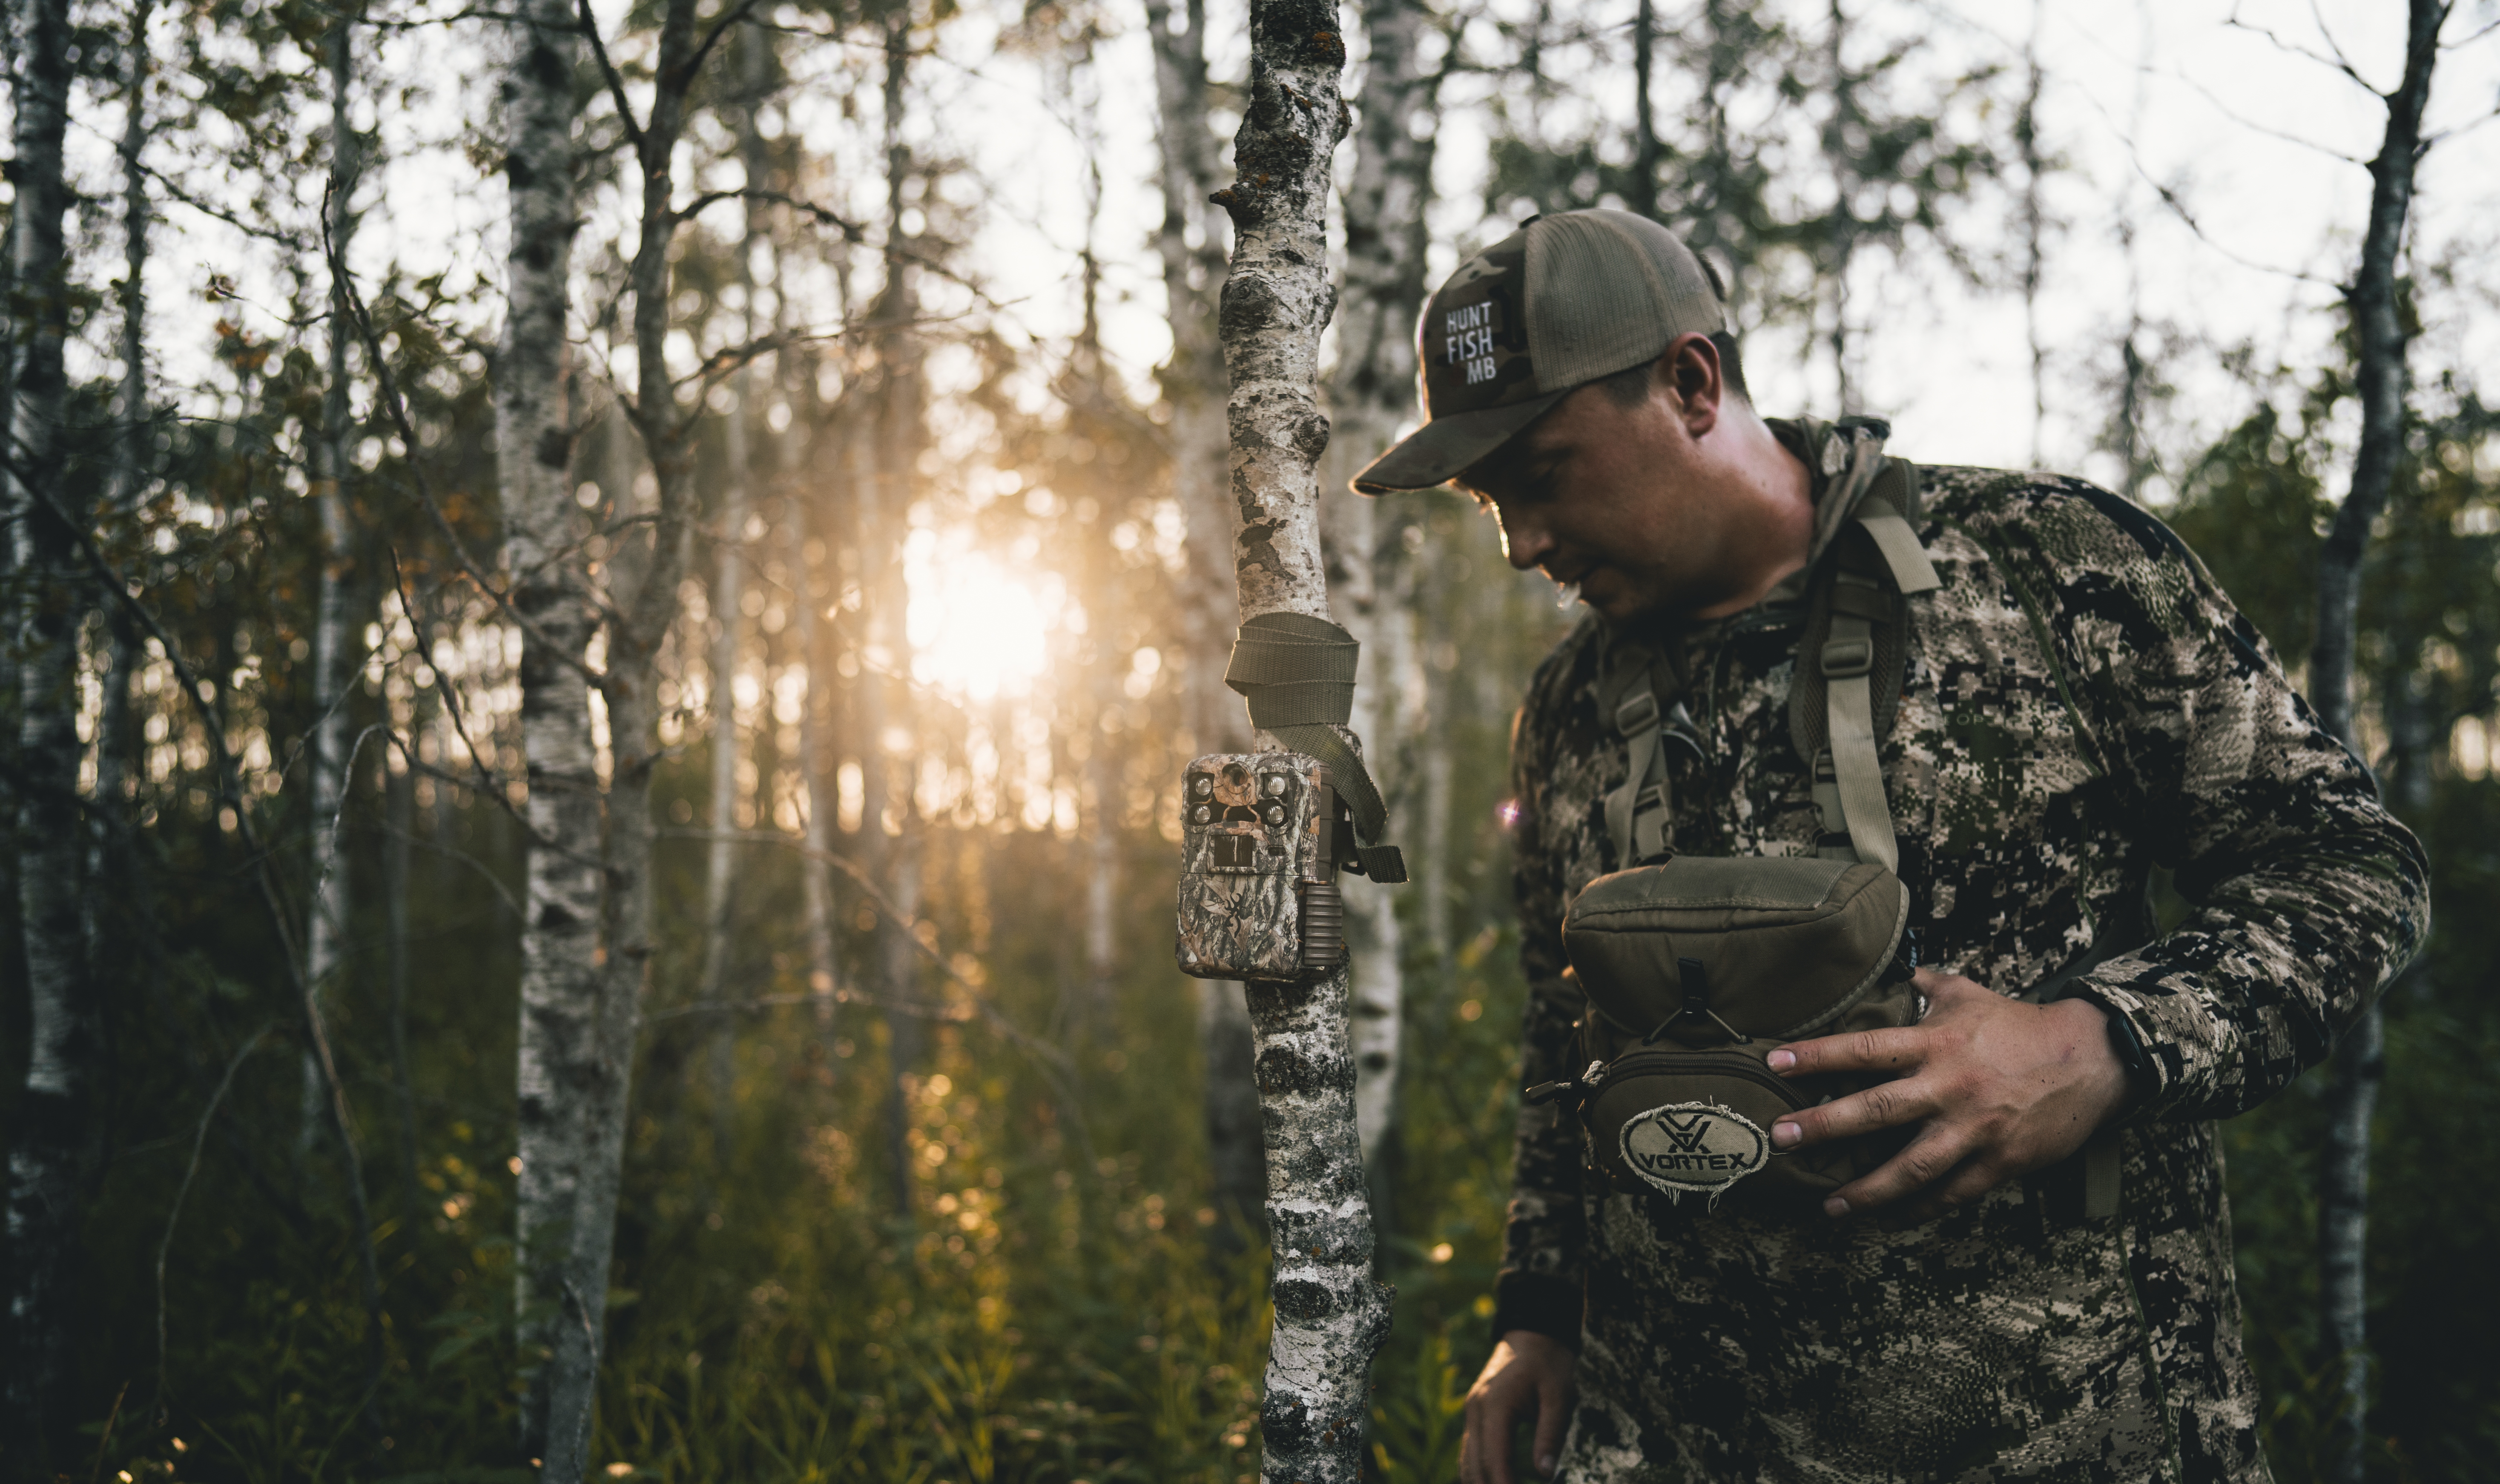
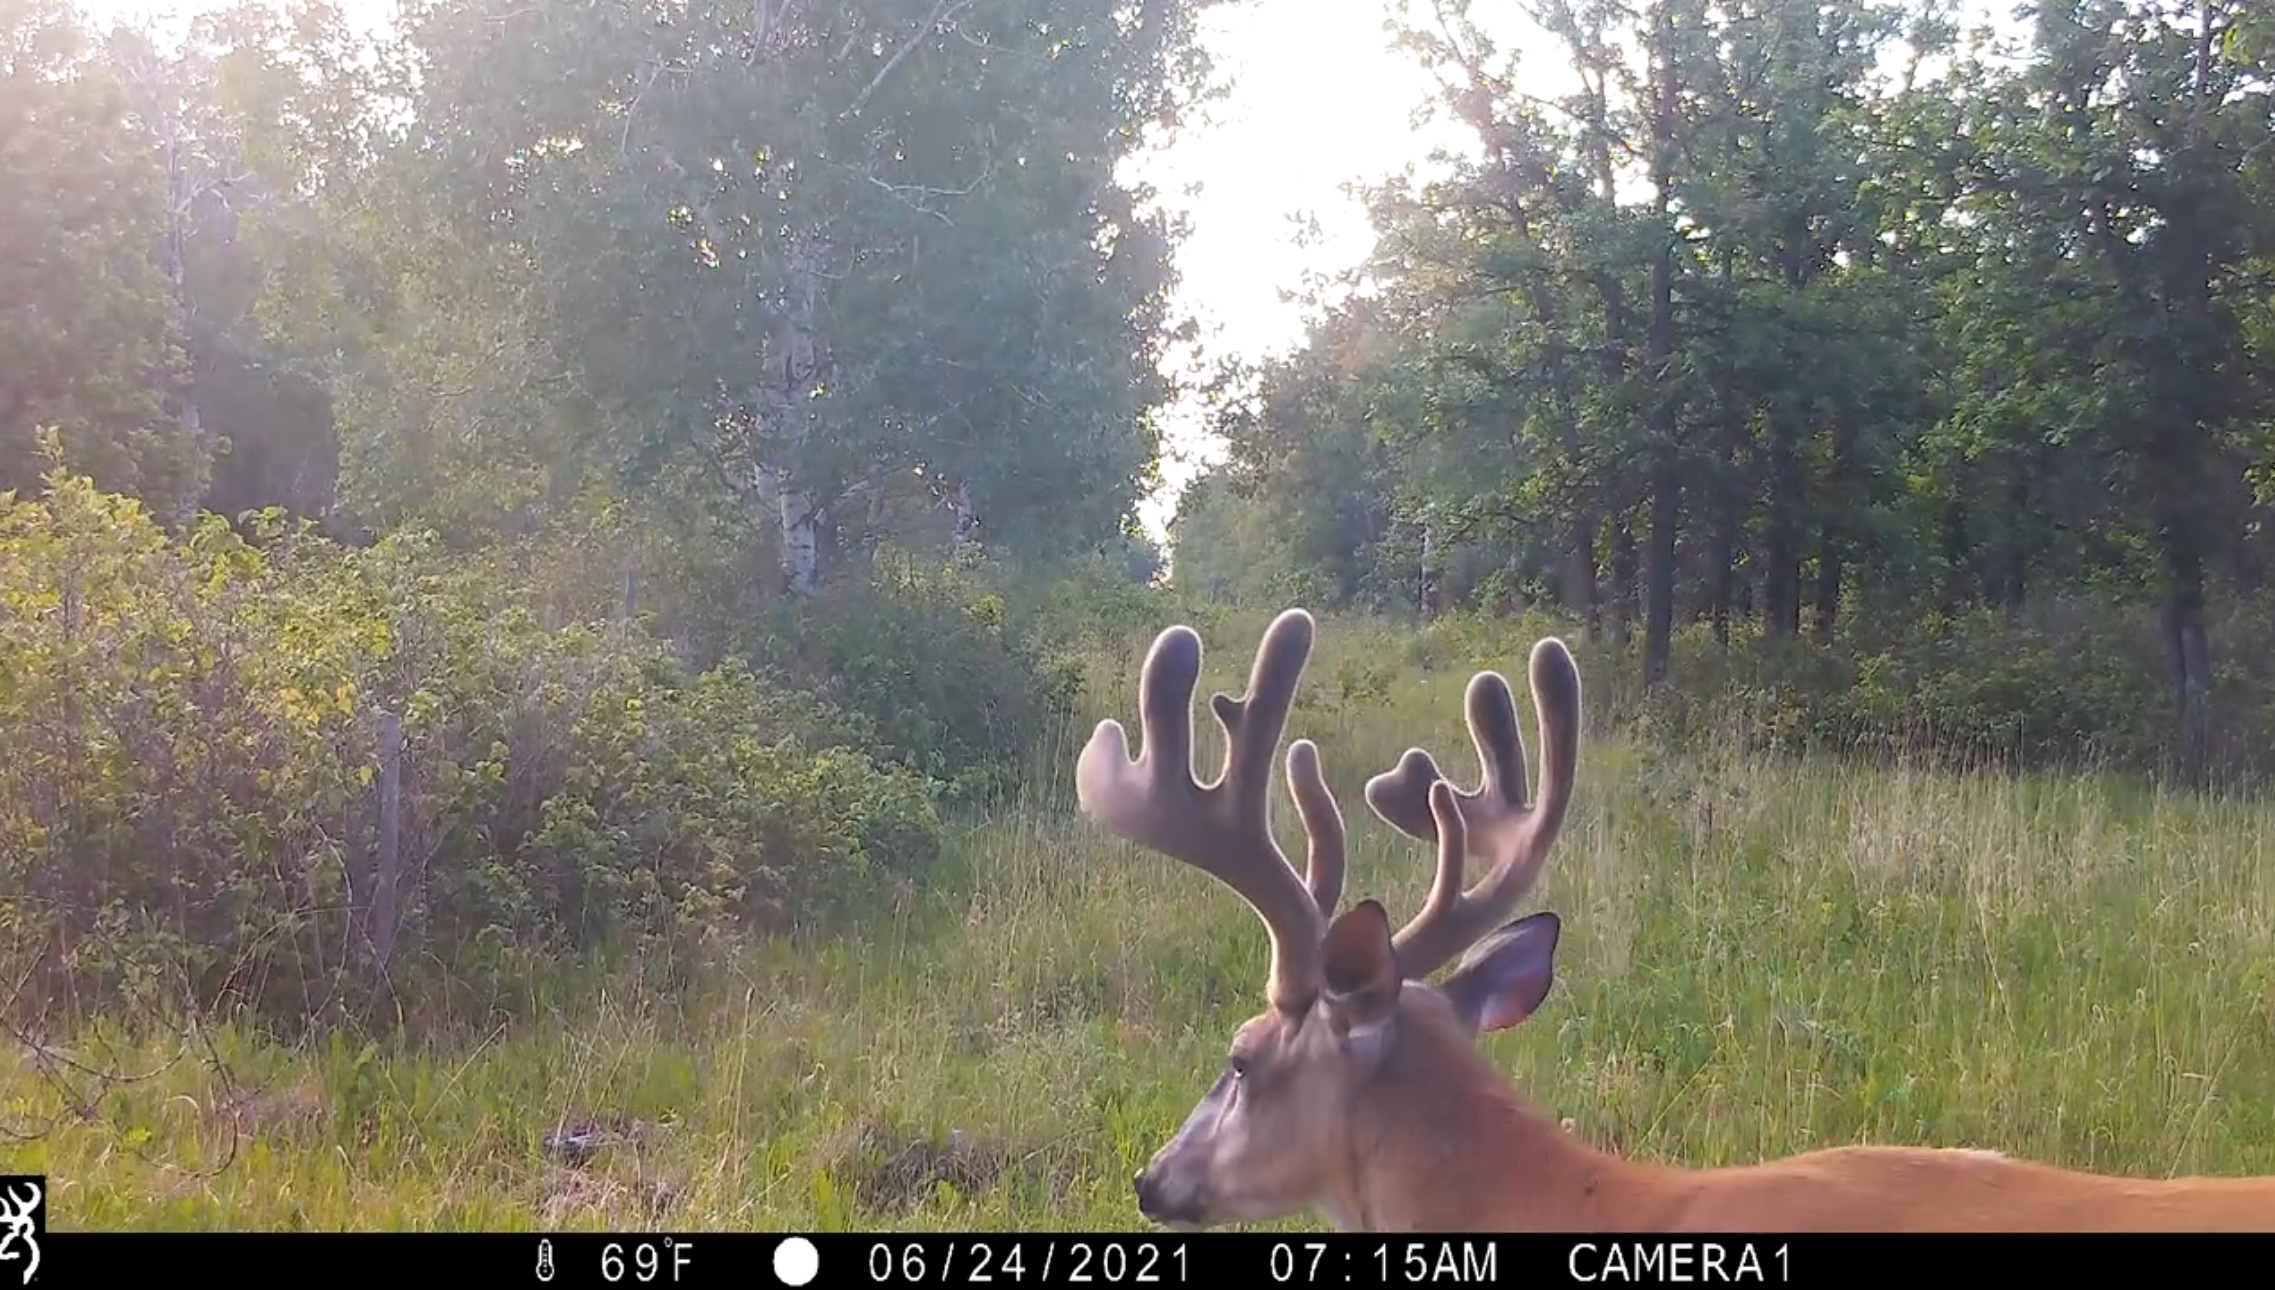
Scouting with Trail Cameras – Let the Cameras Do the Work
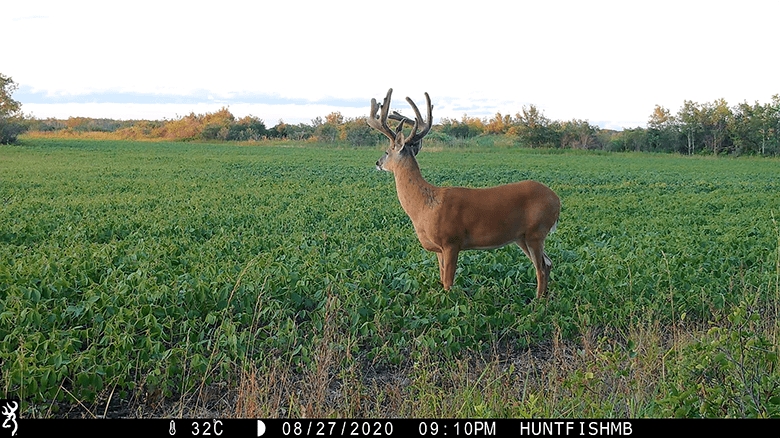
Whether you’re hanging cameras during your first walkthrough or heading back for a dedicated setup day, trail cameras are one of the most effective tools in a summer scouting strategy.
Trail camera technology continues to evolve rapidly, with new features and connectivity options every year. That said, there’s no single “right” camera to own, and you don’t need a huge fleet to be successful. From high-end cellular models that send photos and videos straight to your phone, to budget-friendly $50 cameras available online, most trail cams do one core job very well, capturing an image of a deer that walks in front of it.
If you’re working with just one or two cameras, prioritize high-traffic areas like field edges, or water sources. These are the best places to gather general intel and inventory the local deer population. If you have a few extra cameras, expand into travel corridors, trail intersections, or funnels between food, water, and bedding. These locations give you insight into how deer are actually moving through the property.
Trail Camera Tips:
Camera Angle
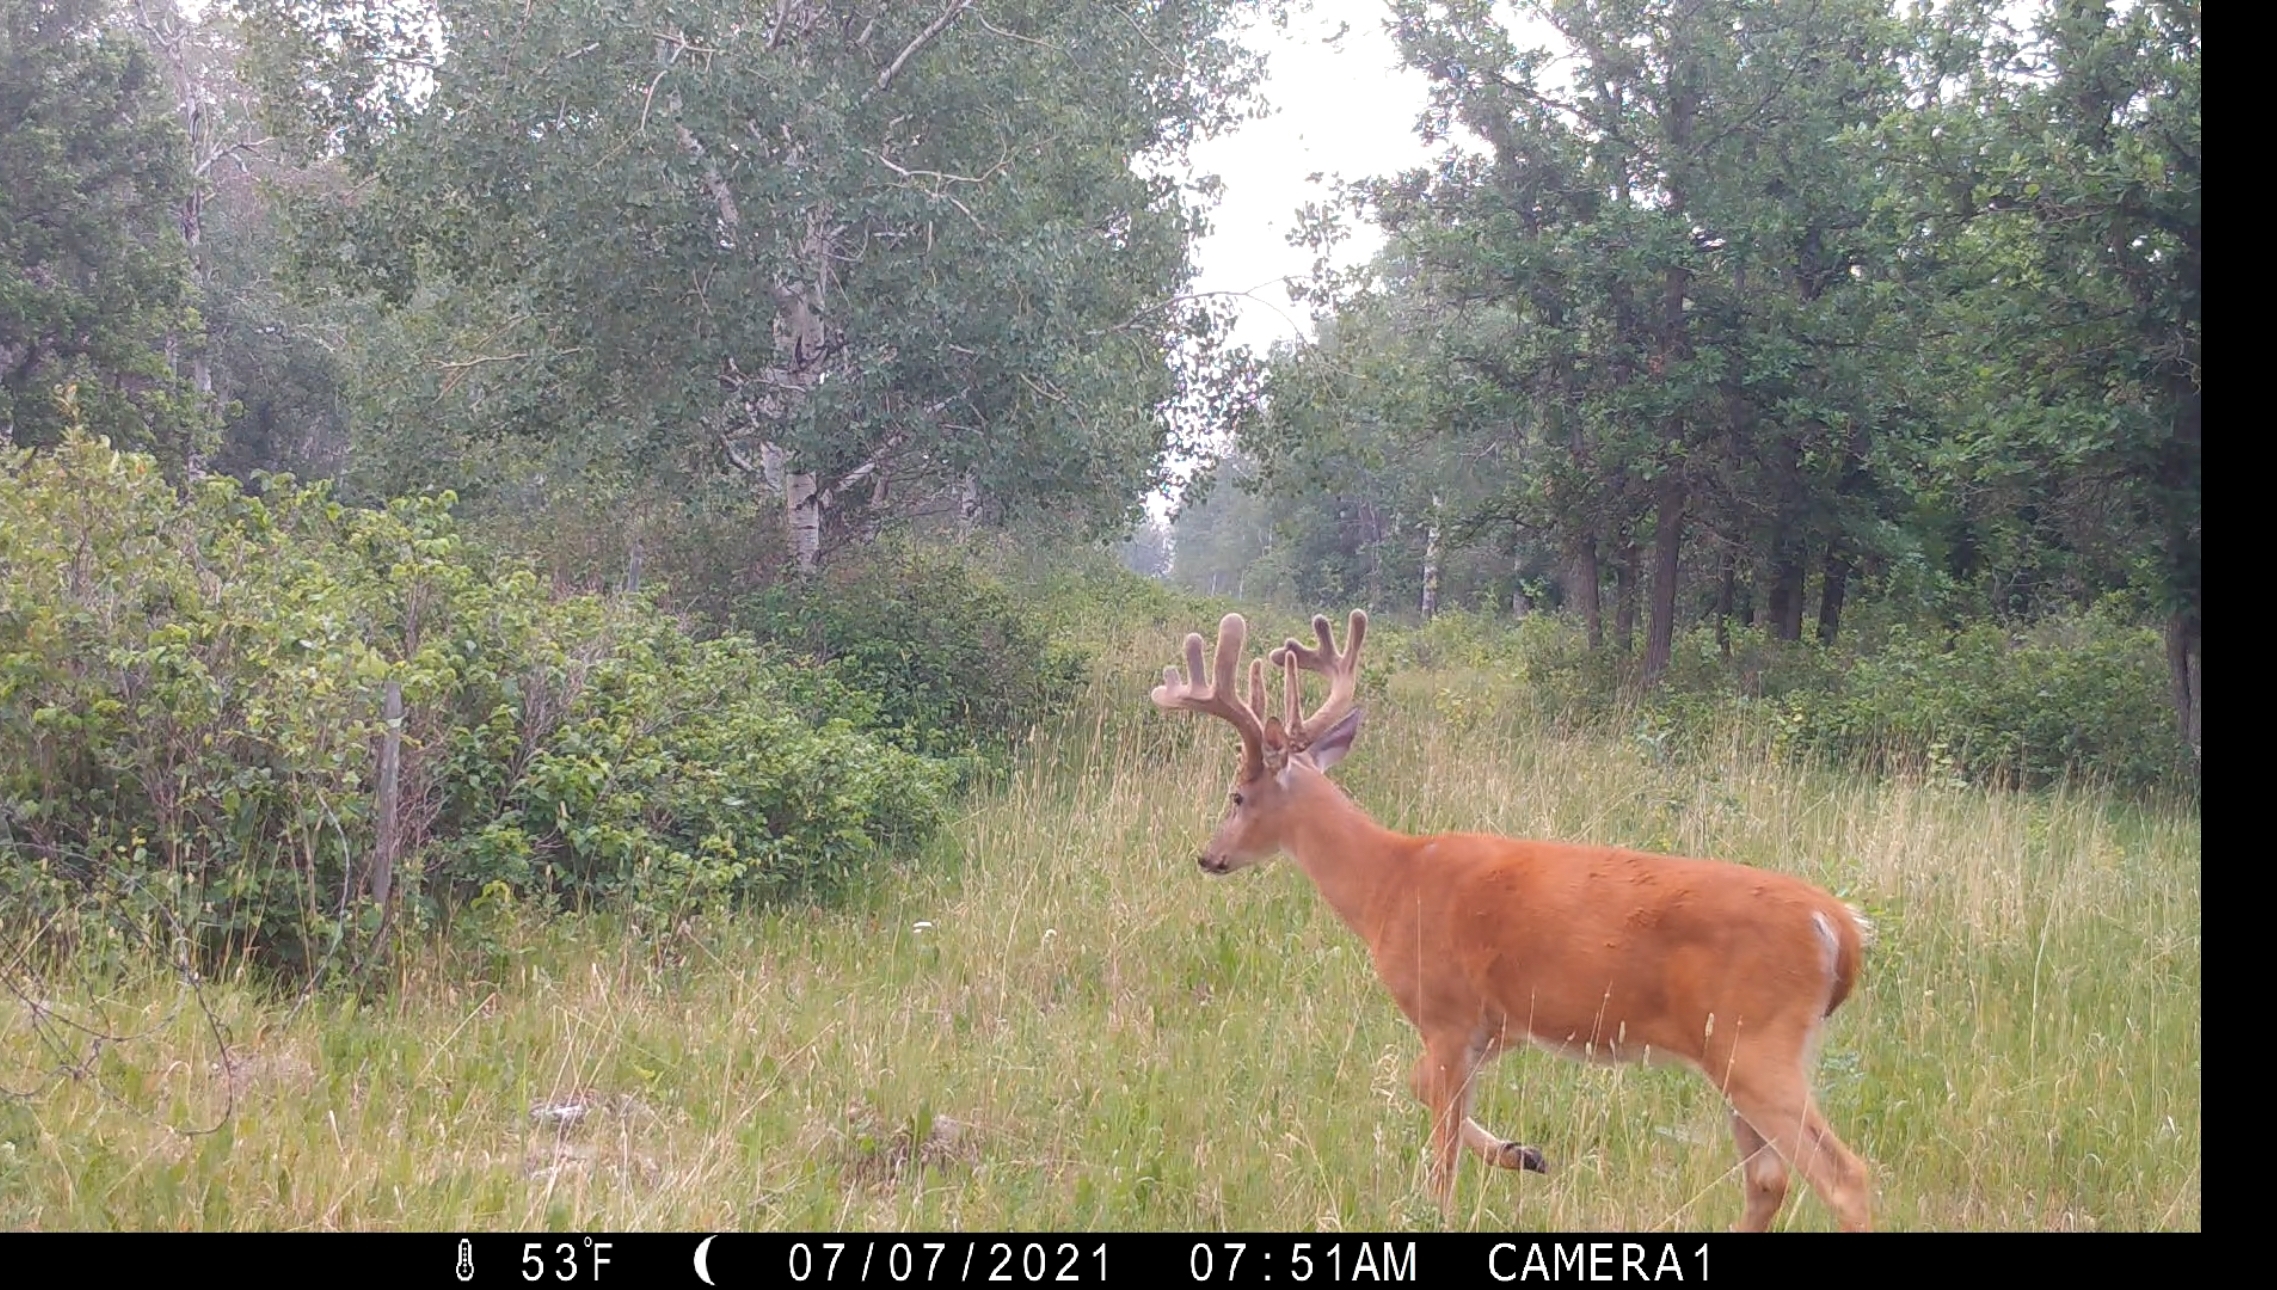
When placing a camera on a trail or field edge, angle it along the trail rather than straight across it. This gives the camera a longer window to detect movement, helping it capture the full deer rather than just a blurry half-step.
Clear the View
Before walking away, remove any branches, weeds, or tall grass in front of the lens or motion sensor. Even small twigs or leaves can trigger endless false photos in the wind. If you’re using a skinny tree, consider trimming the top to reduce swaying and avoid unwanted triggers.
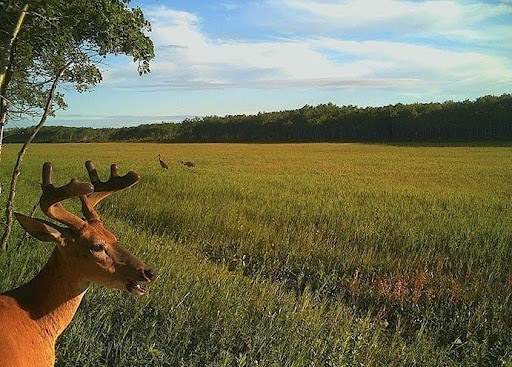
Sun Position
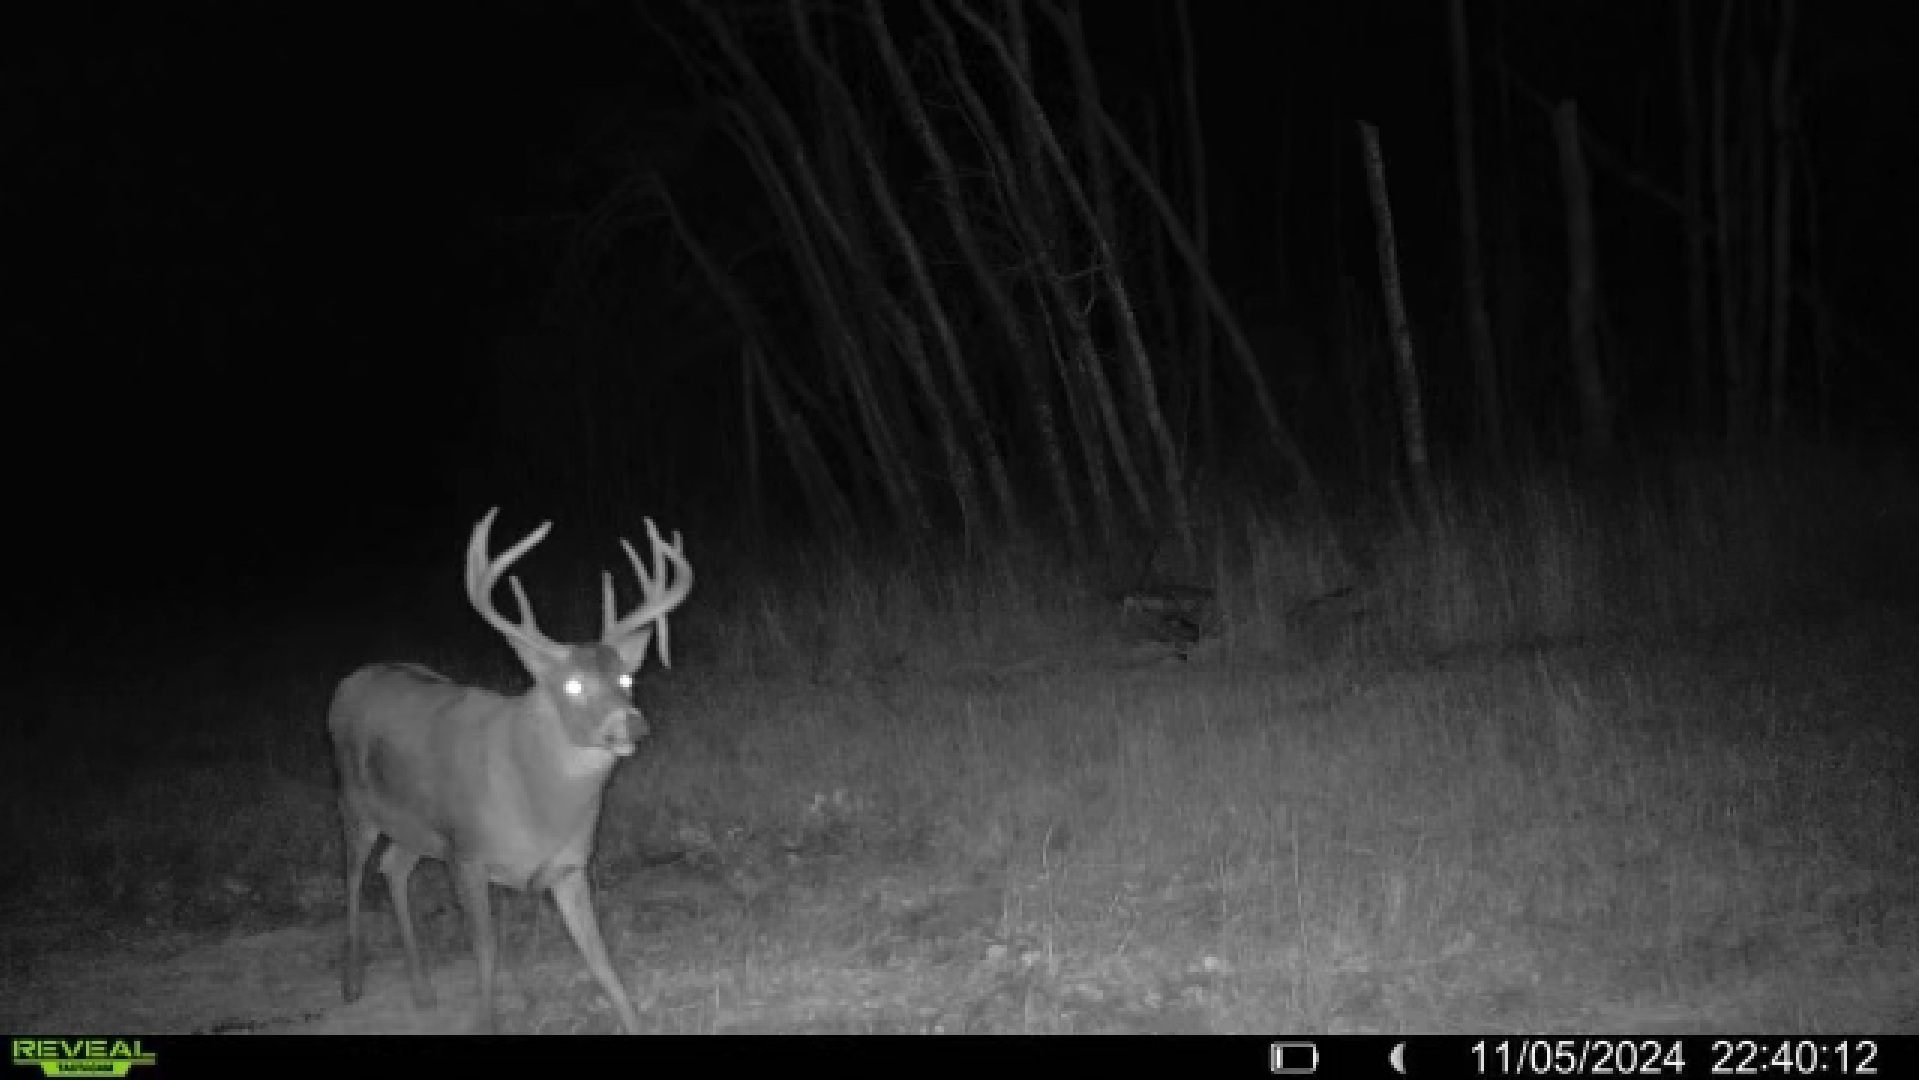
Be mindful of where the sun rises and sets. Low sunlight can both trigger false images and wash out your photos, leaving you with an overexposed shot and no clue what triggered it. Try to set the camera facing north or in shaded areas to reduce this issue.
Use Video Mode
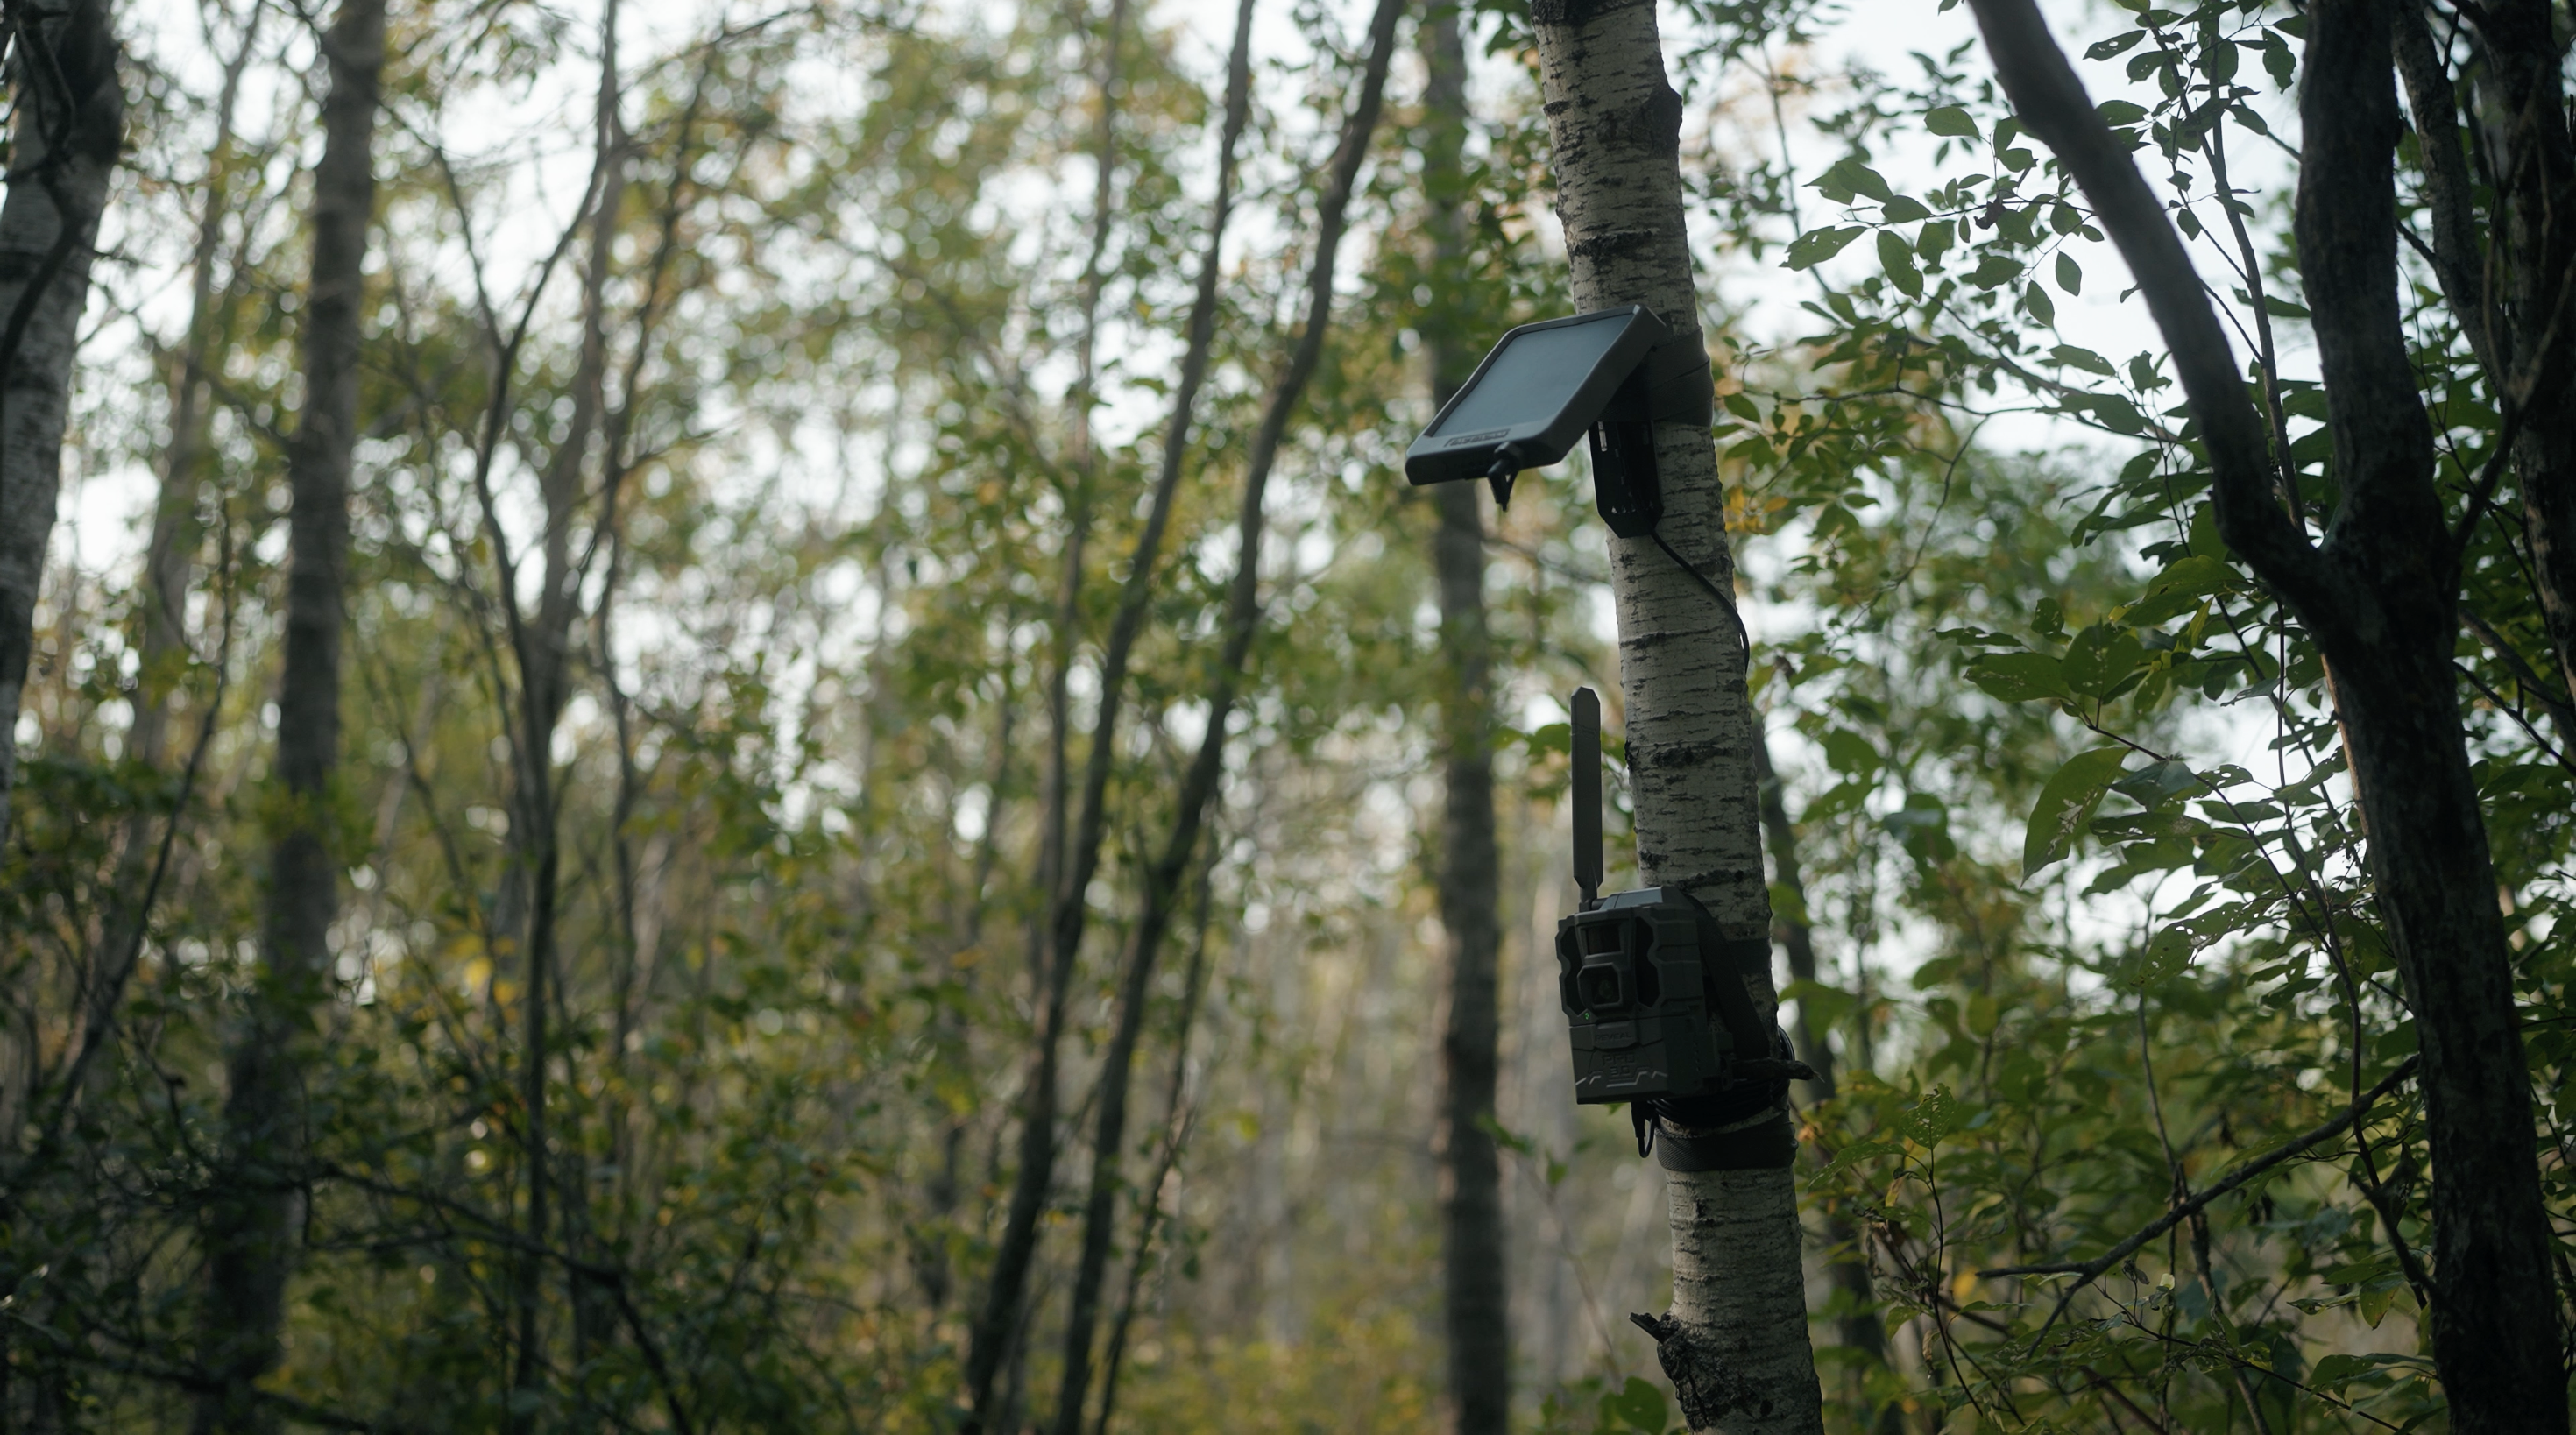
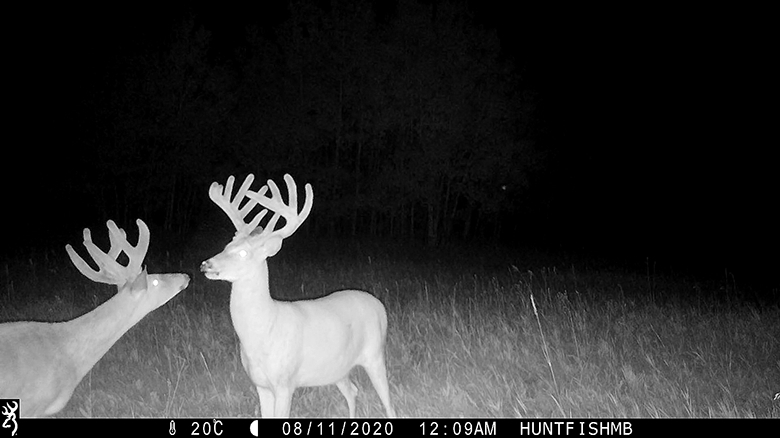
Over the past few years, I’ve come to prefer running my trail cameras on video mode instead of photo. Video gives you more context, how the deer moves, the direction it’s heading, and a better look at body size and antlers. Just keep in mind, video mode uses more battery and memory. I recommend using 32GB or larger SD cards and, when possible, pairing cameras with solar panels to reduce battery costs.
Bear and Elk Protection
If you’re scouting in areas with bears or elk, consider extra protection for your cameras. A steel security box can go a long way toward stopping a curious bear from destroying your gear. Alternatively, you can mount the camera higher up in a thin tree and angle it downward. This keeps it out of reach for wildlife and also helps protect against theft on public land.
For a more in-depth look at setting up your cameras, check out our recent blog post:
Top 5 Trail Camera Tips for Summer Whitetail Scouting in Manitoba.
Lay the Groundwork Now, Reap the Rewards Later
Effective summer scouting isn’t about luck—it’s about gathering the right intel, building a plan, and doing the legwork now so that when the season arrives, you’re ready to make your move. By combining digital tools like the iHunter app, time spent behind the glass on backroads, in-person walks through the land, and well-placed trail cameras, you’re putting together a full picture of how deer are using the landscape.
Every field edge glassed, trail walked, and photo captured brings you one step closer to understanding your property and stacking the odds in your favour. So take the time this summer to scout smart, scout thoroughly, and enjoy the process. Because the story of a successful hunt often starts months before the arrow flies.
To learn more about Manitoba's Hunting seasons, regulations and more, visit our Manitoba Hunting Guide Page.
